

My knitting students inspired this post. I do explain in class what to do when your skein of yarn runs out and you need to add more, but it’s a little tricky to visualize without actually cutting the yarn, and easy to forget when you get home and you’re left alone with an internet full of confusing videos … so here you go! These are my favorite, simple, fairly foolproof methods. The first one works with practically any yarn, any project, any time, and the second one makes a totally seamless join in any feltable yarn.
Personally, if I can’t felt the ends together (see below), I almost always just leave the tails, and I don’t mind sewing them in later. There are lots of methods for weaving in the tails as you go, by wrapping the new yarn over/under/with the old yarn, and most of them work just fine. You may find one that you love. But, you don’t need to do any of them. Leaving the tails to work in later is perfectly good. And if you’re still thinking about how to knit, you don’t need anything more complicated going on when you get to the end of a skein.
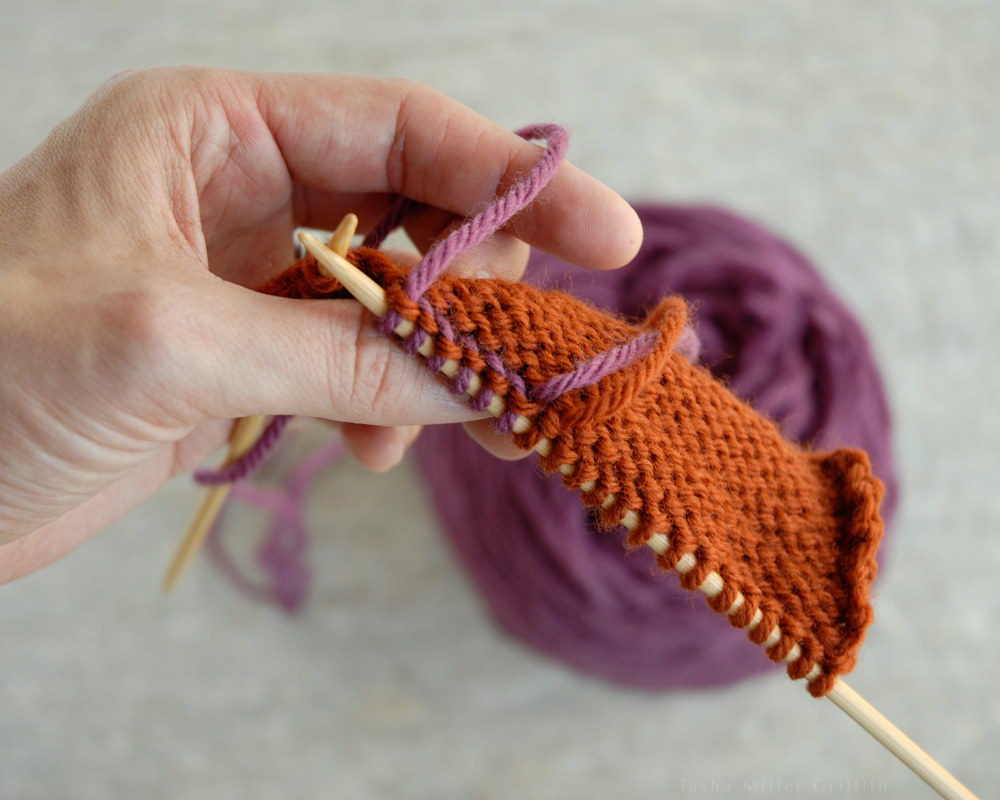
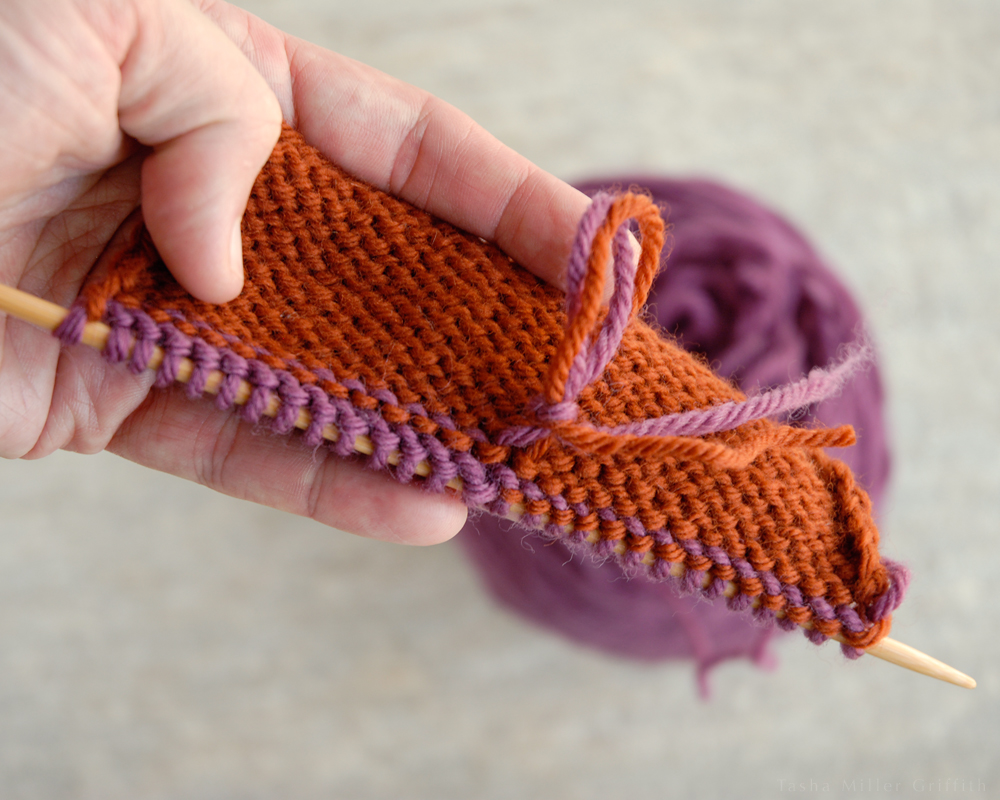
So, just stop knitting when you have about 6 inches of yarn left unknitted. Pick up your new ball of yarn (mine is purple) and, leaving another tail of the same length, start knitting with it. The stitches on either side of the tails will probably be a little loose, but you can cinch them up later to match their neighbors when you weave in the tails, so don’t worry about it for now. If you like, you can tie the two ends together into a slipknot to keep things neat while you’re working on the rest. That’s it!

As long as we’re talking about joining yarn ends, I wanted to include my very favorite method, which takes advantage of the felting properties of wool to join two lengths of yarn without any tails left at all.
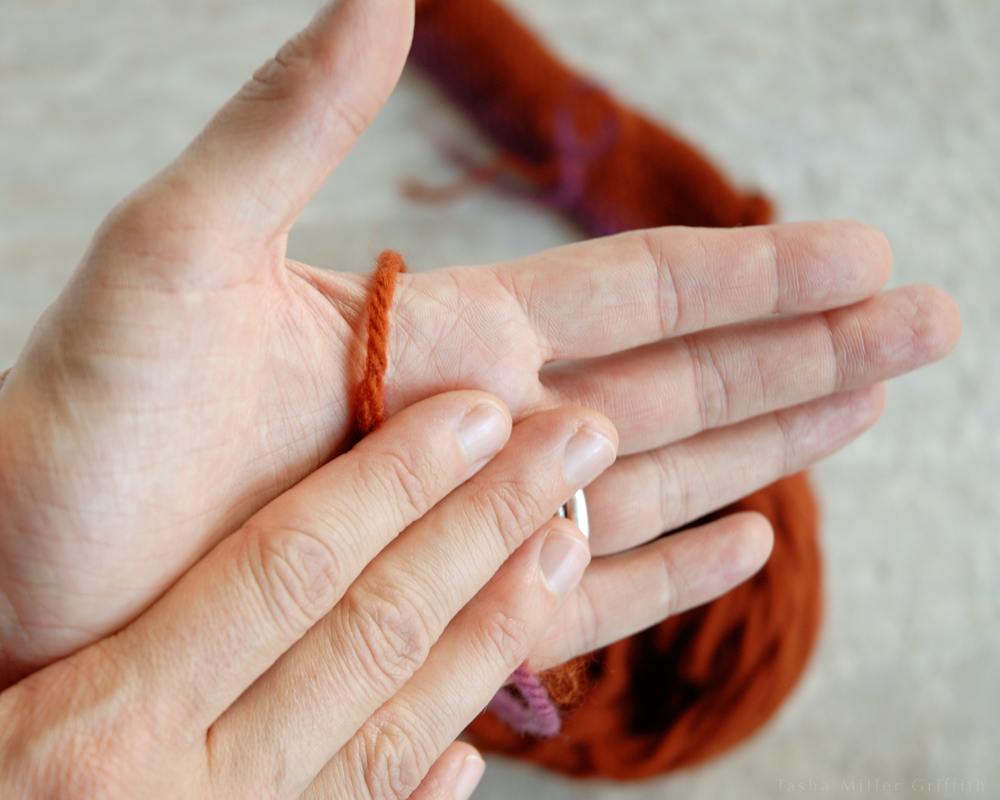
Untwist and fluff out a couple of inches on both ends. The first key to this method is to get the fibers as separated as possible. Just like in any other felting, fuzzy, loose fibers will attach to whatever is next to them, and fibers that are already joined or clumped will attach mainly to each other.
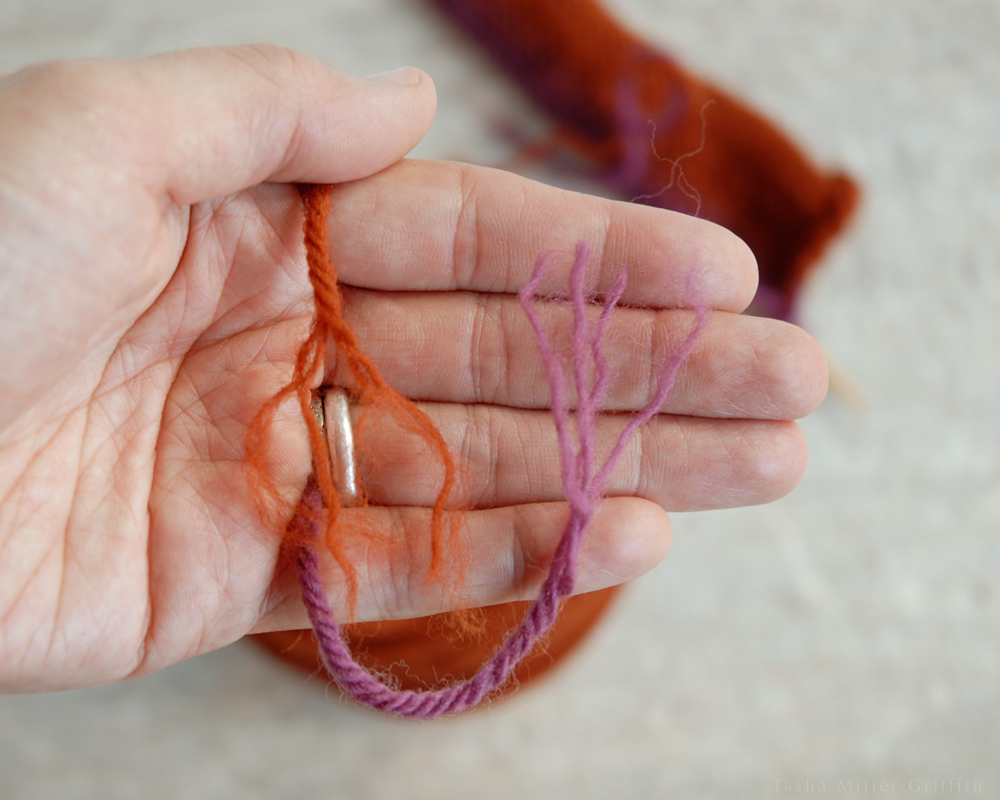
The second key to this method is to mix the fibers from the two ends together thoroughly before you start rubbing them. You want as many places for them to meld as possible, so move the strands around so that all the ones from one end are not on the same side.
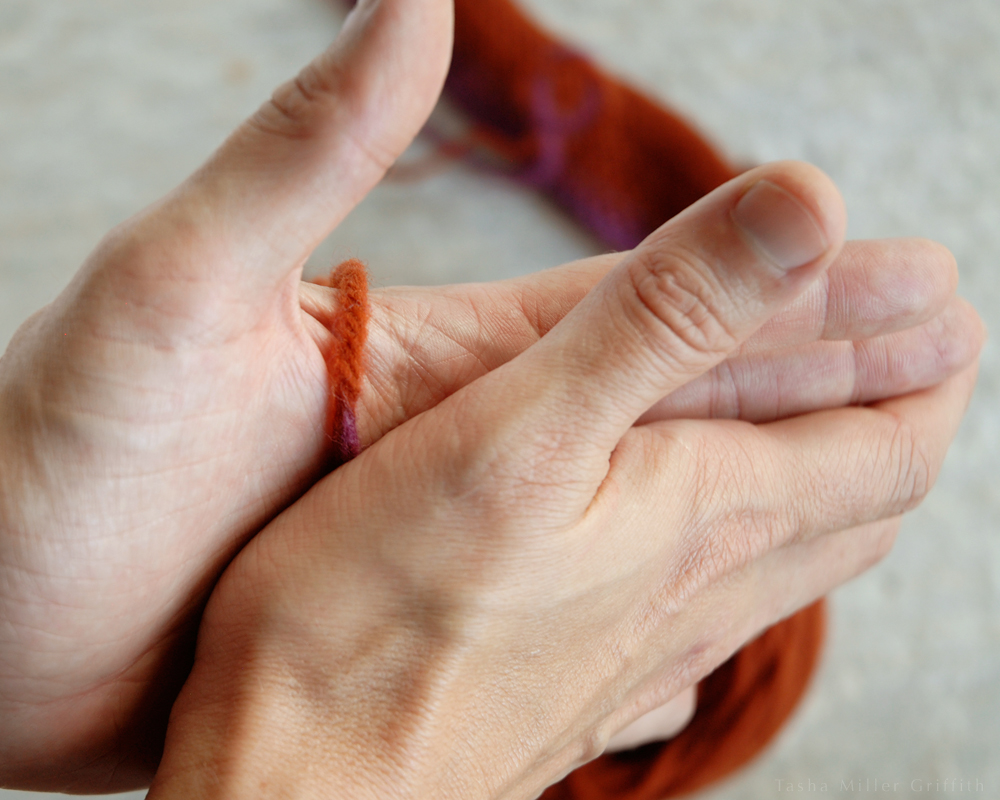
Add just a little moisture (I usually use spit unless water happens to be handy). The fibers should be barely damp. Squeeze the join lightly between your hands, and start rolling it back and forth. You want to agitate the fibers together without disturbing their orientation.
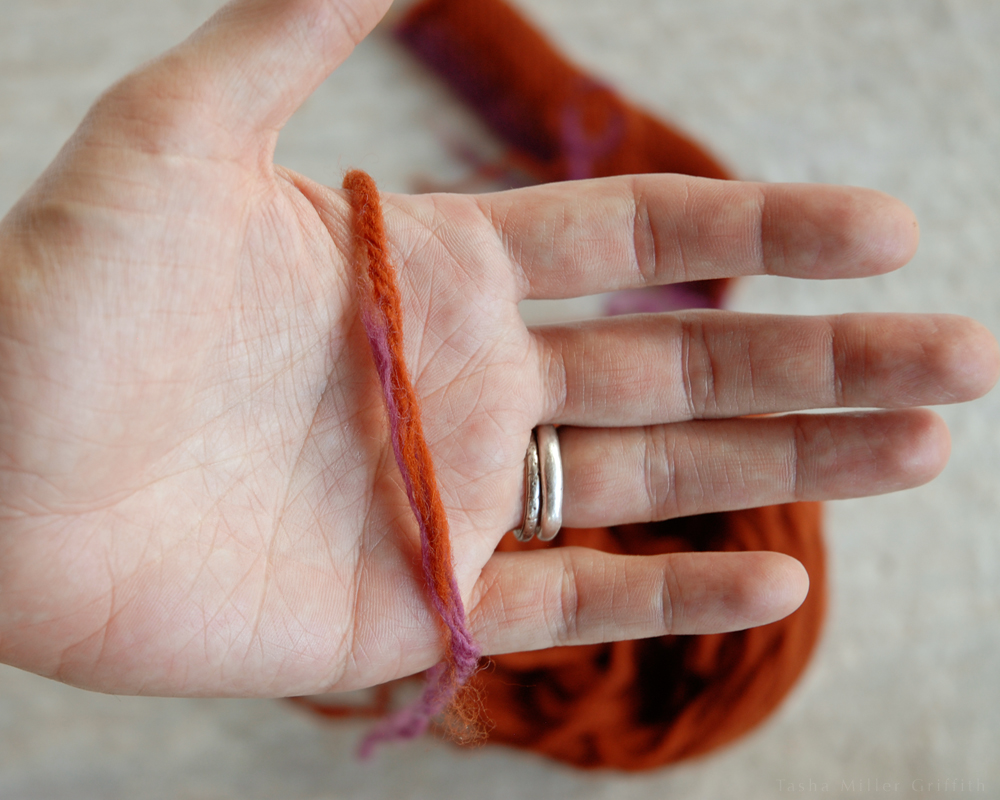
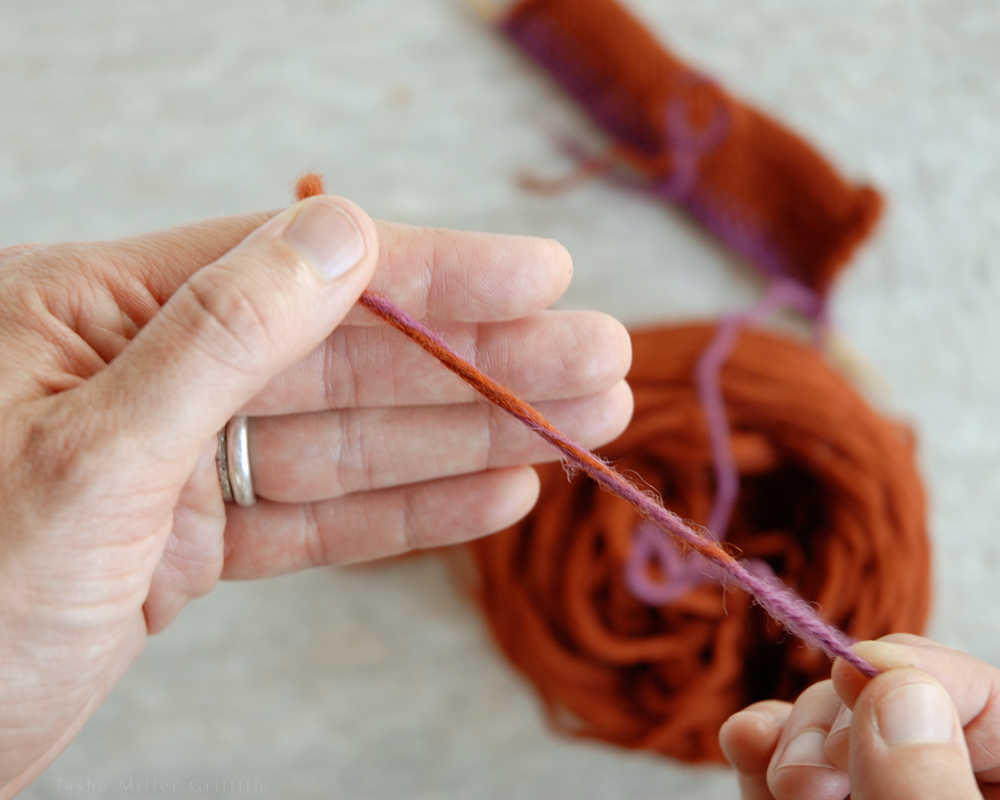
Small areas like this felt very quickly. The join is done when you can pull gently on it from both sides and the fibers don’t slip. It’s possible to go too far, so that your little felted area becomes noticeably stiffer than the rest of the yarn, so stop when it’s holding together.
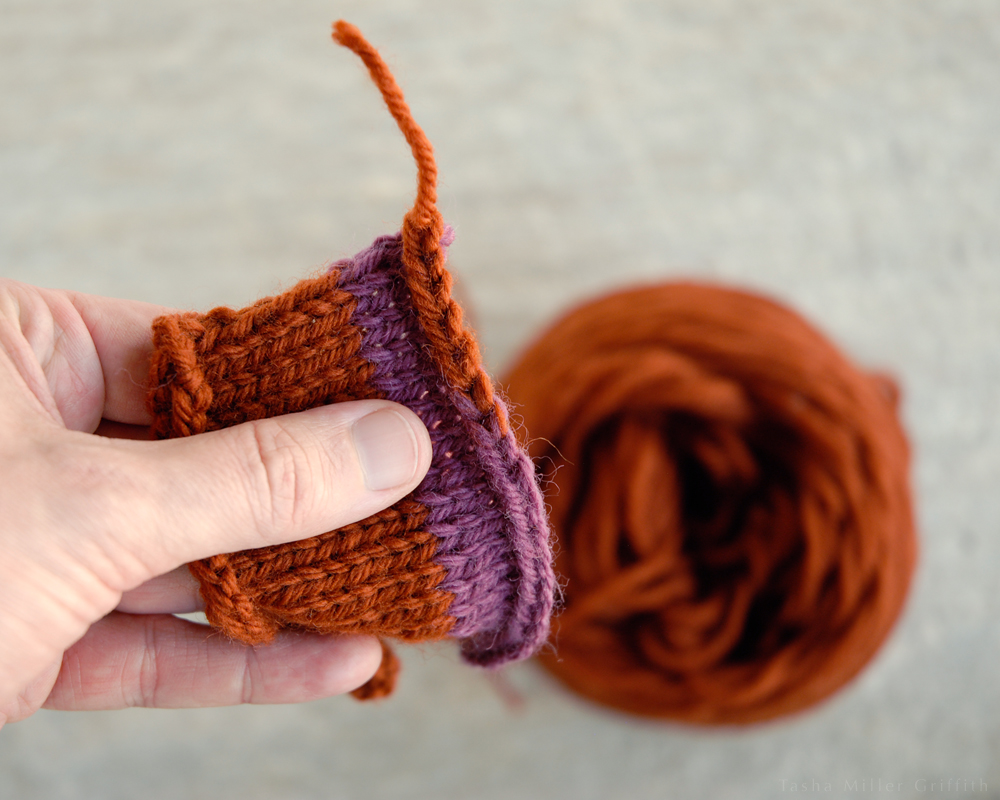
Other than with non-felting yarns (superwash, plant fibers, silk, synthetics etc.) the only time I wouldn’t use this method is if a slight difference in yarn texture will be noticeable in the knitting, like in a very smooth or shiny yarn. A felted join is basically invisible in fuzzy singles, and it also works well with textured and handspun yarns, as well as your more “standard” multi-ply wool yarns like Cascade 220 (shown here, you can see the felted join in the bind off near my thumb below). And, if for any reason the felted method doesn’t work or you don’t like how it looks, you can always cut it off and go back to the first method.
Happy joining!
