My friend Tom comes up with some good ideas sometimes (shh – don’t tell him!) especially when it comes to food. The other day he appeared at my house with some goat cheese he made. I have been making fresh paneer cheese for Indian food for a while, mainly because we live a fairly small town and (to my knowledge) you can’t buy it here. So, I already had a method for fresh cheese that’s pretty foolproof and I know works with a variety of different ingredients, and thanks to Tom’s idea, I tried it with goat milk too, and it worked great! I got a soft fresh goat cheese.
I first learned this method from reading the paneer cheese directions in Laxmi’s Vegetarian Kitchen by Laxmi Hiremath, my favorite Indian cookbook. Since then I have figured out a few tricks and variations. One thing I love about this way of making cheese is that you don’t need anything you don’t already have in your kitchen or can’t easily get. And there’s only one thing you need to know that may not be obvious if you’ve never made cheese before – read on.
Recipe Sketch: Simple Homemade Cheese
Start with milk. You can use whole or low-fat, cow or goat etc. If you can get small-batch pasteurized, or non-homogenized milk, it will make a big difference in the texture of the curds and the cheese, for the better. We used to get local dairy milk in glass bottles in Madison, which worked great. Organic Valley has a non-homogenized “grass milk” I can get here, which also works great. Don’t worry if you can’t find anything other than ultra-pasteurized milk though, you can still make cheese! The only goat milk I could get was homogenized and ultra-pasteurized, and it still worked, as you can see.
Put the milk in pot with room to spare. You can use whatever portion of milk you happen to have left in the fridge. Most of what’s in milk is water, so be prepared for to more to become whey than cheese. I used 1 quart of goat milk and got just over 5 oz of soft cheese, a ball about the size of my fist.
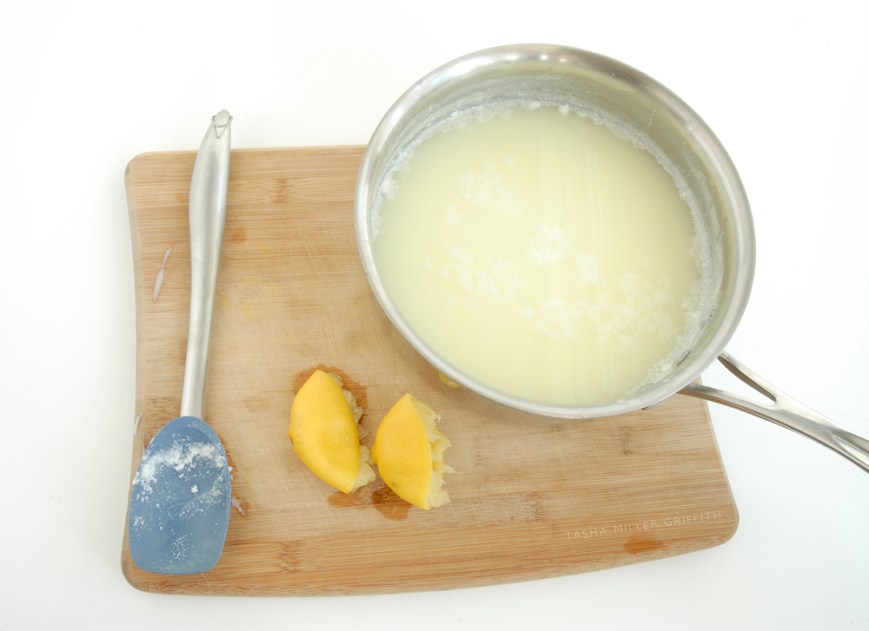
Heat the milk until it starts to boil, stirring occasionally. Stay around the kitchen for this part, even though it will take a little while for the cold milk to heat, because as soon as it starts to boil it will want to boil over! I like to put away the dishes or something while I’m waiting.
Also while you’re waiting, get out something acidic to curdle the cheese. You can use fresh lemon or lime juice, or yogurt, cultured buttermilk, or even vinegar. Each one will give a little different flavor to the cheese. One of my favorites is a little lime with a little buttermilk. Use whatever you have and experiment to see what you like best.
When the milk starts to boil, turn it down to a simmer and add a little bit of your acidic substance of choice. Stir and wait for about 30 seconds, then if nothing is happening, add a little more acid, stir and wait again. At some point a separation will occur, instead of milk you’ll have solid curds and translucent whey (yup – little miss muffet). This is the key to knowing if the separation is complete, the whey will be yellowish and almost clear, you will be able to see distinct white curds floating in it. The curds may be tiny flakes or huge globs, depending on the milk, but all the white milk solids will be in them, and they’ll be floating in the translucent whey. I could have sworn I had a picture (from my not-well-lit kitchen) of what it looks like when the curds are huge, but I can’t find it anywhere. I’ll take one next time it happens. For this goat milk the curds are tiny.
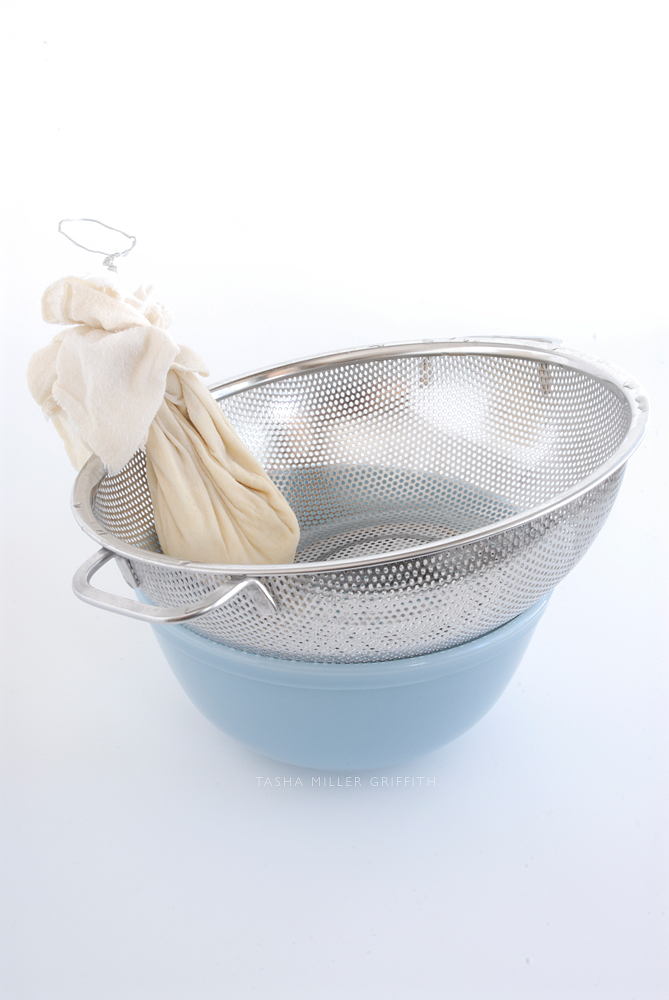
Once you have curds and whey, turn off the heat and let them rest for a few minutes while you get ready to drain the cheese. Put two layers of cheesecloth (yup – that’s why it’s called that) in a colander. If you want to save the whey, put a bowl under the colander. You can use the whey instead of milk to make pancakes, etc., as a soup stock, or to make other kinds of cheese.
Pour the curds and whey into the colander. If you want to make a firmer, sliceable cheese, add any flavorings you want at this point, while you can still stir them into the cheese. For soft cheese you can do it later. In any case, then gather up the edges of the cheesecloth and tie it together, so that the cheese continues to drain. I have a long, plastic coated twist tie that I use, one end is twisted into a loop that goes over my faucet, and I twist the other end around the cheesecloth and let it hang it the sink, still inside the colander. You can also tie the cheesecloth to a wooden spoon or other tool laid across the top of your colander. You just want the cheese in its cloth to be suspended so it continues to drain.
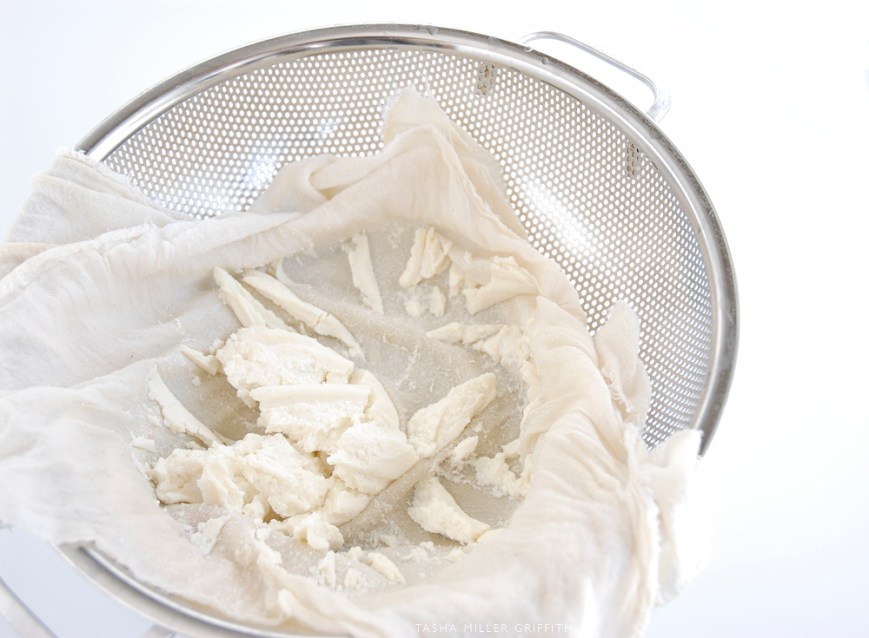
That’s about it! Leave your cheese to drain for an hour or more, depending on how firm you like it to be. If I’m making paneer I want it to be sliceable, so I’ll leave it longer than for soft goat cheese. You can always open the cheesecloth and check to see if it has reached the consistency you want. If you’d like it to be firmer, just tie it back up and leave it to drain a little longer. You can also press the cheese after draining, between two plates with something heavy on top, and leave it in the fridge like that for a few more hours to make it even firmer. So like I said, lots of options.
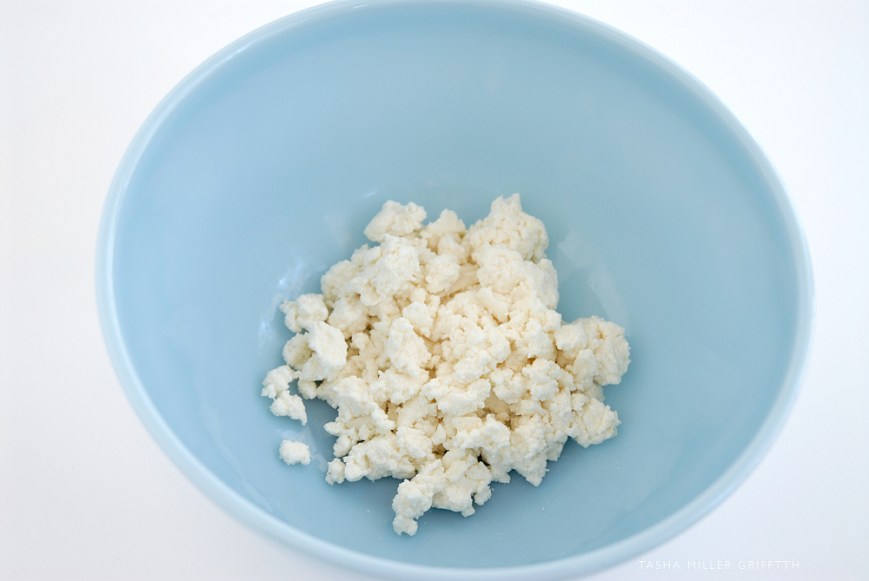
Ta-da! Cheese! You can now scoop it out of the cheesecloth and into a bowl or container to save it. For soft cheese, you can stir in a little salt or any herbs you would like to add to the flavor.
So there you go, I hope that’s enough to get you started on your own cheese-making adventures!

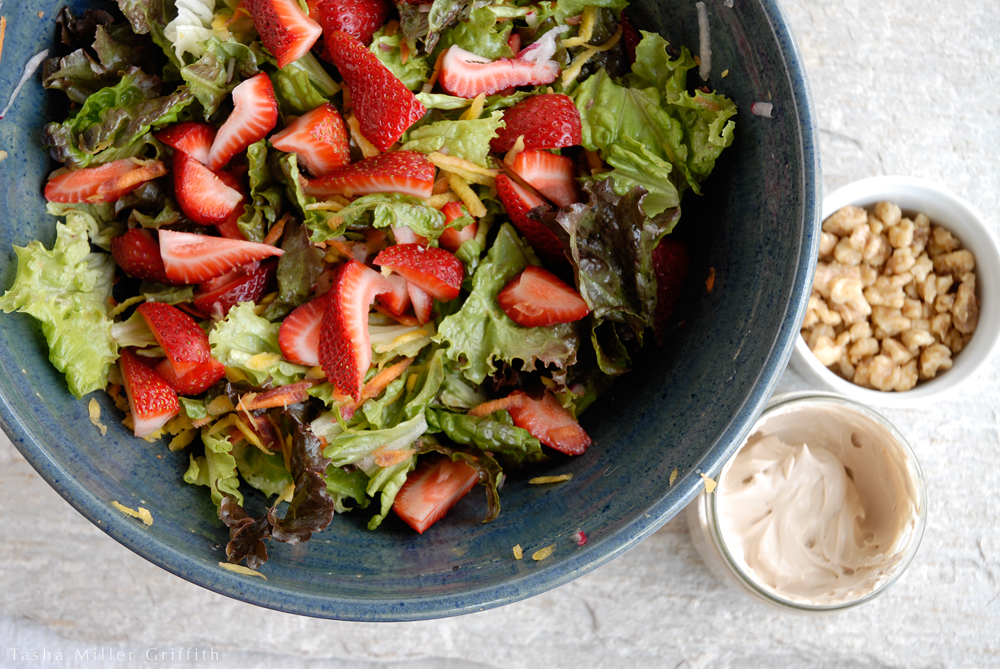
 For the dressing: