Homemade Granola Bars


In part two of my homemade travel breakfast project, I made some more traditional granola bars – oats, nuts and dried fruit stuck together with molasses and honey.

I learned several things in the two versions of these I’ve made so far.  One is that honey is a much better glue than molasses.  The second is that smaller pieces of nuts, oats, etc. stick together better and are less likely to fall apart later.  Both of these are pretty much logically obvious now that I think about them, but as usual I opted for a more trial and error approach at the beginning.  I like to mix things together and see what happens.

Anyway, here is version 2:

DIY Granola Bars

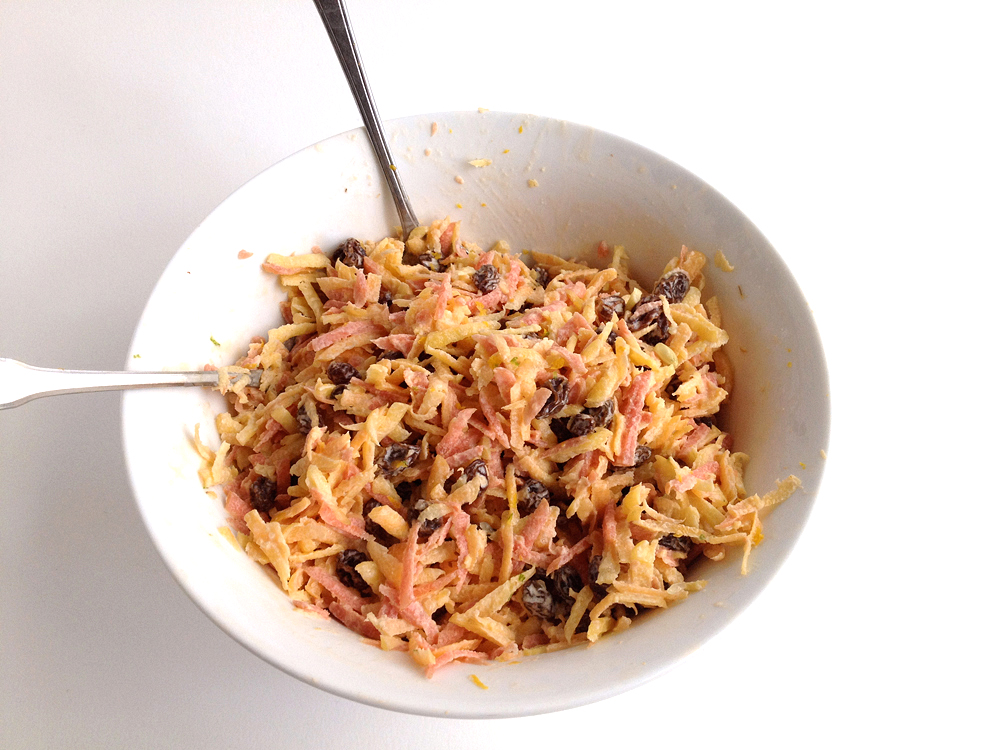
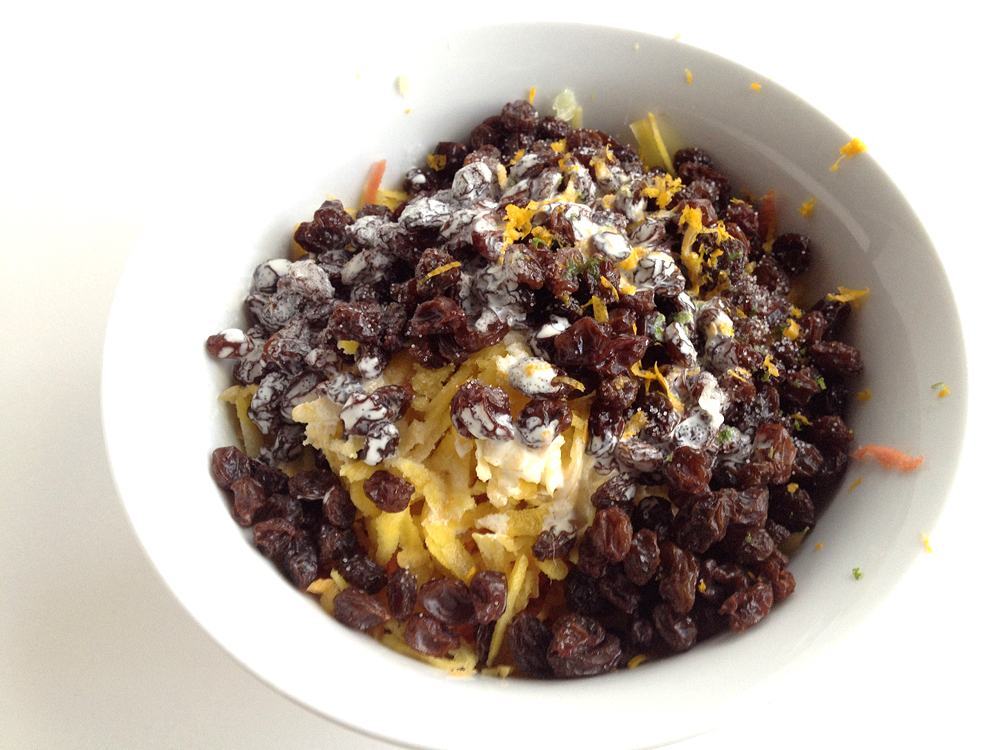
Mix together in a bowl: 1 cup oats, coarsely ground; one cup walnuts, coarsely ground; 1/2 cup raisins, a pinch of salt.

Heat in a large skillet until warm and liquid: 2 Tablespoons molasses & 2 teaspoons honey.  Turn off the heat.

Pour the oat mixture into the skillet and stir until everything is coated.  Pour out onto a piece of parchment paper and shape into a round or square about 1/2 inch thick with your hands, spatula, rolling pin, etc.  Cut into bars, sticking any bits that fall off back to the outsides, and leave to cool and firm up.  Once they are holding together, you can transfer them to a rack and leave for a while to release any moisture trapped between them and the parchment, before packing them away in a tin or baggies.


These are holding up pretty well so far, they crumble a bit but you can stick them back together.

Adding more honey and less molasses would make a firmer bar, also good if molasses is not your favorite thing.  Bryan claims my current version is for molasses lovers only.  They taste good to me, but then I could eat it with a spoon!

You could also get a more robust bar by using more oats in proportion to nuts, as they seem to stick together better.  Again, this could become a platform for whatever nuts, fruits and spices you like and want to add!  I think these could be fun to make with kids as well, I may try it out the next time I see the nieces.

If you missed part 1, DIY Fruit and Nut Bars, click here or just scroll down to the previous post.

Enjoy!


DIY Fruit and Nut Bars


We’re headed to our next art show today (Brookside in Kansas City, MO) and along with my usual motley assortment of library books (shhh) and projects in progress, I’m packing two versions of these bars!

We eat a lot of Clif bars, Odwalla bars, Larabars, regular old granola bars, etc. for breakfast when we’re in the truck.  By the end of the summer if I never saw another one it wouldn’t bother me, with the possible exception of the Larabar type.  There’s nothing in those besides dates, nuts and spices, and of course they are also the most expensive kind, I usually don’t buy them unless they’re on sale.

This winter on our trip to Oregon I was sitting with our friend Becca when she came up with a brilliant idea – why not make them?  She was eating a bar made at the lodge where we were, which was mostly chunks of dried fruit and nuts held together with honey.  This seemed like such a good idea, and of course so obvious once she said it, it lodged in my brain and fortunately stayed there until I tried it out.

The first version had more dates, and fewer almonds, with none reserved for coating the outside.  It was good, but sticky, and even a little too sweet, despite the fact that there’s not any added sugar.  Here’s version 2:

Date and Almond Bars

Add 8 oz dried, pitted dates to a saucepan in which they barely fit in a single layer.  Grate on top: zest of one orange.  Pour in enough water to make about 1/8″ in the bottom of the pan, just enough so that all the dates have some to soak up.  Bring the water to simmer, then turn off the heat, cover the pan, and leave it for about half an hour, until the dates have soaked up the water and become soft and plump.

Grind 1 cup raw or toasted almonds to a coarse flour with some chunks remaining.  Grind a further 1/4 cup to flour without chunks.

Put the soaked dates in the food processor, and chop/grind until you have a thick puree.  I added a splash of Amaretto to the processor, totally optional, but adds a nice extra flavor.

Scoop out the date puree into a bowl or back into the pan, add the coarsely ground almonds, and mix together into a thick paste.  On a cutting board or parchment paper, sprinkle out about half of the almond four.  Scoop the date/almond paste on top of the flour, sprinkle more almond flour on top of it, and roll out like you would cookie dough to your desired thickness, using the almond flour to keep the bars from sticking to the surface or the rolling pin.

Cut into bars, use the extra almond flour that falls off to coat the edges, let dry for a few hours, and you’re done!


Seeing as how I was making my own fruit and nut bars, I also bought some figs, and made:

Fig and Pistachio Bars

Using basically the same procedure as the date and almond ones.  I needed to cut the stems off the figs, and they weren’t quite as juicy or sweet as the dates.

Add 12 oz dried figs (I used black mission), a little orange zest, about 1/3 of the orange (lemon would also be nice here), 1 Tablespoon of honey, and just a little water as before to the saucepan.

After soaking, there was still a little liquid left, so I brought the pan to a simmer again and boiled it off just for a minute or two, stirring, until it was more like a thin syrup that stuck to the figs.

When I was writing this up yesterday I forgot that I had used slightly fewer pistachios than I did almonds in the date bars, about 3/4 cup in the fig bars, but still 1/4 cup ground to dust the outsides.  This seemed to make sense because the figs were a little drier, and also because I ran out of pistachios!  Of course you can vary the amounts to your own taste and see what you like.

From this point process the figs and grind the pistachios just like the above recipe.


Maybe my favorite thing about this idea is that if I get tired of one kind, I can just add another variation, some spice or a different nut for a new flavor!  I’d love to know your thoughts, what flavor combos would be good?  If you try your own, how did they come out?

Recipe Sketch – Carrot and Raisin Salad


Carrot & raisin salad 2


For this recipe, I wanted to give a nod to the fact that we don’t really follow recipes.  At least I don’t.  At least not usually.  You know what I mean?  I read one and think, “That’s a good idea!” and I may even refer back to it while I’m cooking, but I’m not using any of the exact quantities specified, I am leaving things out, and I am putting in things that aren’t called for.

Of course, there are also the nights when I just want to settle down and cook something from exact notes, especially my own exact notes, about what to put in and how much.

But, I think being more experimental, at least some of the time, is a great way to learn about cooking, about flavors, and about what you like.  And some recipes, like this one, seem made for a non-measuring preparation every time, even after I have figured out just how I like them.

So, at least some of the time, I’m going to post in the form of a recipe “sketch” that acknowledges the fact that many of us are going to make our own version anyway, as well we should.


Carrot & raisin salad 1


Recipe Sketch – Carrot and Raisin Salad

Grate some carrots, on the biggest holes in your grater.  These make up most of the volume of the salad, so grate as many as you need for about as much salad as you want.

Add some raisins.  Pour some in and mix to see if you think it’s enough.

Grate in citrus zest.  I like lime the best, but Meyer lemon is also lovely.  Squeeze on a little juice of the same citrus.

Salt.  It seems weird, but a small (not tiny) amount of salt is totally what makes this come together.

That and heavy whipping cream.  Actually, mixing the cream with crème fraîche is even better.  I like to add just enough to make a little liquidy dressing for the carrots and raisins.

Mix, taste and adjust.

I love these flavors!  A little salty, a little sweet, a lot of fresh.  Also, a fantastic way to use up carrots from your fridge right before you leave town.  And a good use of multicolored carrots.  Sometimes I think I buy heirloom vegetables just for the colors.

So what about you?  Do you “follow” recipes?


Fennel and Orange Salad

Ease into spring – bright flavors with late winter ingredients.  The idea for this salad came from a dinner of delicious tapas made for us by a friend of friends in Phoenix – thanks Charlene!

Fennel and Citrus Salad

Combine on a plate:

6 baby fennel bulbs or 2-3 large ones, thinly sliced

Small sections of mandarin, or chopped sections of orange, from about 2 oranges or 3 mandarins 

A little thinly sliced red onion

Pour over the top:

Juice of 1/2 orange or mandarin

A drizzle of extra virgin olive oil

A drizzle of balsamic vinegar (high quality balsamic is really good here)

Top with a few fennel fronds for garnish

That’s it!  Simple and oh so good.

And a tip on chopping orange sections: I have been doing this a lot the past month or so, and my best method so far is to separate the sections first, then line up three or four and chop them into pieces.  You’ll see most of the seeds and you can pull them out.  I only pull the membranes off the sections if I need the dish to be really impressive for some reason.

PS: one of my cousins was asking me the other day about quinoa recipes, and I found this one on The Year in Food – such a lovely blog.  Apparently we’re not the only ones to figure out that fennel and citrus is a good combo for late winter/early spring!

Felt Flowers and Cookies (good combo)


Yesterday I held a wet-felt flower workshop.  Now that basically all the snow from our giant storm is melted, the weather is starting to truly feel like spring, perfect time to make some flowers!

I made these almond butter cookies for my students (/when some more people were around to help me eat them all).  They were amazing – almost like a macaron with just a little crispy shell of crust and a lovely soft interior.  And they happen to be flourless!  The only change I made to the recipe was to substitute 2 tsp of Amaretto for the vanilla (and decrease baking soda because I’m baking at 7000 feet).  This recipe was recommended to me by my friend Janice.  Not only does she make beautiful jewelry, she has great taste in food!

Don’t live near Flagstaff?  Want to make some flowers?  You may be in luck – I’m turning this workshop into a PDF tutorial!  If you would like to be a guinea pig and help me test it out, you’ll get the tutorial for free, and I may even send you some wool.  If you are interested, leave a comment or contact me.  No felting experience required!


How to Chop an Onion


I have been thinking a lot lately about how it seems like the people who can already cook, or sew, or whatever it is we want to be able to do (mine right now is drawing), it seems like they have been able to do it forever and it’s just easy for them.  Of course this is not true, they practiced right through the learning process, just like we will if we want a new skill.

As you know, I have been sharing some tips for beginning sewers (more to come!) and I’d like to do the same from time to time for those who are learning to cook.  It is awfully helpful if those on the “knowing” side of a particular skill share things with those on the “learning” side.

This is probably the most actual-chopping-time saving trick I know.

Cut your onion in half and chop off the tip.  Peel off the skin.  Now make long slices with the knife perpendicular to the rings (all the way back to the root if you are chopping the whole thing), but don’t chop them free of the onion, leave them attached at the root.  Make these slices as close together as you’d like your finished onion pieces to be wide.  They can be finer than the ones here, or larger.


Now, chop through all your slices parallel to the rings, and diced onion will magically appear!  Or, large chunks, whatever you need.


What’s your favorite kitchen tip?  If you are learning to cook, what questions do you have?  Let me know!

Still a little time for: Winter Squash, Mexican Style

Spring is coming.  In fact, I am down in the valley this weekend where spring is already here!  Still somehow, I am not quite ready to let go of winter foods yet.  Although I would not touch a butternut squash in July, I think I could eat it happily almost every day for the months of winter!

If you are getting tired of winter veggies but the asparagus is not yet streaming into your area, here is a another flavor combo for you.  I use this in all kinds of tacos and enchiladas.  The day of this photo we had it in tacos with fresh corn tortillas, a mild slightly tangy cheese, and orange chipotle salsa.

Winter Squash Filling for Tacos or Enchiladas

2 to 4 cups cooked winter squash  – butternut is my favorite.  Whichever you choose, cut in half (or into more pieces if very large) and scoop out the seeds.  Rub the cut surfaces with a little olive oil.  Place the pieces cut side down on a rimmed baking sheet and roast in a 375° oven until you can easily bury a the tines of a fork in it – this may take 30 minutes to an hour depending on the size and thickness of the squash pieces.  Let rest until cool enough to handle.  It is now ready to peel and slice quite easily!  For this recipe, cut the squash into fairly large chunks.

½ to 1 cup dried black beans, cooked.  I do mine in the pressure cooker – fast even at 7000 ft!

1 to 2 cloves garlic, minced.

2 to 3 thawed frozen roasted green chiles, chopped.  In the West (as you already know if you live here) around September/October time the most amazing smell fills the farmers’ market – roasting green chiles.  I could go on about this for quite some time, but will limit myself to saying that I stock up big time and live on the ones in my freezer for the rest of the year.  If you didn’t save enough, your grocery store may have fresh Anaheim or Poblano peppers which you can roast under the broiler, or speared on a fork above the flame of a gas range (or even with a crème brulee torch – in any case watch carefully and watch your fingers!)  Once the peppers are roasted, cut out the stem and pull out the seeds, then chop.

Put a little olive oil in a large heavy skillet over medium heat.  When it is hot add the garlic, let it sizzle for a minute or two, then add all the other ingredients.  They are mostly cooked already, they just need to warm up and get the flavors to blend, so stir until everything is hot, then turn off the heat and let sit together until you are ready to serve (or fill enchiladas).

I have included a fair amount of variation in the ingredient amounts, feel free to change them based on the amount you want to end up with and whether you like the emphasis more on the squash or the beans, etc.

If you eat this with corn tortillas, you will have all “three sisters” of ancient Southwest cuisine (corn, beans and squash).  Don’t you think chile should be the fourth sister?

Enjoy the last of your winter and those hearty comforting winter foods!

Simplest Granola


I often have this urge to distill things down to their essential elements, it helps me figure out just what is going on, and then I can change whatever I would like.

This granola recipe started that way.  It’s a perfect platform for whatever spices, extra nuts, dried fruit, coconut (add these last two after baking) etc. you would like to add to make it your own.  You could also substitute honey or another sweetener, and/or the oil of your choice, and/or different grains. Personally, I like the simple toasted-oats-and-molasses flavor of this one so much that I keep making it, just as it is.


Simplest Granola

Melt over low heat in a large skillet:

2 Tablespoons butter

1 heaping Tablespoon molasses

When warm and melted add:

6 cups oats (I like thick cut)

Stir immediately and keep stirring until the oats are uniformly barely coated.  It seems like there is not enough molasses and butter, but, just keep stirring.

Add:

1 cup chopped nuts (walnuts, pecans, hazelnuts etc.)

Mix.

Scoop onto a rimmed baking sheet and bake at 350°, stirring every five minutes to keep the edges from getting too brown.  Do this three or four times until lightly toasted all over.  Let cool.


What’s in your favorite granola?


Breaking Bread with Friends


So, on our trip this past week I was thinking a lot about how much means to have food with friends.  It’s got to be the oldest form of human social interaction.  When I see friends that I have been missing for a while (and it helps if the food is really good) it reminds me, this is still important. When I sit down with people I care about to eat something carefully prepared, a special kind of magic happens.

The beautiful bread above is from the amazing Sparrow Bakery/Bread LaVoy in Bend, OR.  Truly awesome bread and pastries, I highly recommend it!

What kind of magic are you making with your friends and loved ones?

Beet Salad with Blue Cheese Dressing


Recipe time!  This winter I have been making a lot of little side salads, it’s a nice way to get some green stuff without feeling overwhelmed by it, and you can change the dressing and flavors every day.  This one is a favorite at my house and also uses a winter staple, beets.  Beets are one thing we actually learned to love after getting a lot of them through our CSA – I also enjoy all the lovely colors they come in, including the salmon-y ones here!

The inspiration for this recipe came from an old issue of Bon Appétit, this is my simplified version.

For 2 salads:

Crumble about 2 tablespoons of your favorite blue cheese.  I like to use Fromage Blue, a kind of creamy cross between blue and brie.  You don’t have to put much else in this at all, so feel free to use really nice Roquefort or Stilton and the flavor will come through clearly.

Add a few tablespoons of heavy cream to make about the amount of dressing you want.  The longer you let it sit, the more cheese will absorb into the cream and the thicker it will get.  I like to leave it until the flavors are blended but it’s still liquid enough to spread over the salad.  You can add more cream later if it gets too thick.

Add:   About 1 tsp finely chopped shallot

A dab of stone ground mustard

A small splash of rice vinegar (or another type you like)

As you can tell, you can vary this a lot by taste.  If you have really nice cheese, feel free to use only a tiny amount of the other flavors.

Stir together, let sit and then enjoy!

We like to eat this on a salad of roasted beets, romaine, and whatever other fresh veggies we have in the fridge (pea pods are especially nice in the fall) with walnuts on top.

Extra: My favorite method for roasting beets:  Cut off tops and roots and place beets in a deep dish with about ½” of water in the bottom.  Cover with foil and bake at 375 until beets are very tender when pierced with a fork, then let cool and peel  – they’re so much easier to peel after cooking!

What’s your favorite way to use beets?  Your favorite blue cheese?