Broiled Asparagus – Simple Spring Vegetables


broiled asparagus 1


I’ve been working super hard on my soon-to-be-released project lately, as you may have noticed since no post has appeared yet this week!  Luckily, some spring produce has also arrived lately, heralding the long season of practically effortless vegetables.  Perfect timing!  I could use some easy dinners right now.

If you’ve never tried asparagus broiled, it’s great.  It’s just a little caramelized and crispy on the outside, juicy and delicious inside.

If your asparagus varies widely in thickness, like this bunch did, either separate it into two batches or take the tiny ones out when they’re cooked, sooner than the thicker spears.   Cut or snap off the ends of the asparagus spears, put them in a broiler-safe pan and smear a little olive oil on them.  Start your broiler on low heat.  Put asparagus pan close to the broiler and check it every couple of minutes.  The spears will turn bright green first.  When they have caramel-colored patches and the ends are barely crispy, they’re done.


broiled asparagus 2


Broiled asparagus is delicious as a side to just about anything I can think of.  On the day I took these photos we ate it on lemon pepper pasta from Decio (a Christmas gift) with a little cheese, accompanied by a salad and then artichokes.

Enjoy!  And feel free to share your favorite spring vegetables/recipes . . .


Ratatouille


This time of year, at least where I live, the market is simply overflowing with fresh veggies.  While the fruits seem to come in a relatively orderly sequence, one replacing another, the vegetables apparently just multiply, more kinds, more flavors, more colors, every week until the frost.

So, a perfect time to make something delicious out of them!  Something full & rich with the flavors of all the late summer bounty.

Ratatouille

Makes enough to feed 4 as a main course

Chop into large chunks (see the next post):

2 medium summer squash; zucchini, crookneck, etc.

2 smallish bell peppers; red, orange, yellow or purple

1 medium yellow onion

4 small or two larger eggplants

1 mildly spicy chile (optional but really good) If your chile happens to be already roasted, add it with the tomatoes.  Otherwise, keep it with the peppers, squash and onion.

This many veggies will not fit in my largest skillet in anywhere close to a single layer, meaning I know they won’t all brown on the edges.  So, I put the chopped eggplant on a baking sheet and toss with a little olive oil, and roast it in the oven at 375° F until soft and slightly browned, about 30 minutes.

Meanwhile, chop the other veggies and put them in a large heavy skillet on high, with more olive oil, enough to keep them from sticking.  Stir occasionally, letting the surfaces of the vegetables get a nice medium brown.

While the veggies are cooking in the skillet, also chop:

4 -5 large tomatoes chopped roughly, or a little more than a pint of small ones cut in half

3-4 cloves of minced garlic

When the veggies in the skillet are just about browned, add the eggplant to them.  Make a clear space in the center of the skillet, add a drizzle of olive oil, and put the garlic in it.  When the garlic just starts to color, mix it in with the rest of the veggies, and add the tomatoes.  Turn the heat down and cook until the tomatoes start to collapse.

That’s it!  Serve with a generous portion of fresh basil (fresh oregano is also nice, although I like basil best), and a few grinds of black pepper on top.  You can salt to taste as well.


This recipe is delicious with risotto, or any cooked grain with a little cheese mixed in, or just with bread and cheese for lunch.


Chard Phyllo Pie, and Experimenting in the Kitchen


Years ago I took an Indian cooking class with my mom at our local community college.  Although none of the recipes from the class became my favorites, the instructor said something which I found wonderfully liberating – use what you have.  If a recipe calls for one vegetable or spice you are out of, just try it with something similar or something you think will taste good.  Sometimes, especially when you are cooking something from a culinary tradition other than your own, it can be easy to think you have to have exactly everything the recipe calls for, in exact quantities.  However, that’s, um, never actually true!

I have been thinking about this lately and wondering how to talk about it here, especially since reading this truly stellar piece about everyday cooking on The Yellow House.  One of the true keys to this kind of culinary freedom and weekday luxury is being able to make something with what you have on hand.

For example, the other day I had chard (thanks to my aunt Barbara, who brought some from her garden all the way to Flagstaff in her cooler!), and phyllo dough, but no kind of cheese I would normally use to make spanakopita.  But I did have a large chunk of Beemster Graskaas (creamy Dutch cheese), and a bit of leftover sharp cheddar.  Hmm, I thought, this may not come out so great, but I think it’s worth a shot (embracing the possibility of failure is essential here).

Well, after a couple of bites, I looked at Bryan and asked, “What do you think?”

“I think I like it better than regular spanakopita.” he said.  So did I!  Keep in mind that our normal spanakopita recipe has been a staple in our house for years now.  This one definitely has more of an American comfort-food feeling, deliciously so.


Chard Phyllo Pie


Makes one 9 x 12 pan, or similar size

Preheat oven to 375° F

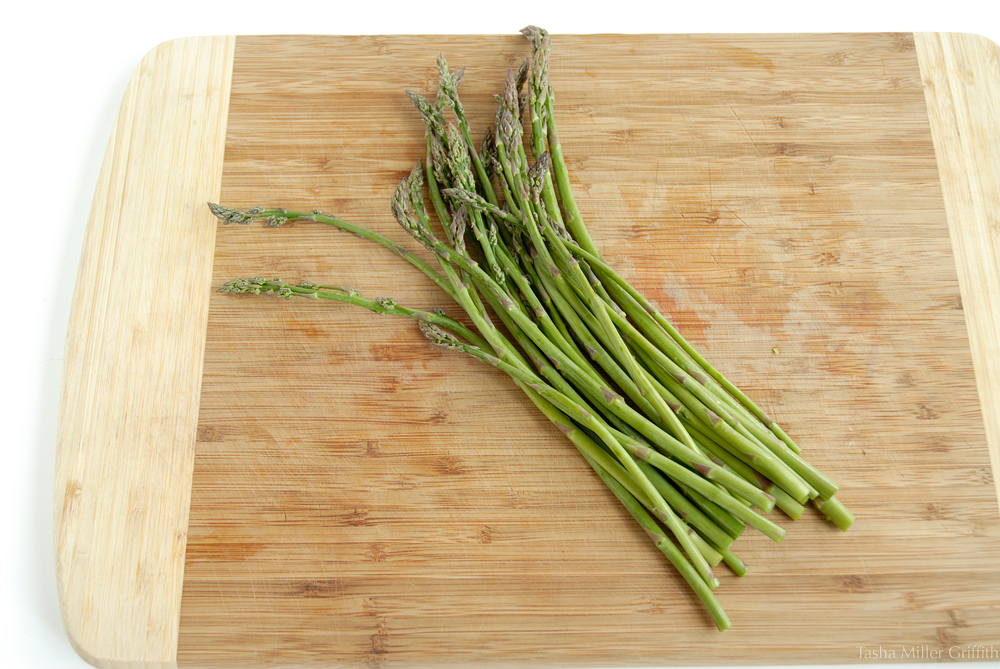
1 bunch spinach, kale, chard, or un-identified green from CSA (as long as it’s the kind you cook)

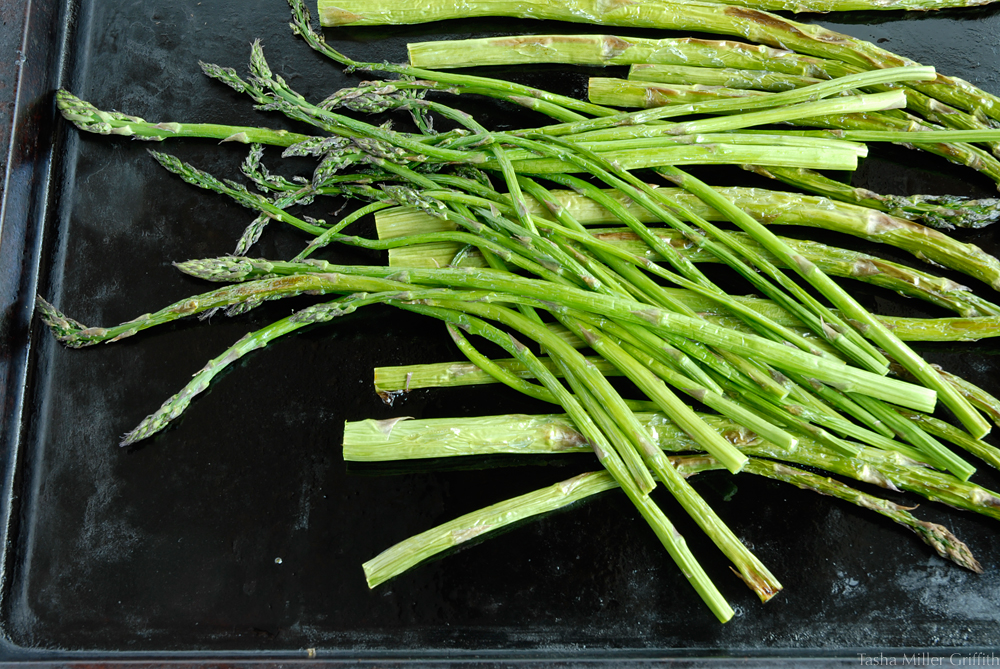
Wash and stem this, my favorite method is to grab the stem with one hand and pull the leafy stuff off with the other hand.  Put the stemmed greens in a pot with a steamer basket and some water in the bottom.  Bring the water to a boil and then turn it down to medium – low heat, let the water simmer until the greens are bright green and relaxed.

Meanwhile, finely chop ½ of one yellow onion and 2 medium garlic cloves

Saute the onion in a litle olive oil over medium heat in a small skillet or pan until it just starts to have a golden color.  Add the garlic and stir and cook for about another minute.

Scrape onion and garlic out of the pan into a bowl.

When the greens are ready, turn off the heat and let them cool for a couple of minutes.  Use tongs to transfer them to a food processor and pulse until pureed (or how you like them).  Add them to the onion bowl.

Also add to the bowl:

–       About 8 oz creamy Dutch cheese (the whole point of this post is to try whatever cheese you like/have!)

–       A little sharp cheddar cheese, or another kind that will add a little more punch to the cheese flavor

–       4 eggs

–        A few grinds of black pepper

–       A pinch of salt

Mix this all together.

Melt (I like to just drop it in the onion pan) 2 Tablespoons butter

Get out your thawed frozen phyllo dough

You may need to cut the phyllo sheets in half. If so, tightly wrap what’s left and put it back in the fridge.  Working quickly, brush a little butter in the pan, lay down a sheet, lightly brush it with butter, lay down the next sheet, etc. until you have used 8 – 10 sheets or half your stack.  Spread on the filling, then repeat with the rest of the phyllo sheets.  If you have some butter left, spread more on the top sheet or two.  Cut the spanakopita into pieces through the top layer of dough, then put in the oven and bake until the top is golden and the filling looks solid where you cut it, about 40 minutes.  With this version the filling will be a little more moist & creamy, definitely let it cook until the top is a rich golden brown.  Let cool for a few minutes, cut through the bottom, and enjoy!


Not every culinary experiment will produce results you want to note down and make again.  But, with just a little practice cooking with what you have & what you can find, every day can be fresh, wholesome, creative – in other words, a small miracle of food at your fingertips.


Recipe Sketch – Carrot and Raisin Salad


Carrot & raisin salad 2


For this recipe, I wanted to give a nod to the fact that we don’t really follow recipes.  At least I don’t.  At least not usually.  You know what I mean?  I read one and think, “That’s a good idea!” and I may even refer back to it while I’m cooking, but I’m not using any of the exact quantities specified, I am leaving things out, and I am putting in things that aren’t called for.

Of course, there are also the nights when I just want to settle down and cook something from exact notes, especially my own exact notes, about what to put in and how much.

But, I think being more experimental, at least some of the time, is a great way to learn about cooking, about flavors, and about what you like.  And some recipes, like this one, seem made for a non-measuring preparation every time, even after I have figured out just how I like them.

So, at least some of the time, I’m going to post in the form of a recipe “sketch” that acknowledges the fact that many of us are going to make our own version anyway, as well we should.


Carrot & raisin salad 1


Recipe Sketch – Carrot and Raisin Salad

Grate some carrots, on the biggest holes in your grater.  These make up most of the volume of the salad, so grate as many as you need for about as much salad as you want.

Add some raisins.  Pour some in and mix to see if you think it’s enough.

Grate in citrus zest.  I like lime the best, but Meyer lemon is also lovely.  Squeeze on a little juice of the same citrus.

Salt.  It seems weird, but a small (not tiny) amount of salt is totally what makes this come together.

That and heavy whipping cream.  Actually, mixing the cream with crème fraîche is even better.  I like to add just enough to make a little liquidy dressing for the carrots and raisins.

Mix, taste and adjust.

I love these flavors!  A little salty, a little sweet, a lot of fresh.  Also, a fantastic way to use up carrots from your fridge right before you leave town.  And a good use of multicolored carrots.  Sometimes I think I buy heirloom vegetables just for the colors.

So what about you?  Do you “follow” recipes?


Still a little time for: Winter Squash, Mexican Style

Spring is coming.  In fact, I am down in the valley this weekend where spring is already here!  Still somehow, I am not quite ready to let go of winter foods yet.  Although I would not touch a butternut squash in July, I think I could eat it happily almost every day for the months of winter!

If you are getting tired of winter veggies but the asparagus is not yet streaming into your area, here is a another flavor combo for you.  I use this in all kinds of tacos and enchiladas.  The day of this photo we had it in tacos with fresh corn tortillas, a mild slightly tangy cheese, and orange chipotle salsa.

Winter Squash Filling for Tacos or Enchiladas

2 to 4 cups cooked winter squash  – butternut is my favorite.  Whichever you choose, cut in half (or into more pieces if very large) and scoop out the seeds.  Rub the cut surfaces with a little olive oil.  Place the pieces cut side down on a rimmed baking sheet and roast in a 375° oven until you can easily bury a the tines of a fork in it – this may take 30 minutes to an hour depending on the size and thickness of the squash pieces.  Let rest until cool enough to handle.  It is now ready to peel and slice quite easily!  For this recipe, cut the squash into fairly large chunks.

½ to 1 cup dried black beans, cooked.  I do mine in the pressure cooker – fast even at 7000 ft!

1 to 2 cloves garlic, minced.

2 to 3 thawed frozen roasted green chiles, chopped.  In the West (as you already know if you live here) around September/October time the most amazing smell fills the farmers’ market – roasting green chiles.  I could go on about this for quite some time, but will limit myself to saying that I stock up big time and live on the ones in my freezer for the rest of the year.  If you didn’t save enough, your grocery store may have fresh Anaheim or Poblano peppers which you can roast under the broiler, or speared on a fork above the flame of a gas range (or even with a crème brulee torch – in any case watch carefully and watch your fingers!)  Once the peppers are roasted, cut out the stem and pull out the seeds, then chop.

Put a little olive oil in a large heavy skillet over medium heat.  When it is hot add the garlic, let it sizzle for a minute or two, then add all the other ingredients.  They are mostly cooked already, they just need to warm up and get the flavors to blend, so stir until everything is hot, then turn off the heat and let sit together until you are ready to serve (or fill enchiladas).

I have included a fair amount of variation in the ingredient amounts, feel free to change them based on the amount you want to end up with and whether you like the emphasis more on the squash or the beans, etc.

If you eat this with corn tortillas, you will have all “three sisters” of ancient Southwest cuisine (corn, beans and squash).  Don’t you think chile should be the fourth sister?

Enjoy the last of your winter and those hearty comforting winter foods!