Peachy


peachy pie 2


It’s been a crazy few weeks around here.  Bryan has been finishing up a HUGE project for an art exhibition opening shortly—huge in physical scale, and in time invested, etc.  It took over his life, and then started to encroach on mine too.  Many things I’d been planning to work on got put to the back burner, until finally near the install date I was doing nothing besides helping get ready, unless the other thing had an already-agreed-upon-in-writing due date, and even then not too much was happening.

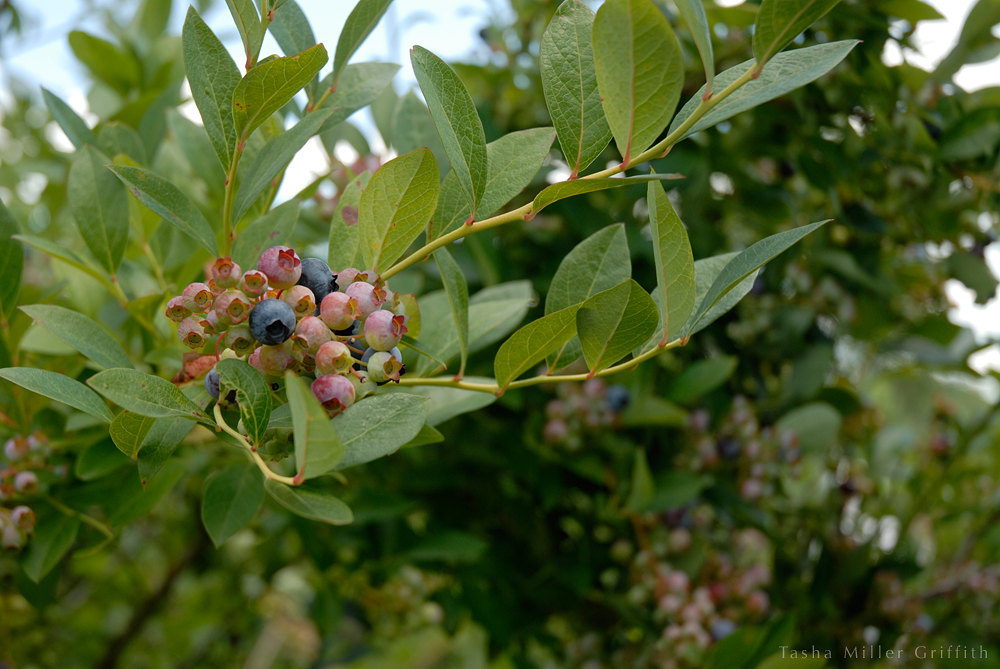
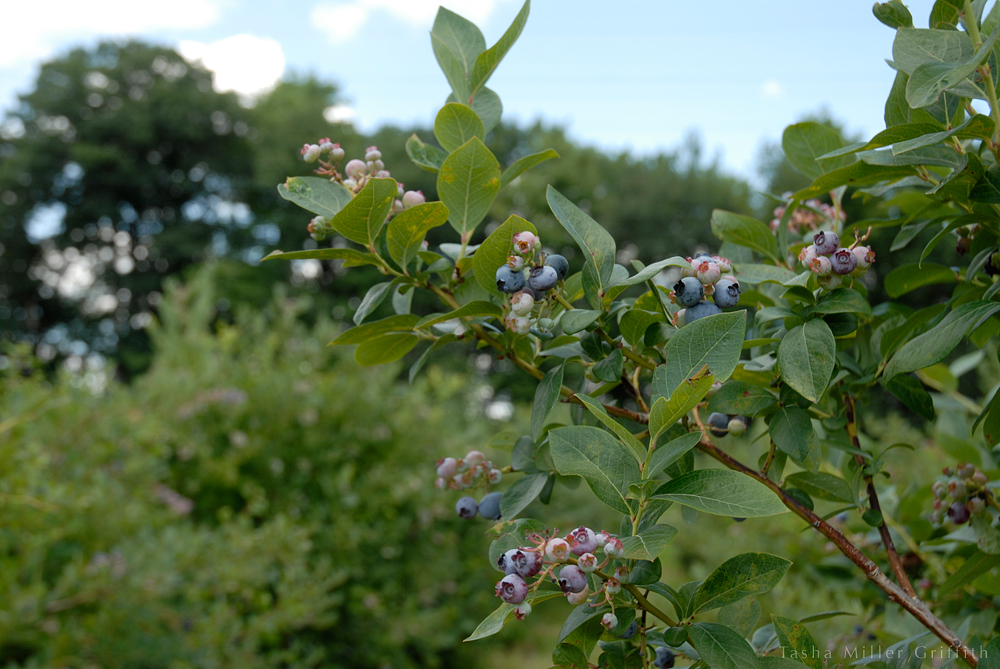
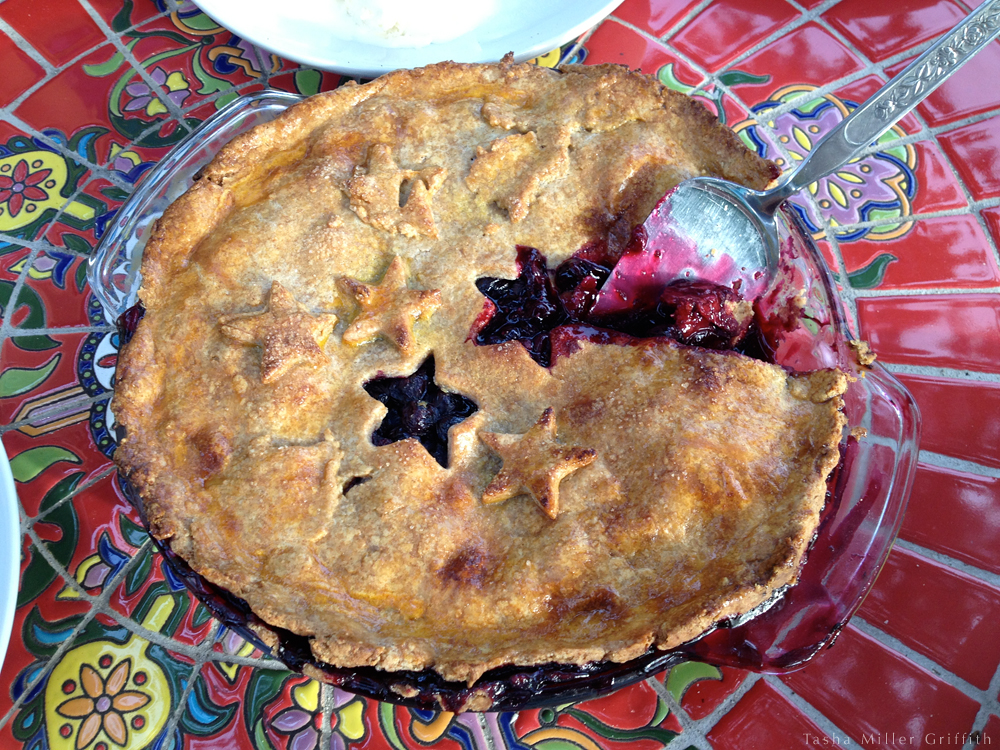
I’ve been cooking a lot though.  It’s the kind of situation where logically it would make sense to just make a big pot of soup and eat it for the whole week.  But, it’s my absolute favorite time of year for eating.  All the ingredients for ratatouille are sitting there, fresh and glowing, at the growers’ market, and it would be make me feel much more deprived not to cook them and eat them.  And it turns out, not surprisingly, when I’m not spending my creative energy on other projects, I end up experimenting more with food and making up recipes.  And, when Bryan is burning lots of extra calories working on huge sculptures all day, he’s more excited about having dessert, and any time I’m stressed I definitely want dessert.  Any two weeks in which we ate two of these pies can’t be that bad.

Although things evolve and change, and I’ve been excited to have so much fiber stuff to share lately, I wouldn’t want recipes to disappear entirely from this space, so here you go.  I’ll be back soon with a little more about the sculpture project & the exhibition (which is really pretty cool) and maybe even one more recipe.  But for now:


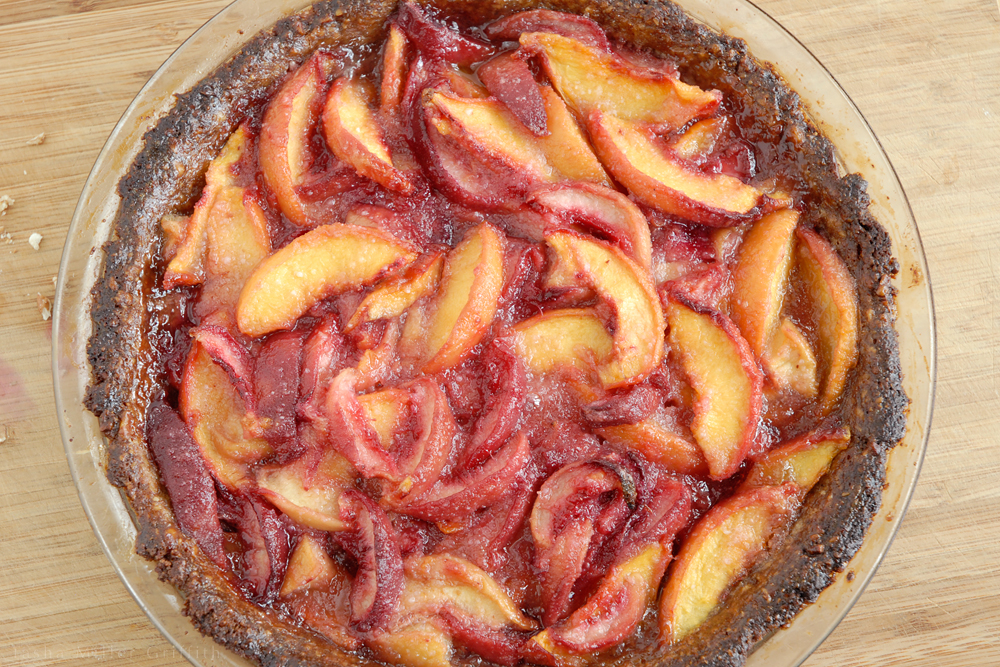
Weekday Peach Pie with Nut Crust

(adapted from various bits of the Joy of Cooking)

This isn’t a humongous Southern-Sunday-dinner peach pie, but instead one you can make if you just grab a few extra peaches at the market.  Pecans are my favorite for this crust, which is the same one I use for pumpkin pie in the fall, and just happens to be gluten free.  You can use other nuts that grow near you and/or you like, and it should work fine.

Preheat the oven to 375° F

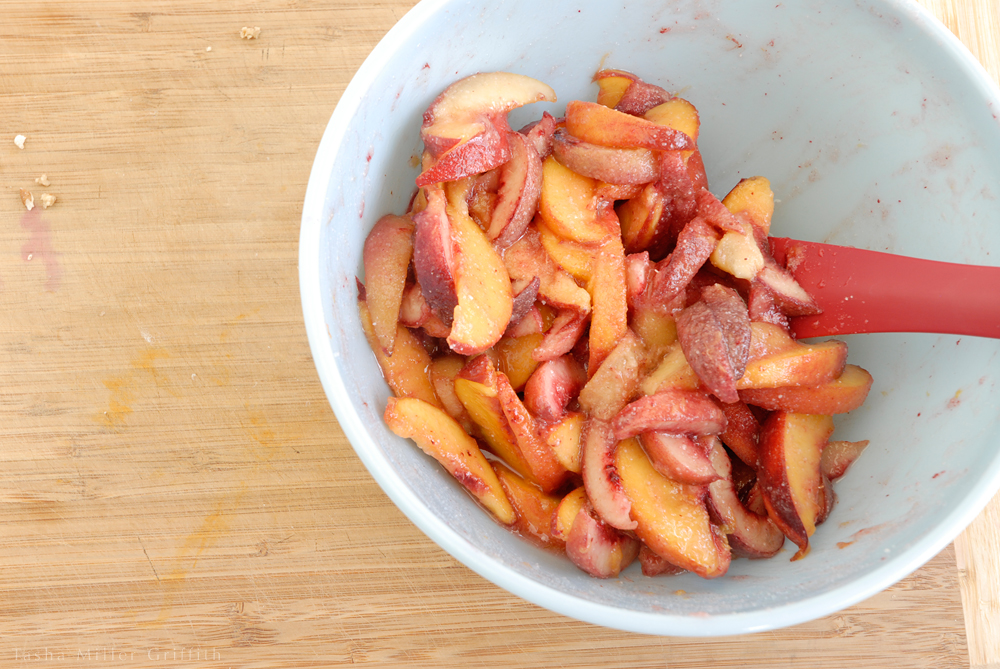
Peach filling—put all this in a bowl:

1 1/2 lbs peaches (weighed whole), cut into 1/4″ thick slices.  (Freestone peaches are much easier to slice.)

1/4 cup sugar if your peaches are ripe and juicy, maybe a tablespoon or two more if they are firm and tart.

1 1/2 Tablespoons quick-cooking tapioca or cornstarch for thickening.  I ground the tapioca in a spice grinder to get finer grains, which I think I read about in an Alice Waters cookbook.

1 Tablespoon fresh lemon juice.

1/4 teaspoon almond extract (optional but I like it).

A small pinch of salt.

Stir up the filling and let it sit while you make the crust:

You can either put all these ingredients in the bowl of a food processor and pulse together, or grind the nuts first and then mix everything by hand.  Either way, don’t chop the nuts super fine, or the crust won’t have a lot of structure, a texture like coarse crumbs is good.

2 cups pecans (or walnuts, almonds etc.) chopped, see note above.

4 Tablespoons butter (especially if you’re making it in the food processor, it’s important to soften the butter first, otherwise you’ll end up with chunks of unmixed butter).

3 Tablespoons sugar

1/4 teaspoon salt

Butter a pie pan well, and pour in the mixed crust in it.  Use your fingers to press the crust over the bottom and up the sides of the pan, getting it reasonably even if you can.

Prebake the crust in the preheated oven for 10 to 15 minutes, until it starts to brown.  The edges of this crust are apt to burn, so cover them with a pie shield or strips of aluminum foil first.  If the sides of the crust start to sag or the bottom gets too puffy, you can push them back in place with the back of a spoon.

While the crust bakes, beat 1 egg (the smallest egg you can find) with just a tiny bit of water, until well beaten.

When the crust is warm and starting to brown, take it out of the oven and glaze it with the beaten egg. This is the key to putting a moist filling in the nut crust without getting a soggy crust!  Use a pastry brush to apply a thin layer of egg wash all over the inside surface of the crust, up over the sides, etc.  The egg will want to slide down, but just keep brushing it up, until the warm crust starts to absorb it and hold it in place.


peachy pie 3


Put the egg-washed crust back in the oven for just a couple of minutes, until the egg is cooked and shiny.

Then pour in the peach filling.  Cover the edges of the crust again, and put the whole pie back into the oven until the juices of the filling are thick and bubbly, about 45 minutes.  No matter what you do, the edges of the crust will probably get a “bold” baked color (as the bread makers say). If it goes all the way to burnt, just scrape off the very top.  This crust is really simple and delicious, so it’s totally worth it.

Here’s to a weekday-peach-pie kind of week …


peachy pie 1


An Efficient Way to Chop Fruit


chopping fruit 1


I’d like this blog to be, at least in part, a primer for those didn’t have a mom or grandpa who could show them the basics of a handmade life.  A lot of the tricks that really help are about efficiency.  This post is pretty much an extension of the one about chopping vegetables, and most of my thoughts about efficiency and hobbies are there.  But I wanted to add a bit about fruit.

I cut up fruit, using exactly this method, every single morning that I can, and have it for breakfast.  I’ve found that if I don’t cut it up and put it in a bowl, I won’t eat it, it just seems too messy or something, but I really like eating it out of a bowl with yogurt, raisins, and nuts.  In the summer, I’ll use ripe melons, berries, whatever is fresh, but in the winter, it’s all about pears and apples.  I love this breakfast any time!

It’s also true that guests will devour fruit that is cut up and ready to eat, but tend to leave whole fruit in a bowl alone.

So, let’s get started.  Just like for veggies, one of the keys is having a big knife, so you can cut whole sections at once.  Using a small knife makes it take forever, and at least for me, anything that takes forever is not going to be a daily occurrence.

It’s pretty much all about the photos from here on down.

Cut the fruit into quarters.  Then cut out the cores.


chopping fruit 2

In the pear crisp recipe, I mentioned that I love it when pears are ripe enough to cut the core out in one smooth stroke.  This is what I mean, this one barely is ripe enough, you can feel where to slide the knife along the edge of the hard core, from the top to the bottom.

Then slice the fruit quarters.  Cut the slices thick or thin, depending on if you’re going to chop the slices or leave them as is, if they’re for presentation or for a pie, etc.


chopping fruit 3


If you want chunks of fruit, hold the slices together and chop them again.


chopping fruit 4


So, that’s pretty much it …  There’s only one difference for apples, you can’t slide the knife around the core, so cut it out from each side on the diagonal.  Once you cut one side, you can give the apple quarter a little flick and it will spin on its round base to the other side.


chopping fruit 5


chopping fruit 8


chopping fruit 6


There you go, three minutes later, breakfast.  Did I mention I love breakfast?


chopping fruit 7


Blueberry Picking, Blueberry Pie


blueberry picking 1


I want to get this out there while there are still blueberries on the bushes.  A couple of weeks ago, we went blueberry picking with my husband’s father, sister, and our two little nieces, at Versluis Orchards near Grand Rapids, MI.  The pictures pretty much tell the rest of the story.  The blueberries were gorgeous, as well as delicious, and I found myself picking like mad, but leaving some of the most photogenic branches until the clouds cooperated for good lighting.  At which point I’d grab my camera, and (with a pang for the blueberries not filling my bucket during the moments of shooting) do my best to capture the lovely morsels, in all their shades from translucent green to lavender blue.  Then I’d force myself to grab the ripest ones from the shot and drop them in the bucket.


blueberry picking 2


blueberry picking 3


blueberry picking 4


Even with two youngsters in tow, we managed to pick a LOT of berries, about 10 pounds between us all.  They were astoundingly cheap compared to what you would pay at the grocery store, or even at a farm stand.  By way of something to think about, I’ll point out that these berries weren’t organic, although they were about as local to our location at the time as you could get.  And totally scrumptious.  There was a good essay on The Yellow House last week about how it’s not as simple as just choosing something labeled “local” or “organic,” and I agree 100%, although I think that either of those, especially local, are a great place to start.  My next step may be to ask more questions of the farmers, find out what are their thoughts about their practices.  I’m pretty shy by nature, but I’ll try to make that happen.


blueberry picking buckets


Anyway, there are so many good recipes out there that have blueberries in them (as the older niece pointed out) that it seems almost needless to include one here, but I will anyway.  It’s pretty simple, even if you don’t make pie often and/or have little ones sticking their fingers in your crust, it will turn out fine.  The five of us adults handily polished off the whole pie after dinner . . . it can’t have been that bad.


blueberry pie


Blueberry Pie

(adapted from The Joy of Cooking)


For the crust:

You’ll need 2 1/4 cups of flour.  You can vary the percentage of whole wheat flour up to 100%, which is my personal favorite.  Since there were kids who might eat this pie too, I used 1 cup whole wheat, 1 1/4 white flour.

Put the flour in a bowl and add 1 tsp salt and 1 tsp sugar

Take 1 stick unsalted butter, cold from the fridge.  Cut it into pieces of about 1 tablespoon each.  You want to mix it into the flour so that tiny chunks of butter remain throughout the dough, without letting it melt or blend into the flour too much.  If you have a pastry blender, use it.  If not, my still-favorite method, especially if it’s not too hot in the kitchen, is to use my fingers to break up the butter into the four.  You can also use two knives, I have never gotten the hang of this, but one of my aunts is really good at it.  In any case, when you’re done, there should be some pea-sized chunks, as well as some dough with the texture of coarse cornmeal.

Put some ice and water into one of the measuring cups you’ve already used, and pour a little bit if it onto the butter and flour.  Start with just a few tablespoons, and mix it gently in.  You want just enough water that the dough will form a tidy ball and not look too dry.  Mix in just a little more ice water at a time until it looks good to you.  How much you need varies with the humidity, the kind of flour you use, etc.  When the dough is moist enough, divide it into two pieces, roughly round-shaped, and either cover the bowl or transfer the dough to an air-tight container.  Put it in the fridge to rest for about 1/2 hour.


In the meantime, place a rack below the center of the oven, preheat the oven to 400° F, and make the filling:

Rinse 5 heaping cups of blueberries.  A good method to separate any debris from the berries is to put them in a bowl, fill it with water, and stir until the debris floats to the top and you can pour it off.

Pour off all the water, and add to the bowl with the berries:

3/4 cup sugar (I like turbinado or natural sugar, a hint of brown sugar flavor is really nice with the berries)

3 Tablespoons cornstarch

1 Tablespoon lemon juice (you can add some lemon zest as well if your lemon isn’t sprayed and waxed)

Mix all this together and let stand for about 15 minutes.

Roll out one half of the crust into as good a circle shape as you manage, about 1/4 inch thick.  Put that half into an 9-inch pie pan, pressing it against the bottom and sides.  Use any pieces that stick out over the edge to patch any holes or gaps around the edges.

Roll out the second half of the crust.  For fun, instead of cutting a vent for steam, you can cut out shapes with a small cookie cutter before you put the crust on, and use the cut out shapes to decorate your pie (I got this lovely idea from my friend Megan years ago—thank you!).

Pour the filling into the bottom crust, put the top crust over it, and pinch the two crusts together around the edges.  Again, you can use any overhanging bits to patch holes.

To get your cookie cutter shapes to stick, and also to give your crust a little bit more deliciousness, you can glaze the crust with 1 egg yolk whisked with a little water.  If you can’t foresee using the egg white for anything (throwing it into an omelet, pancake batter, etc.) you can use the whole egg, the egg wash will be thicker.  Anyway, brush the egg wash all over the top crust with a pastry brush.  Stick your extra cookie cutter shapes on top, and brush more glaze over them.  Sprinkle a bit of sugar (the large crystal kind is nice, but regular granulated sugar works fine) on the glaze to give the crust a little more sparkle for your eyes and your mouth.

Bake the pie at 400° for 30 minutes.  Put a cookie sheet underneath to catch bubbling juice, lower the temperature to 350° and bake for another 20 to 30 minutes, until thick juices are bubbling through the holes and the crust is a warm brown all over, and darker in places.  If the crust starts to get too brown before the pie is done, you can try covering the whole thing or just the edges with aluminum foil.

Do you have a favorite blueberry recipe?  I’d love to know!


blueberry picking 5


Chard Phyllo Pie, and Experimenting in the Kitchen


Years ago I took an Indian cooking class with my mom at our local community college.  Although none of the recipes from the class became my favorites, the instructor said something which I found wonderfully liberating – use what you have.  If a recipe calls for one vegetable or spice you are out of, just try it with something similar or something you think will taste good.  Sometimes, especially when you are cooking something from a culinary tradition other than your own, it can be easy to think you have to have exactly everything the recipe calls for, in exact quantities.  However, that’s, um, never actually true!

I have been thinking about this lately and wondering how to talk about it here, especially since reading this truly stellar piece about everyday cooking on The Yellow House.  One of the true keys to this kind of culinary freedom and weekday luxury is being able to make something with what you have on hand.

For example, the other day I had chard (thanks to my aunt Barbara, who brought some from her garden all the way to Flagstaff in her cooler!), and phyllo dough, but no kind of cheese I would normally use to make spanakopita.  But I did have a large chunk of Beemster Graskaas (creamy Dutch cheese), and a bit of leftover sharp cheddar.  Hmm, I thought, this may not come out so great, but I think it’s worth a shot (embracing the possibility of failure is essential here).

Well, after a couple of bites, I looked at Bryan and asked, “What do you think?”

“I think I like it better than regular spanakopita.” he said.  So did I!  Keep in mind that our normal spanakopita recipe has been a staple in our house for years now.  This one definitely has more of an American comfort-food feeling, deliciously so.


Chard Phyllo Pie


Makes one 9 x 12 pan, or similar size

Preheat oven to 375° F

1 bunch spinach, kale, chard, or un-identified green from CSA (as long as it’s the kind you cook)

Wash and stem this, my favorite method is to grab the stem with one hand and pull the leafy stuff off with the other hand.  Put the stemmed greens in a pot with a steamer basket and some water in the bottom.  Bring the water to a boil and then turn it down to medium – low heat, let the water simmer until the greens are bright green and relaxed.

Meanwhile, finely chop ½ of one yellow onion and 2 medium garlic cloves

Saute the onion in a litle olive oil over medium heat in a small skillet or pan until it just starts to have a golden color.  Add the garlic and stir and cook for about another minute.

Scrape onion and garlic out of the pan into a bowl.

When the greens are ready, turn off the heat and let them cool for a couple of minutes.  Use tongs to transfer them to a food processor and pulse until pureed (or how you like them).  Add them to the onion bowl.

Also add to the bowl:

–       About 8 oz creamy Dutch cheese (the whole point of this post is to try whatever cheese you like/have!)

–       A little sharp cheddar cheese, or another kind that will add a little more punch to the cheese flavor

–       4 eggs

–        A few grinds of black pepper

–       A pinch of salt

Mix this all together.

Melt (I like to just drop it in the onion pan) 2 Tablespoons butter

Get out your thawed frozen phyllo dough

You may need to cut the phyllo sheets in half. If so, tightly wrap what’s left and put it back in the fridge.  Working quickly, brush a little butter in the pan, lay down a sheet, lightly brush it with butter, lay down the next sheet, etc. until you have used 8 – 10 sheets or half your stack.  Spread on the filling, then repeat with the rest of the phyllo sheets.  If you have some butter left, spread more on the top sheet or two.  Cut the spanakopita into pieces through the top layer of dough, then put in the oven and bake until the top is golden and the filling looks solid where you cut it, about 40 minutes.  With this version the filling will be a little more moist & creamy, definitely let it cook until the top is a rich golden brown.  Let cool for a few minutes, cut through the bottom, and enjoy!


Not every culinary experiment will produce results you want to note down and make again.  But, with just a little practice cooking with what you have & what you can find, every day can be fresh, wholesome, creative – in other words, a small miracle of food at your fingertips.