Washing Fruit and Veggies on the Road


washed fruit in cooler


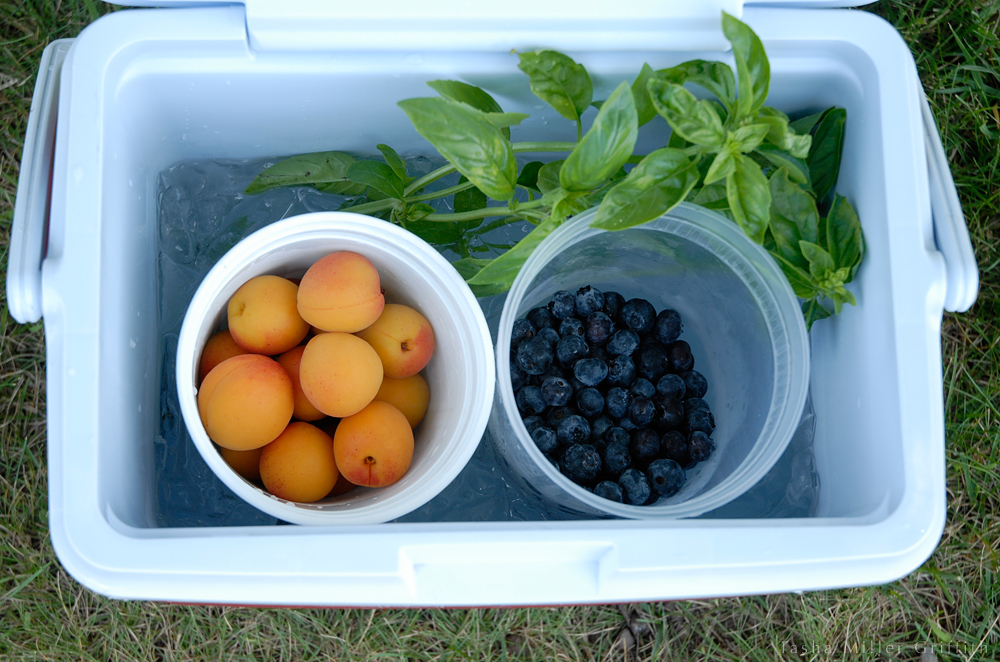
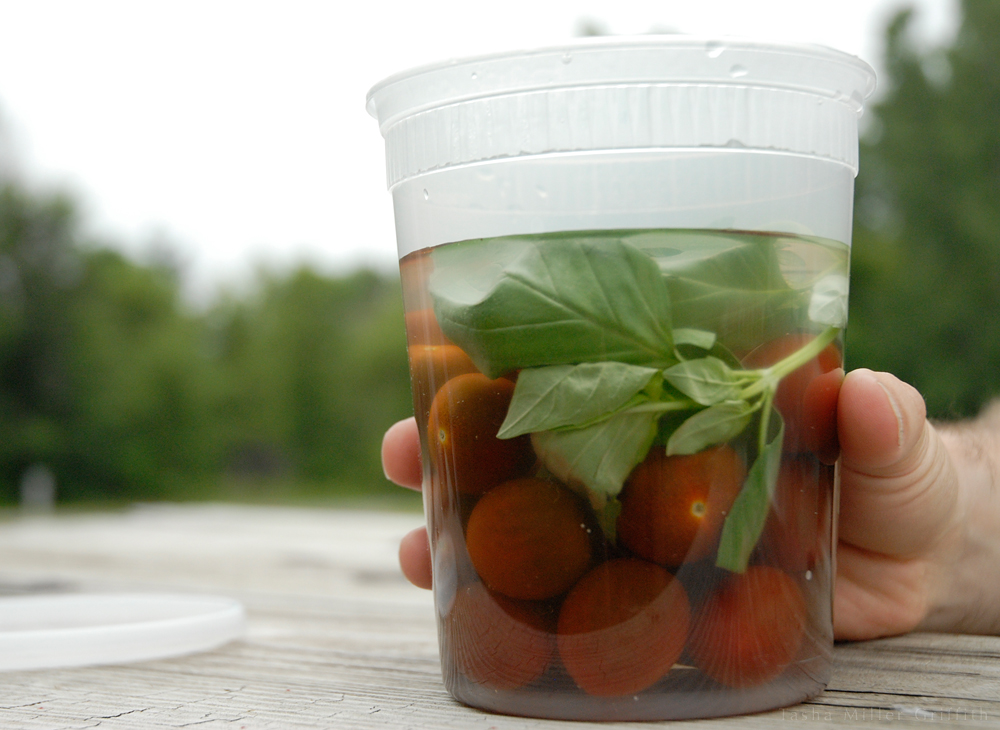
So, you’re driving along on a late-summer road trip, the farmers’ markets and road-side fruit stands are overflowing with beautiful produce, but you hesitate to buy a bunch of berries or tomatoes if you can’t figure out a way to wash them, right?  Here’s our solution.  All you need is a container (a tub that yogurt came in is perfect) and some water.  A cooler is optional. I’m not really sure why it took us so long to figure this out.  It works a lot better, and uses a lot less of our drinking water, than trying to pour water with one hand while somehow holding and scrubbing fruit with the other hand by the side of the road.  Even if you are on your way to a house or hotel where you could wash fruit, this has the advantage of letting you eat it right NOW, while you cruise along with the windows rolled down, or at your favorite picnic spot.

Put your produce in your little tub, and pour in enough water to cover it.  Swirl everything around with your fingers for a minute or so, and then hold the fruit back and pour the water off. If a lot of dirt comes off in the first round, or you just want to make sure it’s really clean, repeat.


tomatoes in tub of water


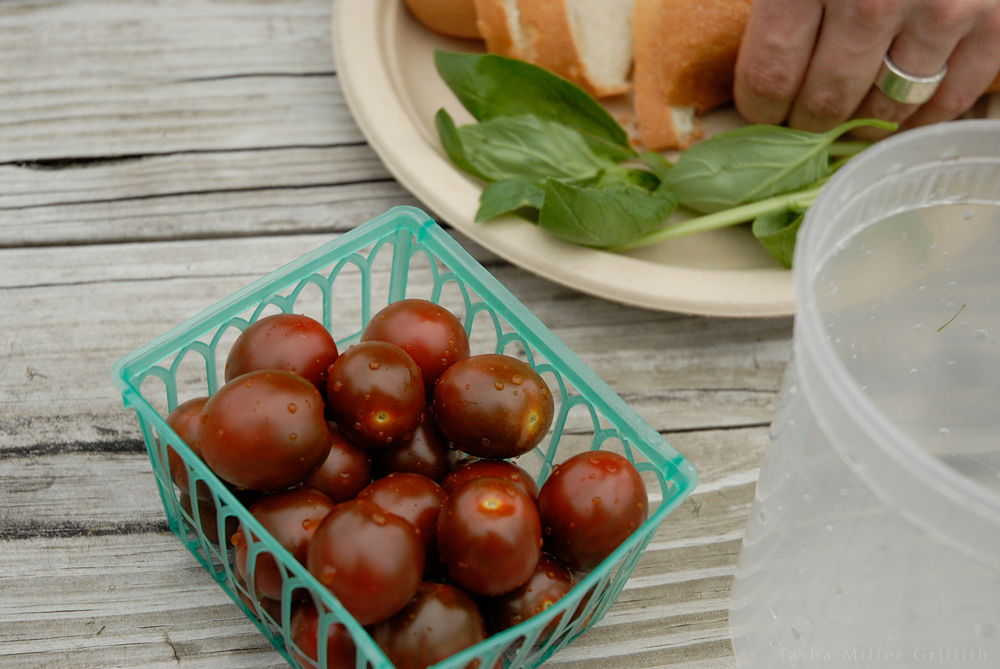
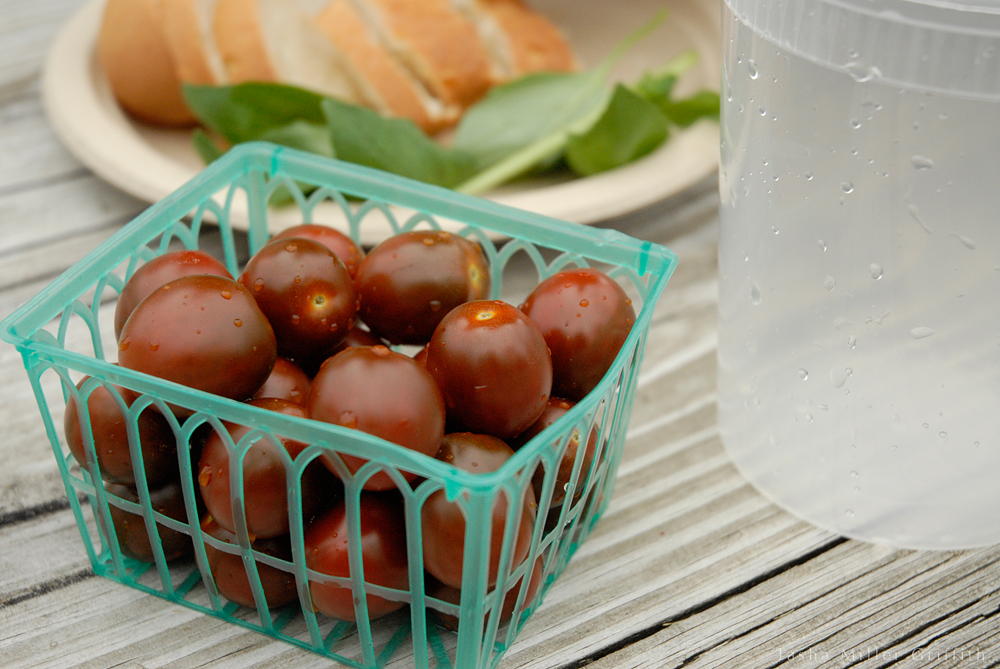
Then you can put the clean tub of fruit in your cooler, or on top of the parking brake between the seats for easy access.  If you’ve washed something like tomatoes that does better dry and room-temp than cold and wet, you can dump them out onto a towel, or use one of those little green plastic baskets to store them. If you knew how many picnic style meals we’ve eaten, consisting mainly or entirely of various versions of caprese sandwiches, you’d laugh out loud.


tomatoes in green basket 1


A couple more notes: basil does well in the cooler with the stems in the water, or in a sealed plastic bag with a little moisture inside (kind of like the cooler version of this method), but not if the leaves touch the ice (they’ll frost and turn black).  Thanks to Bryan for hand modeling, and for being as enthusiastic about fresh local edibles as I am.


tomatoes in green basket 2


An Efficient Way to Chop Fruit


chopping fruit 1


I’d like this blog to be, at least in part, a primer for those didn’t have a mom or grandpa who could show them the basics of a handmade life.  A lot of the tricks that really help are about efficiency.  This post is pretty much an extension of the one about chopping vegetables, and most of my thoughts about efficiency and hobbies are there.  But I wanted to add a bit about fruit.

I cut up fruit, using exactly this method, every single morning that I can, and have it for breakfast.  I’ve found that if I don’t cut it up and put it in a bowl, I won’t eat it, it just seems too messy or something, but I really like eating it out of a bowl with yogurt, raisins, and nuts.  In the summer, I’ll use ripe melons, berries, whatever is fresh, but in the winter, it’s all about pears and apples.  I love this breakfast any time!

It’s also true that guests will devour fruit that is cut up and ready to eat, but tend to leave whole fruit in a bowl alone.

So, let’s get started.  Just like for veggies, one of the keys is having a big knife, so you can cut whole sections at once.  Using a small knife makes it take forever, and at least for me, anything that takes forever is not going to be a daily occurrence.

It’s pretty much all about the photos from here on down.

Cut the fruit into quarters.  Then cut out the cores.


chopping fruit 2

In the pear crisp recipe, I mentioned that I love it when pears are ripe enough to cut the core out in one smooth stroke.  This is what I mean, this one barely is ripe enough, you can feel where to slide the knife along the edge of the hard core, from the top to the bottom.

Then slice the fruit quarters.  Cut the slices thick or thin, depending on if you’re going to chop the slices or leave them as is, if they’re for presentation or for a pie, etc.


chopping fruit 3


If you want chunks of fruit, hold the slices together and chop them again.


chopping fruit 4


So, that’s pretty much it …  There’s only one difference for apples, you can’t slide the knife around the core, so cut it out from each side on the diagonal.  Once you cut one side, you can give the apple quarter a little flick and it will spin on its round base to the other side.


chopping fruit 5


chopping fruit 8


chopping fruit 6


There you go, three minutes later, breakfast.  Did I mention I love breakfast?


chopping fruit 7


A Good Way to Open a Pomegranate


Sunday was the last farmers’ market of the year here.  Bryan and I went together, and pretty much went nuts (pun intended?) on all the fruit and veggies we could buy.  “Hon,” I said, “That’s a lot of tomatoes.”

“Well,” he said, “I don’t think we’ll have a problem eating extra tomatoes!”  You know the produce is beautiful when it’s not just me taking pictures of it, the professional photographer in my house is getting into the act as well, and buying extra tomatoes for the purpose.

Anyway, our fridge and pantry are pretty much stuffed, and we have a whole tray of pomegranates.  I love pomegranates.  I like the whole idea of them, like hidden treasure.  And, of course the taste!  Luckily, they grow in the valley not too far from here.

Especially with this method, the lovely seeds are not too hard to get at.  The idea of soaking them in water came from The Joy of Cooking, source of much good kitchen knowledge.


Step 1: slice off just the tops.  If you hit a few seeds don’t worry.  Score around the sides to the bottom in sections.  You’ll cut fewer seeds if you use the naturally more indented places as a guide for where to score.  Go all the way through the peel.


Step 2: drop the scored pomegranates into a bowl of water.  Leave them alone for about 15 minutes, or longer if they have been sitting around for a while and the skins are dried out.


Step 3: pull one out of the water, and gently break it open.  When you come back, the skins should have softened, and the whole thing will feel more elastic when you attempt to pull it open.  It may help to use a knife or your fingernail to break the connection at the top center.  Then, just tug on a section until it breaks loose.  Pomegranates respond better to a steady pull than to a hard yank.


Once the fruit cracks open, whole flanks of seeds are exposed.  Rock and push them gently with your thumb, sections of seeds will loosen and break off at once.  Any that are shriveled or cloudy are not as good, just leave them on the peel.


The red seeds (from the pinkish fruit) are the classic pomegranate tart with a little sweetness.  The pink seeds (from the yellow fruit) are much milder and sweeter if you can find them.  For eating out of hand, I think a mix of about half and half is ideal.

They also make a lovely treat with desserts, or on my morning fruit and yogurt.  If you need another excuse to get one, try this salad, really unusual flavors, but we and our friends quickly grew to love it.  Equally good with butter lettuce, and either honey mustard as suggested, or good quality balsamic and olive oil.  And, we subbed a small kabocha squash the first time we made it, with good results.

Really, have you ever seen anything so lovely as a plate of pomegranate seeds?  I could have easily spent the whole day photographing fruit . . .