Washing Fruit and Veggies on the Road


washed fruit in cooler


So, you’re driving along on a late-summer road trip, the farmers’ markets and road-side fruit stands are overflowing with beautiful produce, but you hesitate to buy a bunch of berries or tomatoes if you can’t figure out a way to wash them, right?  Here’s our solution.  All you need is a container (a tub that yogurt came in is perfect) and some water.  A cooler is optional. I’m not really sure why it took us so long to figure this out.  It works a lot better, and uses a lot less of our drinking water, than trying to pour water with one hand while somehow holding and scrubbing fruit with the other hand by the side of the road.  Even if you are on your way to a house or hotel where you could wash fruit, this has the advantage of letting you eat it right NOW, while you cruise along with the windows rolled down, or at your favorite picnic spot.

Put your produce in your little tub, and pour in enough water to cover it.  Swirl everything around with your fingers for a minute or so, and then hold the fruit back and pour the water off. If a lot of dirt comes off in the first round, or you just want to make sure it’s really clean, repeat.


tomatoes in tub of water


Then you can put the clean tub of fruit in your cooler, or on top of the parking brake between the seats for easy access.  If you’ve washed something like tomatoes that does better dry and room-temp than cold and wet, you can dump them out onto a towel, or use one of those little green plastic baskets to store them. If you knew how many picnic style meals we’ve eaten, consisting mainly or entirely of various versions of caprese sandwiches, you’d laugh out loud.


tomatoes in green basket 1


A couple more notes: basil does well in the cooler with the stems in the water, or in a sealed plastic bag with a little moisture inside (kind of like the cooler version of this method), but not if the leaves touch the ice (they’ll frost and turn black).  Thanks to Bryan for hand modeling, and for being as enthusiastic about fresh local edibles as I am.


tomatoes in green basket 2


In the Desert, We Wait for Spring, and Eat Roasted Butternut Squash with Sweet Spices


grand falls 1


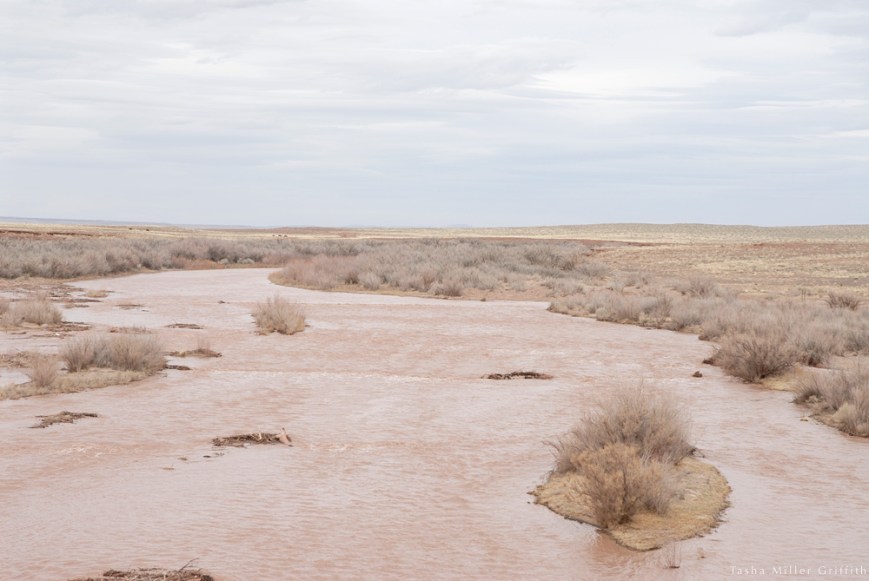
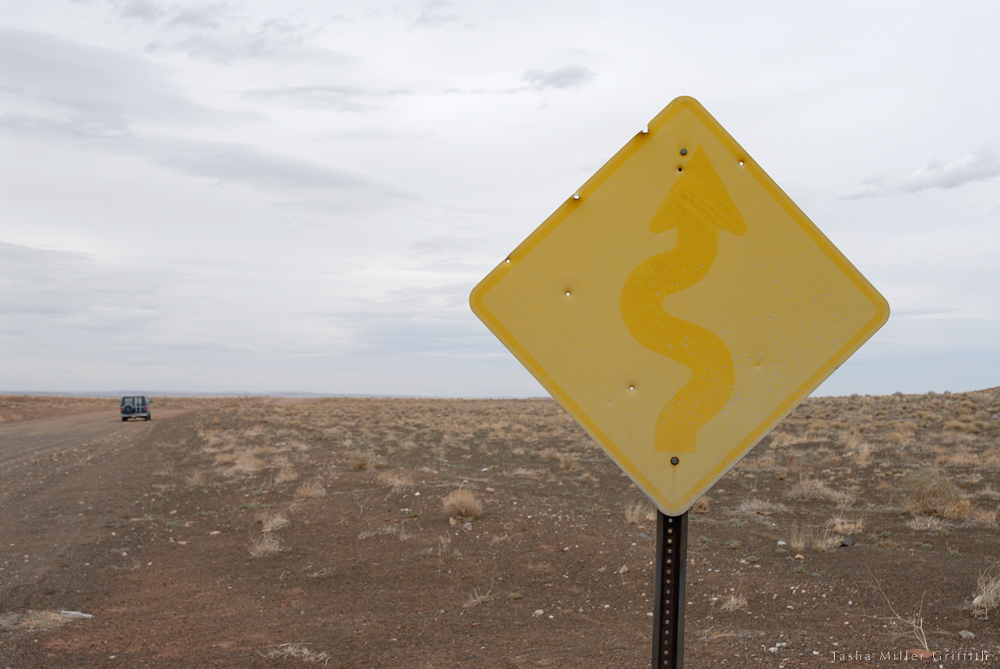
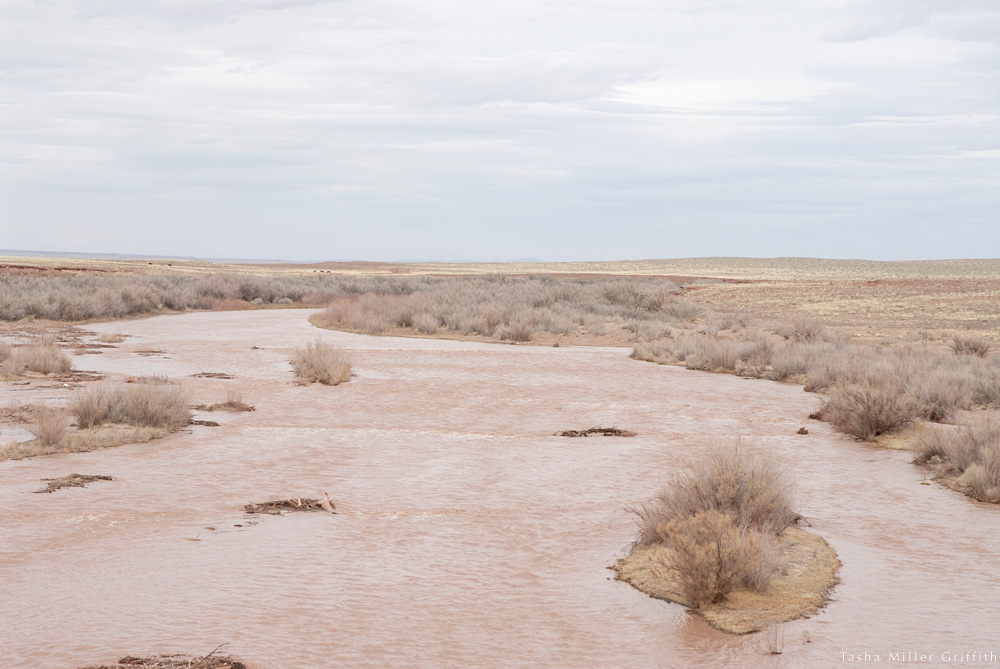
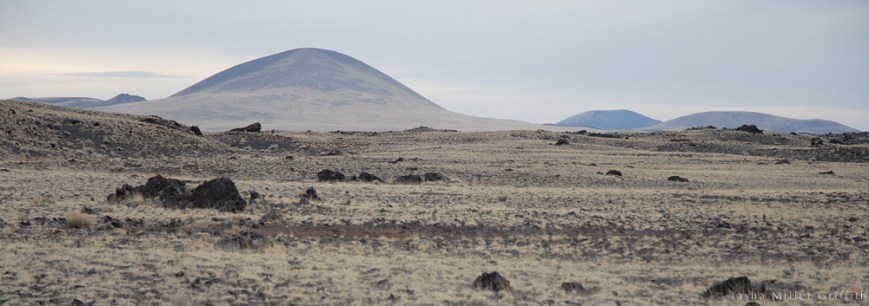
Bryan and I drove out to Grand Falls the other day, down a long dirt road, to see the spring runoff flooding down the Little Colorado river and over the cliffs (as high as Niagara, or so they say around here).  I kept thinking about how our Ponderosa pine forest seems so complete when I’m in it (which is most of the time), but really, just on the other side of town is a transition zone between our high-elevation forest and the lower-elevation piñon pine and juniper, and the scrub-covered desert.

It’s getting warmer all over our varied section of the landscape, including the valley further south where most our local produce comes from.  We are not, however, California, and we are still waiting for asparagus and strawberries.


grand falls 3


In fact, as we drove, it seemed like the desert was waiting too, the little bushes looking soft and sun-bleached, flocking the hills.  Maybe the roar of muddy water will bring some green, a few desert flowers . . . but not yet.


grand falls 4


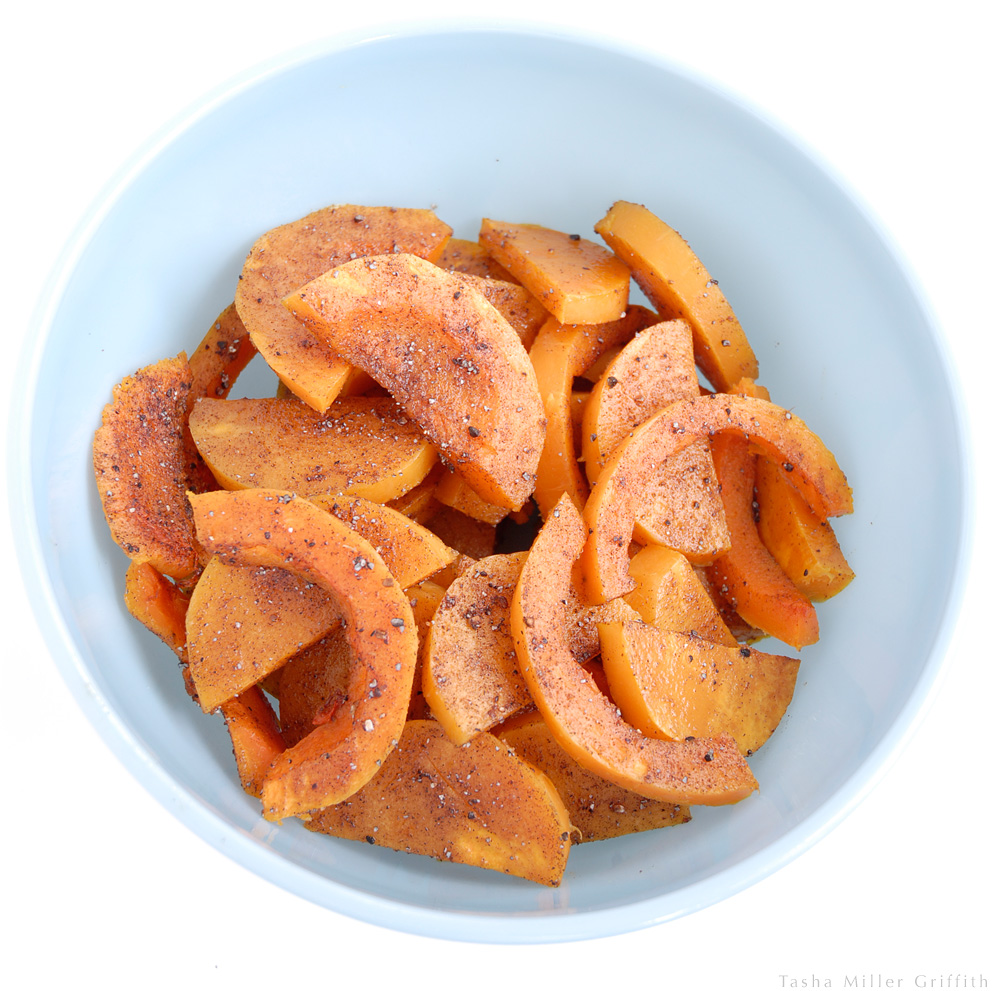
Fortunately, in the meantime, we still have squash.  Butternut squash was the first winter vegetable I fell in love with, since what’s not to love; the round, slightly sweet flavors, the vibrant orange color, and in this case, brightened up further for the coming spring with some new and unexpected spices and a tangy sauce.

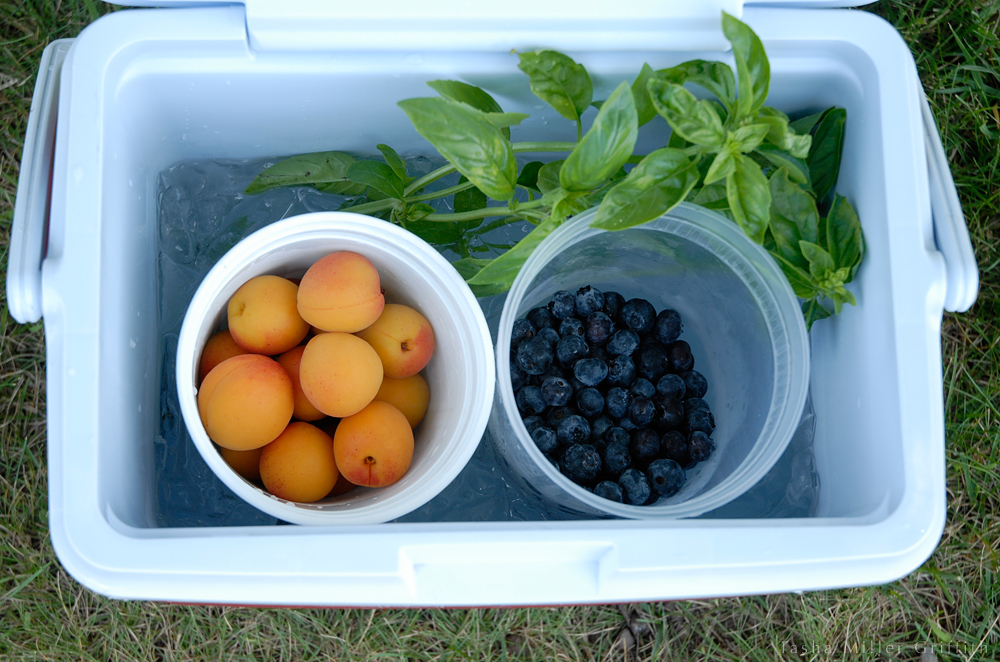
I mentioned that we’ve cooked a LOT of recipes from Plenty by Yotam Ottolenghi this winter, this is latest one; which I adapted to my tastes and what was in my pantry that day.  It was just perfect to make ahead and leave in a friend’s refrigerator while we gallivanted around the desert, ready and waiting for all of us to be hungry when we got back.


roasted butternut with sweet spices


Roasted Butternut Squash with Sweet Spices and Tangy Chile Sauce

Adapted from Plenty by Yotam Ottolenghi

Serves 5 as an appetizer


Preheat the oven to 400° F

Take two very small, or one medium-large butternut squash.  Cut the squash in half lengthwise, scoop out the seeds and set them aside for later.  Slice the squash 3/8 inch or 1 cm thick.  Lay out the slices on a baking sheet lined with parchment paper or a non-stick mat.

Take 1 Tablespoon of dried cardamom pods; break the green pods open, either with your fingers or by crushing them a bit in a mortar and pestle.  Discard the pods but keep all the seeds which are inside.  Crush the seeds until they are roughly ground, either with a mortar and pestle or a spice grinder.

Add the ground cardamom to a small bowl with: 1 teaspoon ground allspice and 3 Tablespoons olive oil.  Stir this up and brush it all over the squash slices.

Sprinkle a little salt over the squash, and roast in the oven until the slices are tender but not mushy when stabbed with a fork, about 15 minutes.

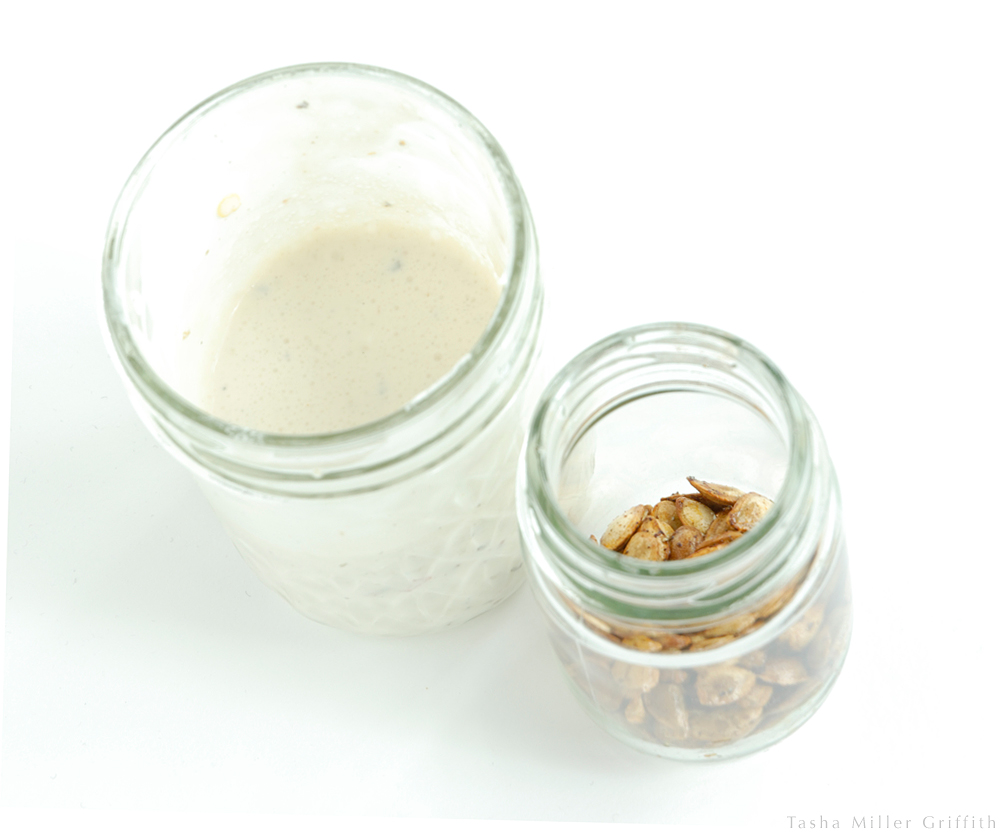
Meanwhile, separate the squash seeds from the stringy stuff they grow in, and put the seeds into the bowl with the leftover oil and spices, mix them around to coat.

For the sauce: stir together the juice of 1/2 lime, several heaping Tablespoons of crème fraîche (once you have it, you put it on everything) and some chopped fresh chile  – I used 1/2 of one large defrosted frozen roasted one from last fall (you can put those on everything too).  If dairy is not your thing, these would also be great with just a little chile or hot sauce, or maybe even a sweet and hot sauce . . .


roasted butternut sauce and seeds


When the squash is done, transfer it to a cutting board, or platter or bowl to serve, and put the seeds on the same baking sheet and roast them for 10 – 15 minutes, until golden and crunchy.  You can serve them with the squash, or eat them as a road-trip snack.  The leftover spices are more subtle, but delicious with the toasted seed flavor.

To serve the squash, slide a small sharp knife around the outside of the slices, taking off just the peel.  If you run out of time, you can also serve them as they are and let the eaters peel their own.  This is good cold or room temp, with a little sauce drizzled over the top.


So, what are you eating?  Is it spring yet where you are?


grand falls 2


Preserving Watermelon, or what I took on our Trip to Michigan


This last month or so was the first time in a long time I got to really settle in at home in the summer.  To me, one thing that settling in means is buying a lot of fresh food, and cooking it up.  Plums just appeared at my farmer’s market a few weeks ago, and my husband loves watermelon.  Plus, I was testing out recipes for raspberry jam, in advance of picking black raspberries as they come into season at my friend’s secret raspberry picking spot.  So, I found myself about to leave town, in the phase known as “eat the fridge,” with a bowlful of plums, 3/4 of a fairly good orange watermelon, part of a jar of jam, etc.

At first this really bummed me out because I cannot stand to waste food, I pride myself on planning so that we’ll eat everything, and it seemed like a bit much to just chow down.

Then I got to thinking, isn’t this the original reason for preserved foods, because you can’t eat everything while it’s fresh?  The plums we’re pretty easy, canned into a delicious compote (more about that later).


Watermelon, though?  A quick search produced this article on The Hip Girls Guide to Homemaking and this one on Mother Earth News.  I basically followed their advice.  Cutting the watermelon into quarters longways definitely made it easier to slice it thinly, and to take out lots of seeds, although more appeared as it dried.  The flavor of these was actually really good, Bryan likened it to watermelon mixed with butternut squash.  I’m still on the fence about whether it was good enough to do again, mainly because it took forever in my oven, where forever is about 5 hours at 170° F, the lowest setting.  After letting it dry overnight, I had to heat it up again because cooled, it was stuck irrevocably to the broiler pan I used as a drying rack.  By the time it reached the “not tacky” stage recommended in Mother Earth News, it was a struggle to get it off the pan, even warm, without leaving about half behind.  The top photo has the most picturesque shreds.  If you happen to have a dehydrator though, it’s a no-brainer, you should definitely try some watermelon.


The thing that I’m most happy about this whole escapade though, was instead of seeing all the food we had as something that had to go before we left, I started thinking of it more like an ongoing process, that tied the food to our trip and to our return.  After I started thinking this way, I bought a loaf of bread, used part of it to finish up the jam, took part of it with us, and froze part to eat when we come back.  I’m looking forward to some French toast with plum preserves!

I’ve also been inspired to think about unconventional road food this summer by Kimberley’s series on The Year in Food.  As we sat on the plane, eating fresh bread, carrots & cheese (the last ones left in the fridge, washed and/or sliced and packed to go) and shreds of dried watermelon, I was a happy camper.  Having my own food, especially interesting food, definitely takes away some of the sardine can/cattle drive feeling of flying these days.

As I type this, we are getting ready to head over and set up for the Ann Arbor Art Fair, in 103° weather.  The dried watermelon is all gone, finished up at the last show.  But writing this post and thinking about our food adventures is putting me in a good mood, hopefully one that will last!