Small Hats for 2017


Before it fades too far into memory, I want to share a project which belongs firmly to last year. Looking back, I still can’t quite wrap my head around 2017. How can a year in which I found the news so distressing and depressing that I more or less stopped paying attention to it be the same one in which I met several of my fiber arts heroes, learned a ton, made wonderful connections at John C Campbell Folk School, etc? Of course like so many things, it’s not either/or, it’s both, with many more things in there besides. (I started thinking about either vs. both while Bryan was working on this project, and it appeared again when I was reading The Courage to Teach by Parker Palmer last summer. And again in this conversation with Brené Brown and Krista Tippett that I was just listening to. I think it may be important.)


pink handspun hats 2


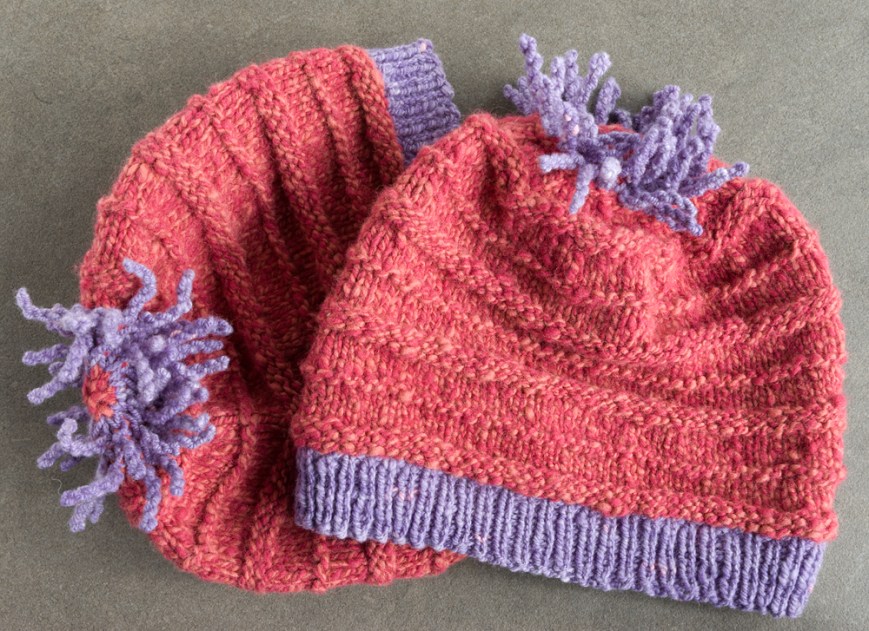
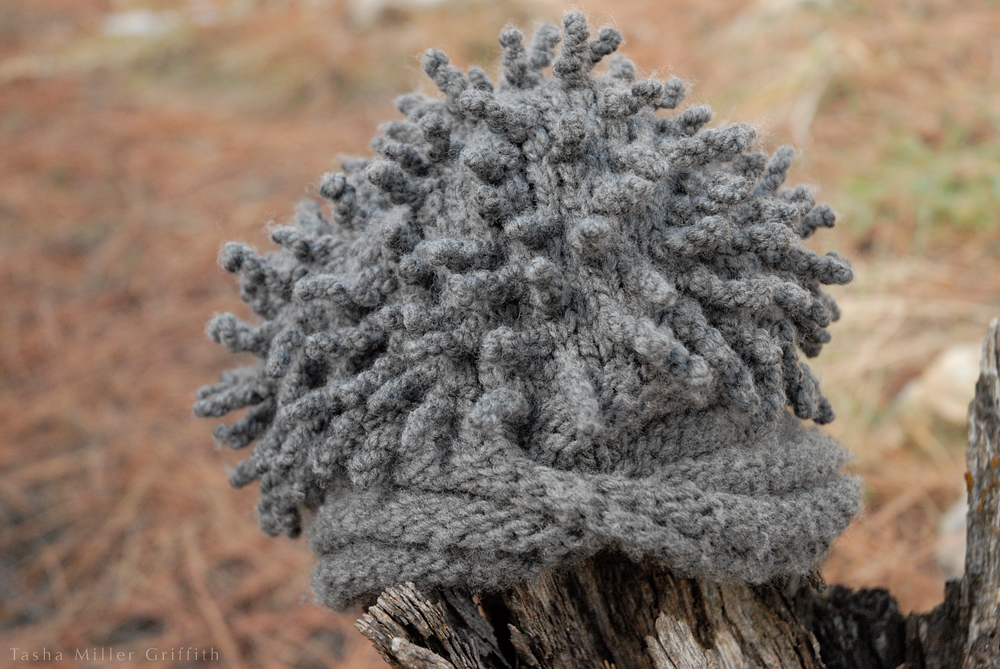
A lot of the both/and of last year is in these little hats. At the beginning of the year I was both saddened by all the events that showed the need for the women’s march, and inspired by all the artists I saw “taking back” the color pink and making beautiful things. I thought a lot about two of my young nieces (then 6 and 8 years old), and what messages they were getting about the world. I wanted to make something for them that would act as some kind of balm, something that would represent what I wish for them; play and adventure and fun and the chance to express themselves as girls, to be wild and strong and free. And for myself, I wanted to make something different than I normally would, something that would be a place to put some of my feelings and transform them into something positive. I got out some pink wool, and started spinning, woolen-style.


pink handspun yarn


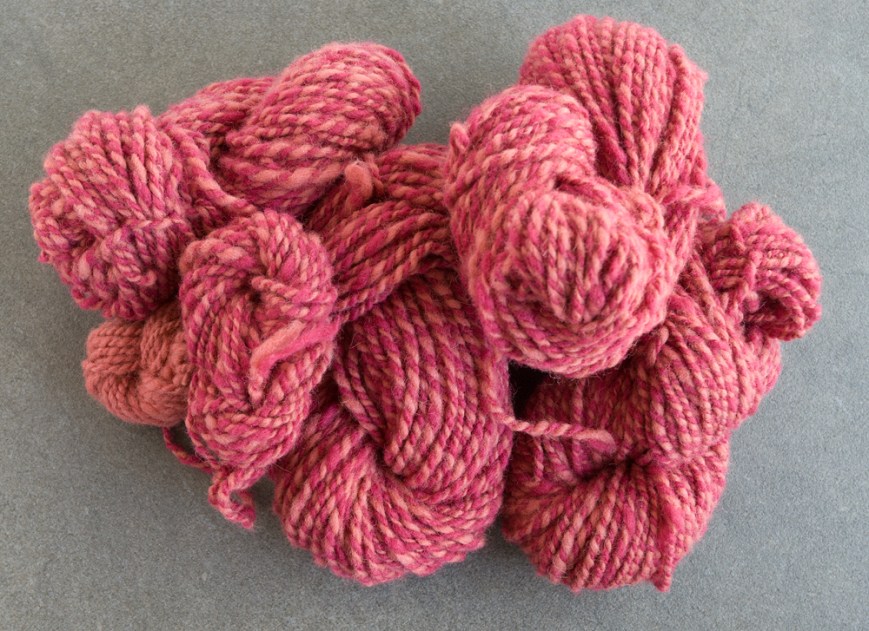
It felt good. And by carving out a little creative time every day and using it to spin, I made enough yarn for two small hats in short order. I decided to also incorporate some springy soft purple handspun yarn that I had traded another local fiber artist for, and cast on the first hat as I traveled to our family craft retreat in late March. The nieces in question were coming to visit us right after the retreat, and I arrived home with both hats mostly knitted, and finished up the last little bits in the evenings after the girls were in bed. Near the end of their visit, I brought out the spinning wheel, showed them how it worked and let them try it, and then gave them the hats. They, and their mama, loved them, which made me feel really good about the whole thing. It doesn’t seem like my place to post pictures which would probably embarrass them later, so you’ll just have to trust me that they looked wonderful, grinning and wearing the hats with their pajamas.


pink handspun hats 1

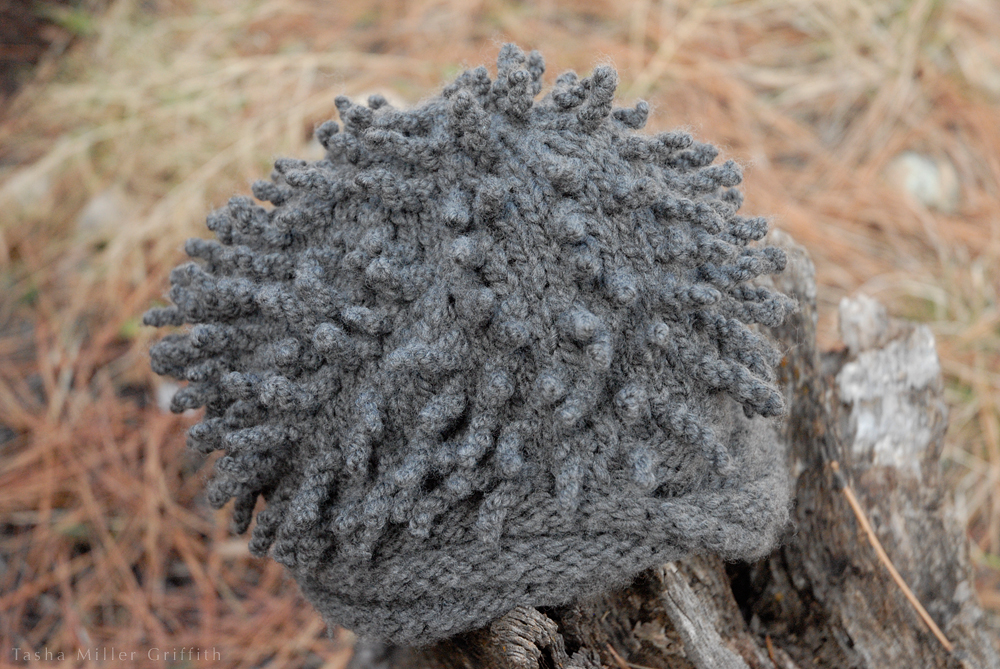
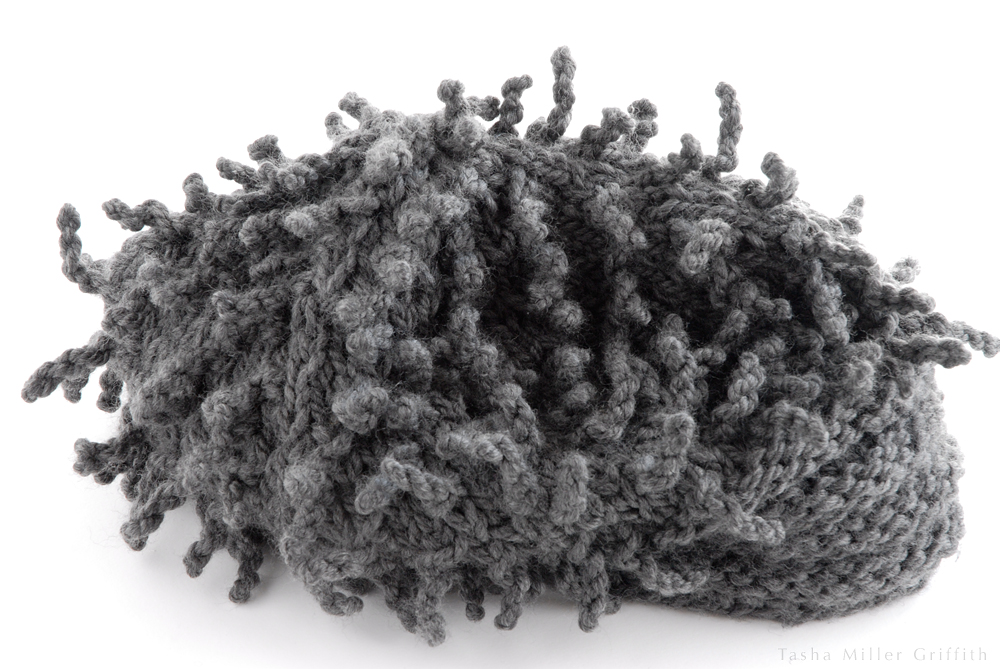
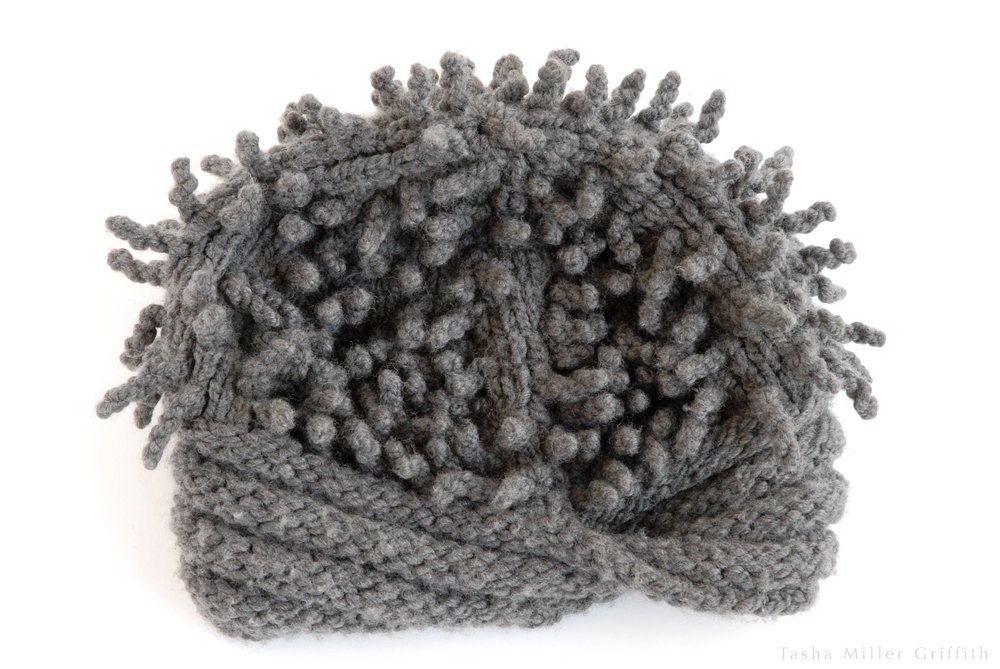
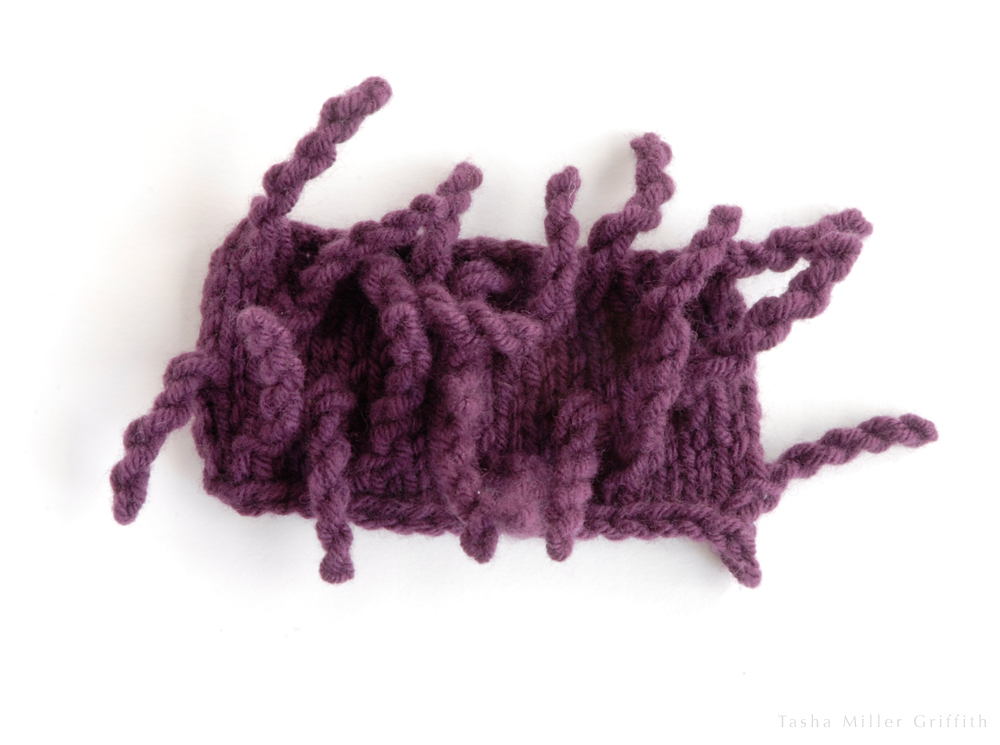
Caption-sized knitting notes: the pattern in the body of these hats is Quaker rib (the same as this shawl which I thought looked great in handspun), and the tendrils at the top are made following the directions from Cat Bordhi’s Anemone Hat pattern.


I hesitated a little bit about posting this, as it brings up some churn-y feelings from last spring, and I’m happy to say that I feel much more solid in general now than I did then. But after typing it out, I’m so glad I did. It gave me some good perspective, and I think I can even put more of name to last year. I’m definitely saying it was a good year, although a hard one. (If you still feel like the world is ending, may I suggest you read this article, and then go make something?)

I have quite high hopes for 2018 too, and some exciting things in the works that I’ll post more about soon. It’s early enough in the year, I’m still happy to wish you all a peaceful and fulfilling trip around the sun. May it be a good one, and with any luck not too hard!


A Hedgehog Anemone Hat

Plus, another way to fluff up knitted tendrils.


hedgehog hat outside 2


I know—what??  If you have no idea what I’m talking about, please bear with me for a minute.

First, the hat.  This is one of Cat Bordhi’s designs, the Arctic Anemone Hat.  It just looked SO fun to knit, I really wanted to make one.  But I couldn’t see myself wearing it . . . I could see my mom wearing it, though.  She loves all kinds of sea creatures, hedgehogs, and plants with unusual spiny pods—so it definitely fits her aesthetic.  I had planned it as a surprise, but it ended up being so much better that I told her (when she was thinking about knitting one); I got to ask her what color she wanted, and get her to try it on as I went, and consult her about design details.  We decided to make the tendrils a little shorter, more like hedgehog quills, which I think went well with the grey color.


hedgehog hat outside 1


This was such a win-win.  The hat was every bit as fun to make as I thought it would be, from the moebius band (yes you can knit a moebius strip—from the inside out) to making the tendrils, it was a blast.  And, my mom loves it!  It looks so cute on her, too.  Actually, it looked really cute on every single one of my relatives who tried it on.  I knit this hat mainly on our Thanksgiving trip, so all my relations saw it in progress, and wanted to try it on when I finished.  However, Mom hates having her picture taken almost as much as she likes unusual creatures, so I decided to photograph the hat in the natural environment.

The only reason I got it back for long enough to photograph it at all, is that Cat’s directions suggest you use a superwash wool (one that’s been treated so that it won’t felt) and fluff up the tendrils by running it through the dryer.  I have a dryer, and mom doesn’t.  This definitely worked.

Before:

hedgehog hat before fluffing

After:

hedgehog hat after fluffing


But after fluffing, I began to wonder if there was another way to do it.  I’m a fan of untreated wool, and I wondered if I could get some tendrils to fluff up by steaming them.  After all, what’s happening in the dryer is: dampness, heat, and agitation.  I tried it out on a sample, knit with organic, not-superwash wool yarn.  This worked too!

Before:

tendril sample before fluffing

After:

tendril sample after fluffing

It might not produce quite the fluffiness of the dryer method (keep in mind that the yarn I used was also not as thick), but it wonder if the tendrils would continue to fluff up a bit with washing and wear?  I got the best results by using my iron—not touching the tendrils, but holding it above them and putting on lots of steam for a few seconds.  Then I picked up the sample, and, holding it upside down, gently scrunched and shuffled the tendrils around.  I decided on upside-down because the tendrils tended to wilt downwards with all the steam.  It also seemed to help some that were reluctant to fluff up if I sprayed them with a little water from my plant/laundry mister, then steamed and scrunched.

At least with my sample, it would have required a nearly impossible amount of effort to felt anything using the steam, and gentle fluffing.  However, wool + water (usually much more than this) + heat + agitation does = felt, so be advised.  I would agitate the base of the hat as little as possible while it’s steamy, just concentrate on moving the tendrils around and scrunching them up.

sweet tomato knee socks frontOne more note: in honor of knitting more lately, and knitting something that was so fun without even changing the pattern very much at all, I have finally decided to stop lurking Ravelry and using it only as the world’s absolute best pattern search (you can be shocked, I don’t blame you).  I’ve gone back and posted some of my favorite knitted projects from the past few years, whatever I could think of that I still had and/or had pictures of, and there are a few more of those still to add.  I even posted a few yarns from my stash that might find a better home.  If you’re on Ravelry too, come and say hi, I’m FrenchToastTasha.

Even if not, happy making!  I suggest making something that’s just plain fun to create, at least every once in a while.