
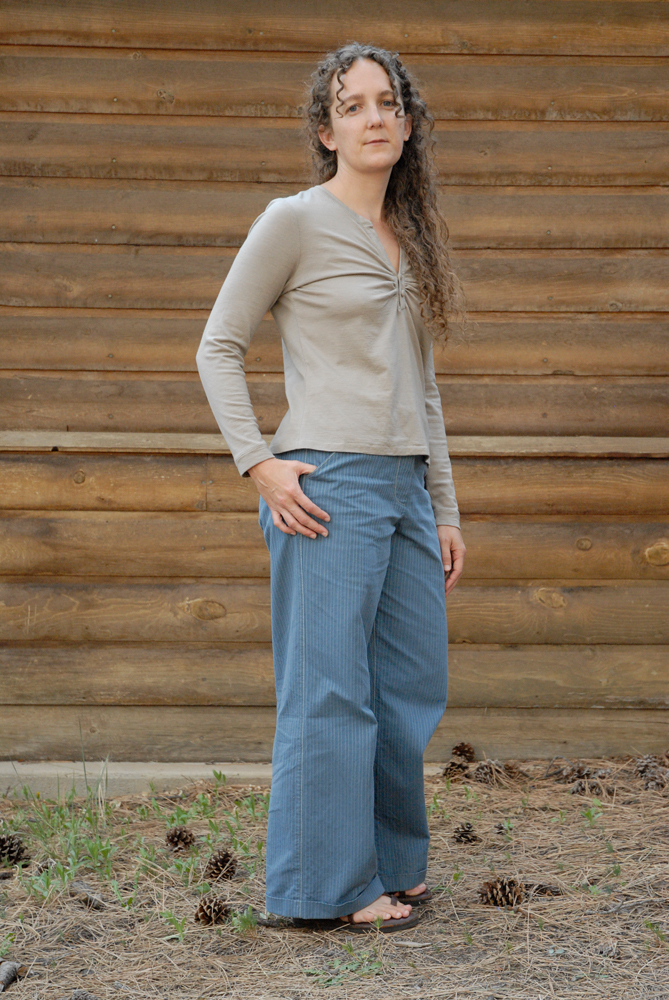
So, after talking about these tops last time, it’s time to talk about the pants! They’re more of a trouser style (which is good since folks on both sides of the pond can agree what “trousers” means, right?). I bought this fabric last summer at Nob Hill Fabrics in Albuquerque. I wasn’t 100% sure about it for trousers, but it looked promising. In truth, I am not 100% sure about it for trousers now. But, after the untimely demise of my fantastic purple corduroys (so sad!) I really needed a new pair of pants nice enough to wear at shows (in public where I am supposed to look somewhat professional, or at least not like a bum off the street). The odds of my finding a pair to buy that fit and that I like are close to zero, so I pulled out the blue fabric.
A pattern epiphany
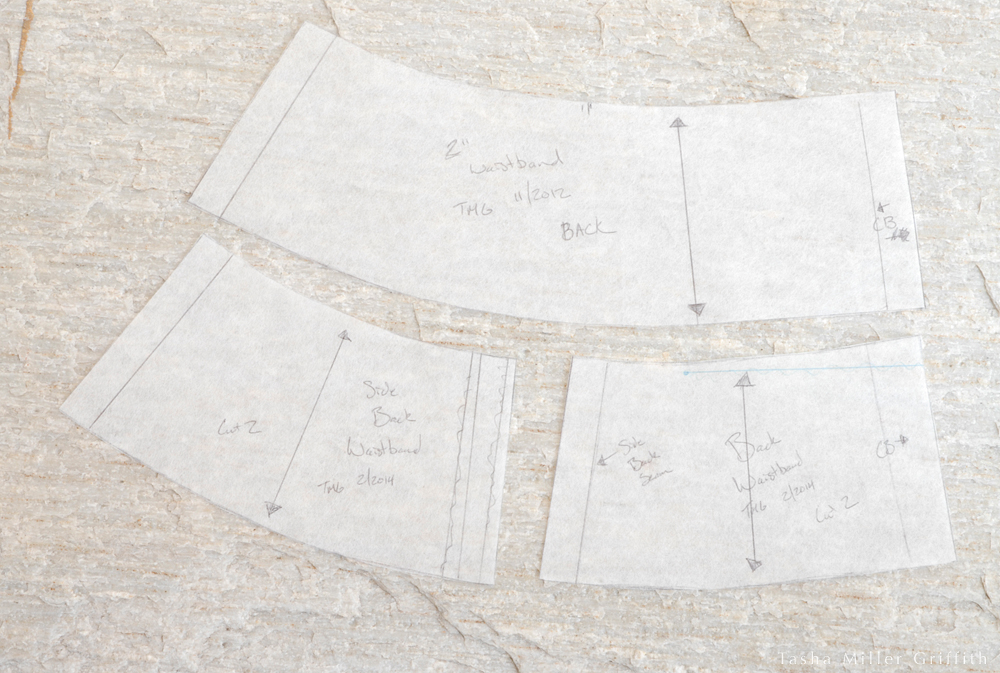
While I was cutting it, something pretty cool happened. As I looked at the back waistband pattern, I got a sudden flash of insight: this piece is trying to take in too much curve, and it would be much better as two pieces, with a seam in the middle as well! So I traced it into two pieces which matched the existing width at the bottom of the waistband, and took in a little more at the top. If you do this, don’t forget to add seam allowances to the edges at the new seam! This approach fit the shape of my body so much better that I ended up doing the same thing on the front, so that I now have four waistband pieces instead of two. A step forward in fit.
Fitting
This is the next evolution of the traced from-existing-pants-and-extensively-altered pattern I used to make the grey pair. The main problem with those is that they are a little tight around the crotch seam, especially when I sit down.
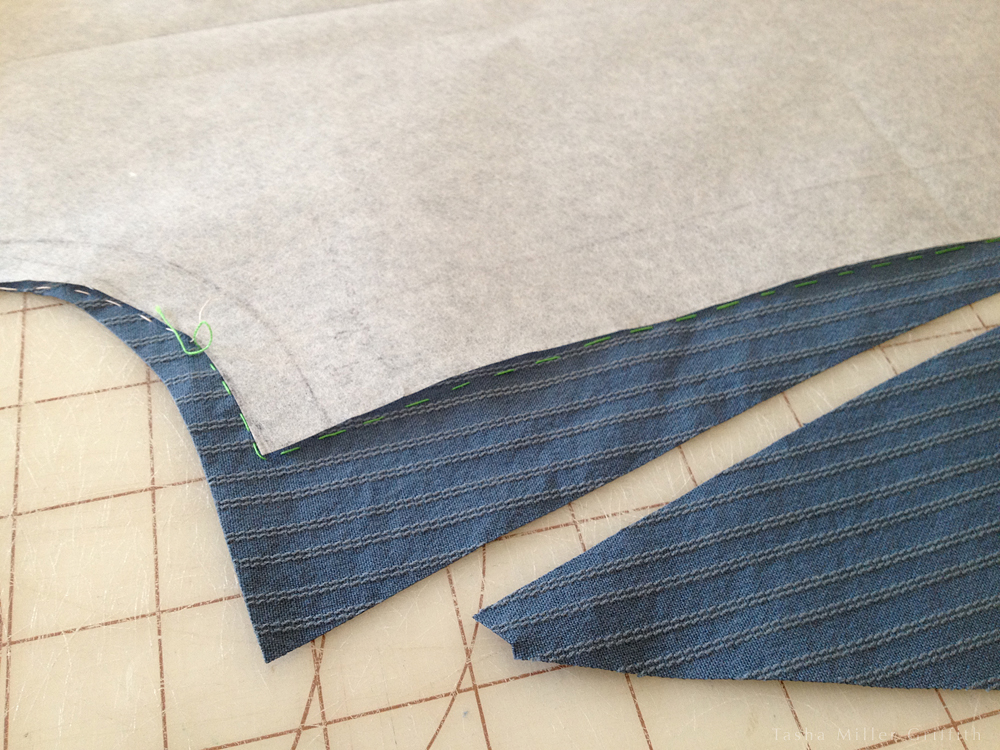
I will say that I’ve gotten a lot better at diagnosing what needs fixing in the fit of my trousers in the last year or two. At first, the fact that every part of the fit affects every other part made it nearly impossible for me to tell what I should change. But now, after fitting a few pairs, when I try some on I can feel which seams need more or less fabric in order to be comfortable and fit my shape. So I already knew (from wearing the grey pair) that I needed to let out the front inseam a fair amount. I wanted to cut the fabric outside of the pattern to make sure I would have enough in that area, so I decided to trace with thread the outline of the pattern. That way I’d be able to see where my new seam is in relation to the pattern, and transfer my changes back to it for next time (I can always add more paper to the pattern using this method). This worked great, I could see right where the pattern line was as I worked on the fit.
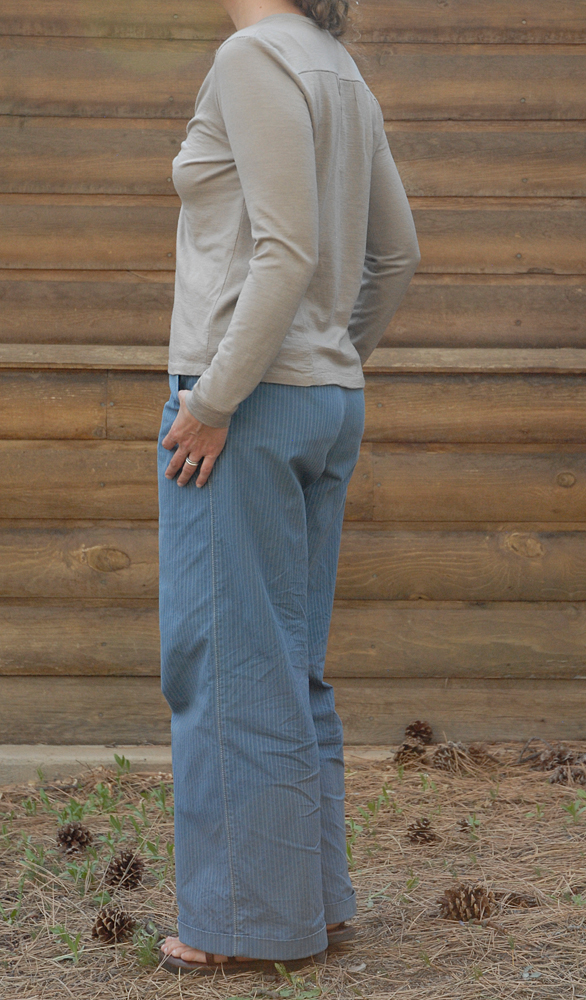
So, I let out the front inseam until it felt comfortable, and then played around with the crotch seam and back inseam to get the look and fit I wanted. I want the trousers to show that I have a bum, without hugging it too tight, and then drop into a wide leg somewhat reminiscent of 30’s style. I got pretty close! To be honest, I may have overdone it on the amount of added room around the inseams, these feel so comfortable that they border on I’m-wearing-my-pajamas-outside. But when I put them on and sit down it’s sooo nice!
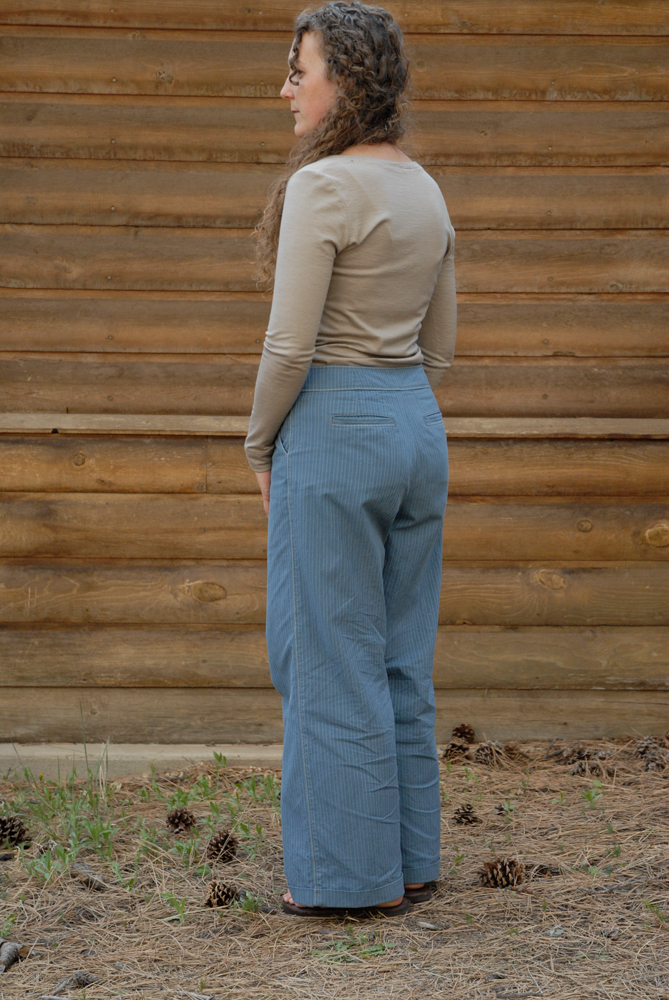
Those back pockets
The back welt pockets are pretty sweet, yes? This is something I’ve really been wanting in trouser-style pants. I have one old pair of thrifted Gap wide-leg pants that has them, with little flaps on top too, and I love them. I almost skipped them for this pair though, just because I was running a little short on time before we left for Texas, and I really needed to get these trousers done. You know how sometimes, these decisions are made for you, just by the circumstances? Well, as I got close to finishing the fit, two things became inescapably apparent: I could not figure out any way to get the tips of the back darts to look good (hidden by patch pockets in earlier pairs), and under some conditions, you could see the line of my undies through the fabric. So, pockets it was, and since patch pockets don’t go with the trouser style I wanted … I basically just kept those Gap pants next to my sewing machine and figured out the steps from looking at them inside and out as I went. Fortunately, I didn’t hit any major snags. I have to admit, when I first tried the trousers on after finishing the pockets, my reaction was “no one told me they would look THAT cool!” I have a few tweaks to make next time, but overall, those back pockets are probably my favorite thing about this make!

Fabric verdict
I had a hunch when I went to add the pockets that it wasn’t the fabric being pulled tight that was showing my undie-lines, it was the fabric being just a little thin and just a little clingy. I was right. Now that the pockets are in, you can see that there’s plenty of room for them. Sometimes you can see a shadow from the pocket lining, but that’s much better!
While this fabric turned out fine, next time I will look for some with just a little more body for making trousers. I wouldn’t want it to be stiffer, just thick and soft enough to hold its own and skim over curves a little more.
And, did you notice it wrinkles like all get out? I swear, I pressed the trousers before setting up to take photos, but 10 minutes of adjusting the camera, kneeling by the tripod in the sun and moving around, and it was pointless. I do think that wrinkles are less noticeable in real life than they are on camera though.
Have I mentioned before that fitting and sewing trousers is a journey, not a destination? (Hint: yes.) I’m glad to get these under my belt, and to have a new pair to wear in public this spring. Happy May Day to all!

They are AMAZING!!!! The fabric is awesome and the fit looks incredible xx
Aww, thanks Zoe!
You’re AMAZINGLY talented! Love these!!!!
I appreciate the compliment! But I also have to say, it doesn’t have much to do with talent, these have a lot more to do with lots of practice sewing, and trying things out with previous projects. I really believe that anyone who would like to can learn to make their own clothes!
You’re so humble Tasha.
But it is good to hear that such things are attainable 🙂
Absolutely! 🙂
They look great! I love the wide leg style, especially for summer! And I really like your stripey fabric and those welt pockets. 🙂
Thanks Alessa! I think I should make another pair like these, maybe linen.
Pingback: Thoughts about Sewing, Empowerment, and Body Image | Stale Bread into French Toast