
At last, my treadle sewing machine restoration project is done, and at even longer last (depending on how you look at it) I’m sharing it here! This is necessarily a big post. Backstory is at the beginning, practical details are in the middle, words from the heart and pictures of the finished object at the end. I hope you enjoy it!
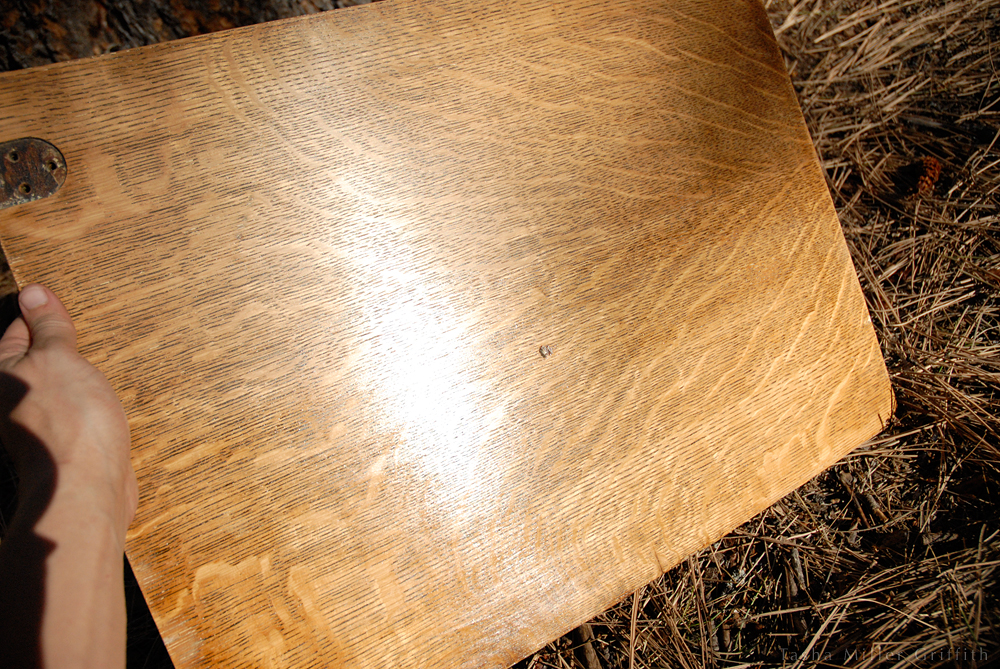
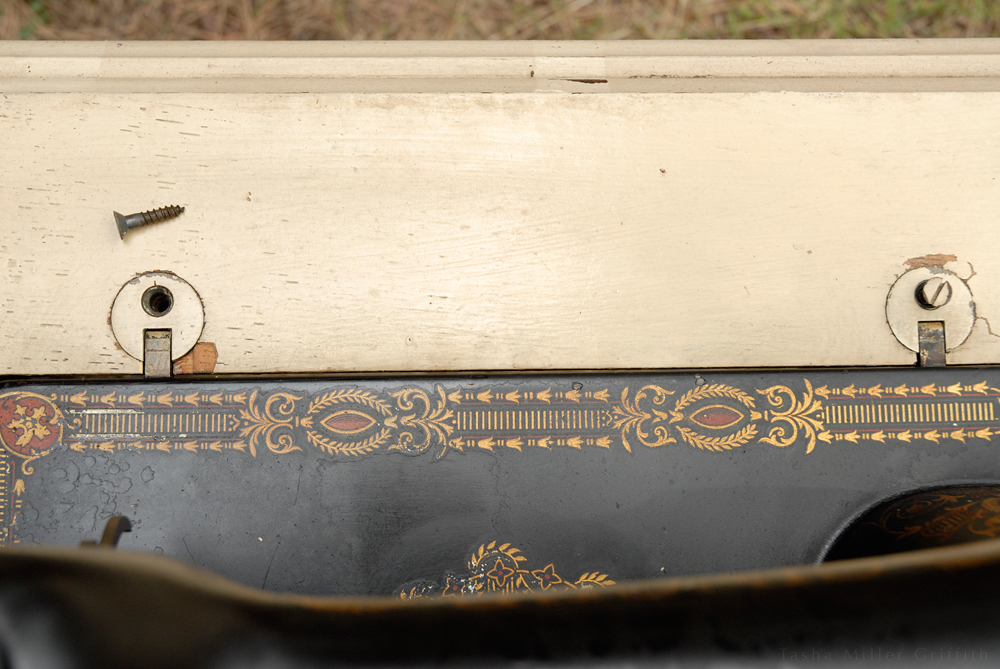 It’s actually much easier to rock the machine up on its hinges and lift it out by loosening screws underneath (as shown in the Seamwork article) before taking out the hardware. But, I really like this photo.
One of my hopes for the article about treadle sewing I wrote for Seamwork this summer was that it would give me the motivational push I needed to get this machine out of the garage. Which it did, but in a longer process than I could have anticipated …
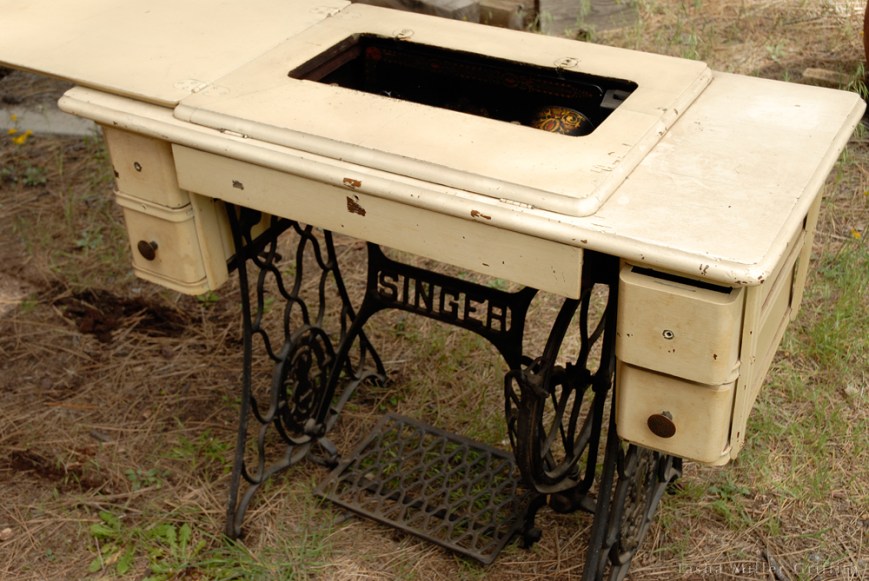
This machine came to me through my husband’s family. It’s remarkably similar to the one my mom inherited, which I learned to sew on. Bryan’s brother took it to the Midwest from Florida for us in his truck, and one summer while we stayed with him during the art fair season, I spent a fair amount of time and elbow grease working over the machine itself, until it was running pretty well and looking pretty good. We brought it back to Flagstaff with us in our truck, and while I really, really wanted to use it, it languished in our garage, becoming the ultimate unfinished object. Because, the cabinet looked like it does below, and I just couldn’t bring myself to bring it in the house until it was refinished—a monumental-feeling task I never seemed to make time for.
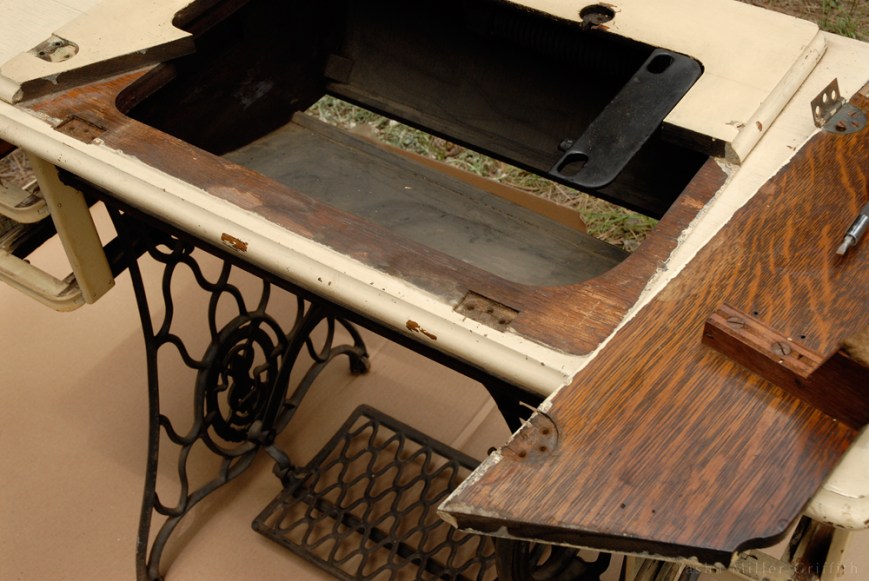
I’m really glad I took these pics, at this point it’s kind of hard to believe how bad it looked!
So, with the article ahead, to feature photos of my beautiful restored treadle, it was time to bite the bullet and get after that yellow paint. I did some good old-fashioned library research. The most useful thing I got there was the idea of using a heat gun to take off the paint. (Which I borrowed from a friend. It takes a village to tackle a big project. And, it absolutely would be worth buying a heat gun if you have this much paint removal in your future.)
Disassembly.
Since I didn’t find much information besides that idea (which I really liked because it meant I could avoid using chemical strippers), and figured out some things as I went, I’m going to include some tips for removing paint with a heat gun. Feel free to skip ahead if you’re not restoring anything yourself.
- Leather gloves and long sleeves are a must, no matter the outside temperature, at least if you’re clumsy like me. My arms and hands would have been covered in little burns from swiping against the heat gun otherwise.
- I used a temperature of 850° F. You might need a little hotter or cooler depending on your paint and what’s underneath.
- Give yourself an out-of-the-way part of your project to practice on, you’ll definitely get better results as you get the hang of it.
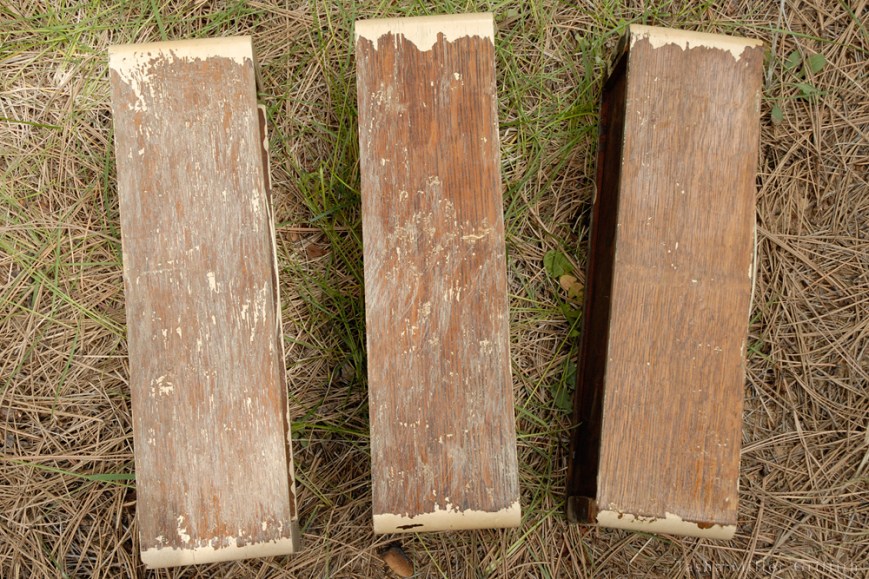
I started with the inside sides of the drawers. First, second, and third attempts from left to right.
- For flat areas, melt a small section thoroughly with the heat gun, then scrape it off using one motion with a flat scraper. Scrape it up and off, not across, the surface, and watch for redeposit of paint. Knock the curls of paint off the scraper frequently, or rub them off on something like a sawhorse as you work.
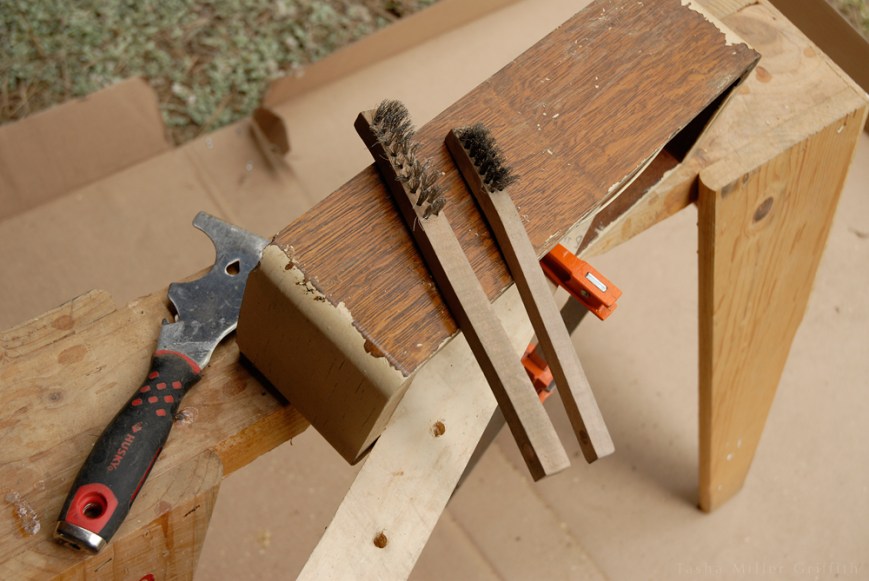
- I found these small wire brushes (purchased at Home Depot) invaluable for getting off leftover flecks of paint, and working around curves and tight spaces. Again, melt the paint with the heat gun, and then use the brush, kind of like you’re brushing your teeth, to flick the paint off. I ran through a few of these, but the softer bristles are better at taking off the paint without scratching the wood below than a tougher brush.
- Areas with thin paint and/or worn or damaged finish underneath were much harder to remove than a full coating of paint over the original finish in better shape. I don’t have many tips other than: yes, you can still get the finish off if you’re patient. Take breaks.
Overall, I loved seeing progress, and at some points the removing paint was it’s own reward as I saw what the wood was like underneath. I could also see that my former self was avoiding this project for a reason. There’s no way around it, it was a slog. It was so, so very worth it in the end though.
For the record, I would like to say that although I spent much time cursing this yellow paint and all it stands for, I understand why the painter did what she did. The finish underneath wasn’t in great shape, some parts were water-damaged, and I’m sure restoring it seemed daunting to her too.
Also for the record, I would like to say that I do not, under any circumstances, support the painting of antique furniture. People, just say no! As an alternative, shellac provides a clean finished surface, while showing off the original character of the piece. If you need help, ask a handy neighbor, or a professional.
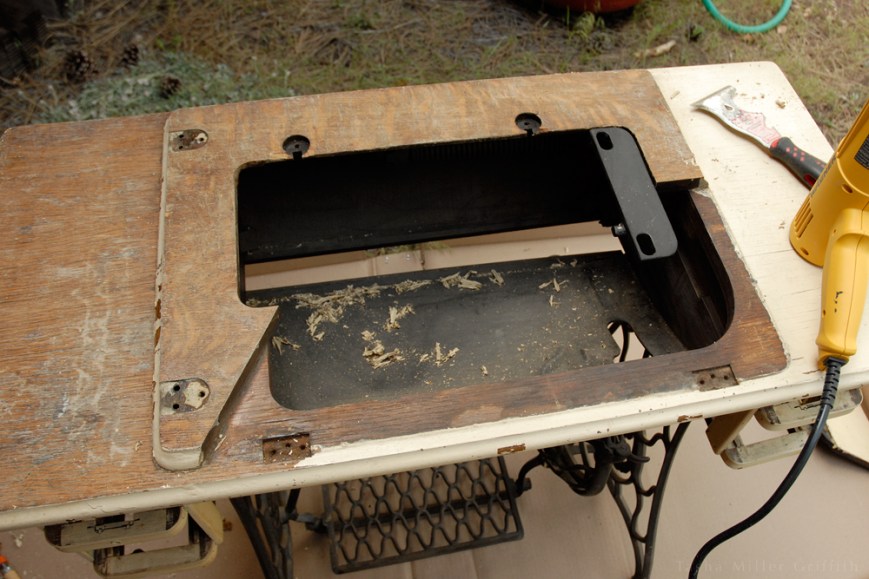
Only one piece of the veneer was too water-damaged to save—the very top, where doubtless a potted plant once sat (I’m not going to rant about that, but, you know, plants on wood=bad idea). So now we know what they put underneath veneer in 1913: pieces of rougher, second-cut wood.
About this time in the project, with the heat-gun-paint-removing not done, Bryan, sensing that the whole thing probably wouldn’t be done in time, stepped in and offered to sand the parts that did have paint removed. This made me feel very loved and supported. But it soon became clear that no matter how much he helped, it just wasn’t possible to finish the restoration in time to take the photos for the article.
So, my mom stepped in and let me borrow her treadle cabinet (carefully restored by my grandparents decades ago). It’s certainly not the first time my mama has saved my behind, and I’m pretty sure it won’t be the last! As luck would have it, the two machines are the same model, made only a year apart. The photos in the article are of the machine I had worked on, sitting in my mom’s cabinet. (Now you know!)
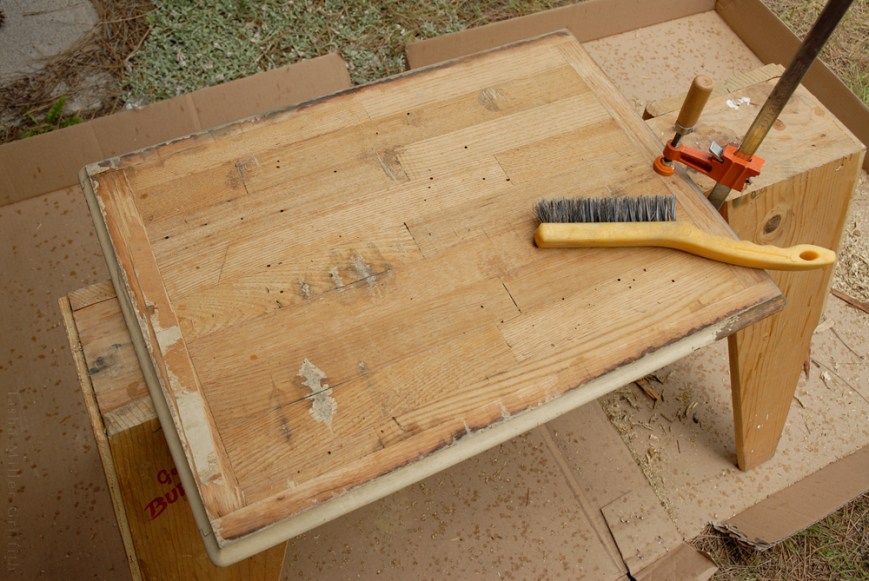
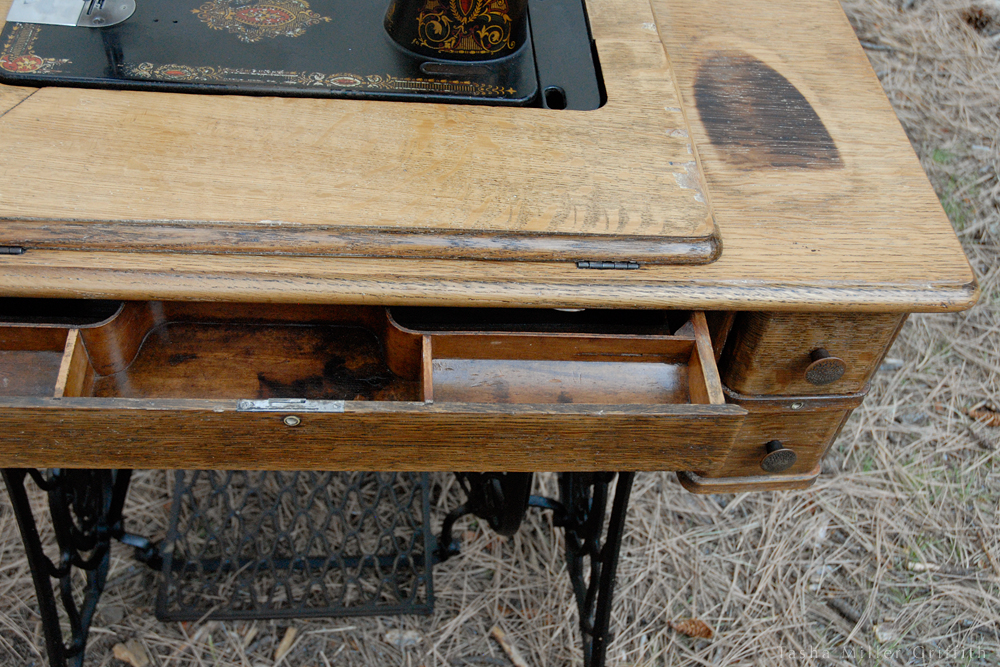
Bryan sanding the top. Under his hand you can see a discovery I loved—a burn mark from an old-school iron—which most certainly did not sand out.
Seeing what a careful job my grandparents did on my mom’s treadle was definitely a motivation to make mine as nice as I could. Once the article was done, I took what bits of time our schedule and the weather allowed to continue working on the cabinet as summer moved into fall. I definitely did a better job with more time to finish this project than I would if I had rushed it, but I still wanted to have a firm goal to keep me going: finishing it and bringing it inside before winter.
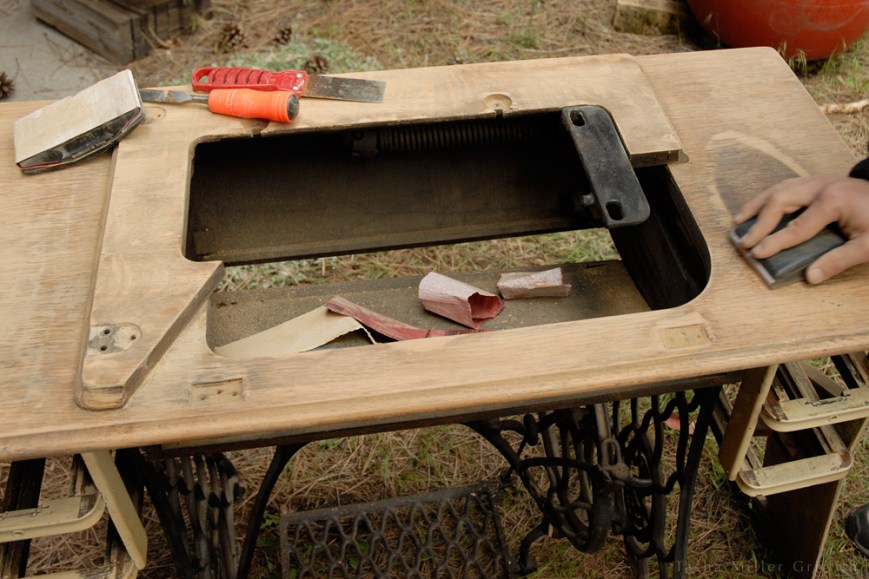
There was a lot of sanding. The original finish under the paint was shellac, which can also soften/be disturbed under the heat gun, and in order to blend the intact finish with the damaged sections, we ended up sanding most of it out. It’s not a very photogenic part of the process, although after working over a section with successively finer grades of sandpaper and blowing off the dust, I could start to see the beauty of the wood revealed.
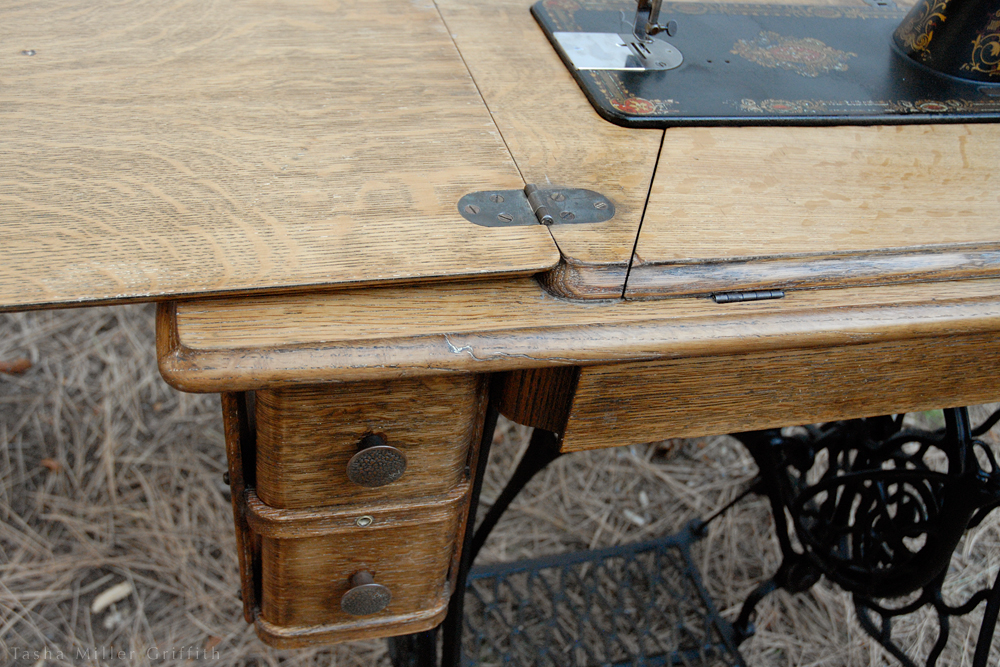
At every stage, the drawer holders/slides took by far took the longest, being full of tiny parts and impossible angles. I took them off where they attach to the top, but if I had to to do over again, I would separate the vertical supports from the slides as well, and scrape/sand/finish the pieces separately, even though it would mean pulling out old nails and labeling parts to get them back in the right order.
There were many days where I was apparently feeling more like working than documenting, including a lot of gluing and clamping sections of loose veneer, and more sanding.
One tip I picked up online (here) which is way to good not to share: baking soda and hot water will remove paint from metal hardware as if a miracle has occurred. If you can soak the metal in the hot water and soda, the paint will actually bubble up and can be pushed off with a rag or your finger. Even pressing a rag wet with the hot solution onto metal parts you can’t take off will usually make it so that you can scrape the paint off with a fingernail. It works unbelievably well.
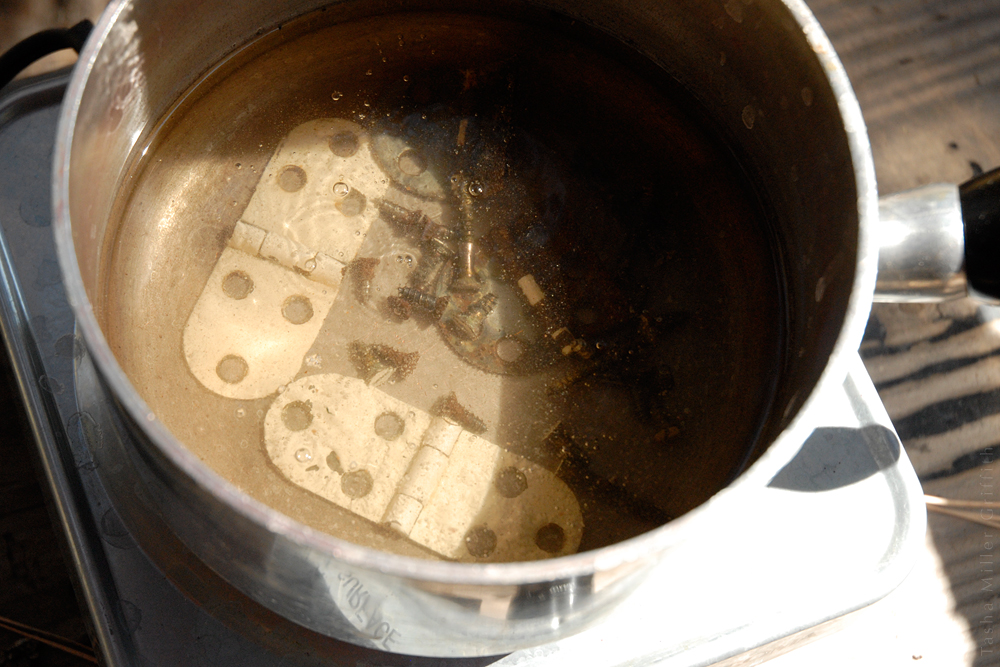
I dropped the hardware in, went inside to get the camera, and by the time I got back I could see the paint detaching and bubbling up.
I became a big fan of shellac when we were doing a lot of work on our house a few years ago. It gives off less toxic fumes while it’s curing than polymer-based finish, comes from a renewable source (bugs), and sticks to pretty much everything. Although it can be damaged by water and heat, it’s easy to repair and refinish.
Pretty much any wood working book can tell you more than I know about sanding and shellac. I’ll just say that I sanded until everything possible felt satiny smooth, and then applied 3 thin coats of shellac with a cloth pad.
After the shellac had a few days to cure, I rubbed out the finish with fine steel wool. This step was pure magic, rubbing out imperfections and taking the finish from a hard glare to a soft glow.
 It’s a little hard to see here, but the top has been rubbed out and the bottom hasn’t yet.
After replacing a few missing screws, the only thing left was cleaning the metal base. I tried wiping it down all over with a wet rag, but it still looked somewhat sad. I couldn’t stand for it to look neglected when the rest now looked so nice. I tried a rag damped with sewing machine oil (my solution for nearly everything treadle-wise) and that did the trick, giving it a very soft sheen and a used-hard-but-cared-for look that goes with the rest of the project.
Ready for the big reveal? Here goes:

It’s more like a Victorian with exposed brick and modern fixtures than a meticulously re-created period home. It wears it’s beauty and the trials of it’s long history equally openly, and equally well. It’s actually hard for me to describe how happy this thing makes me, almost like it was a living thing. Such a process of transformation I’ve been through with it!
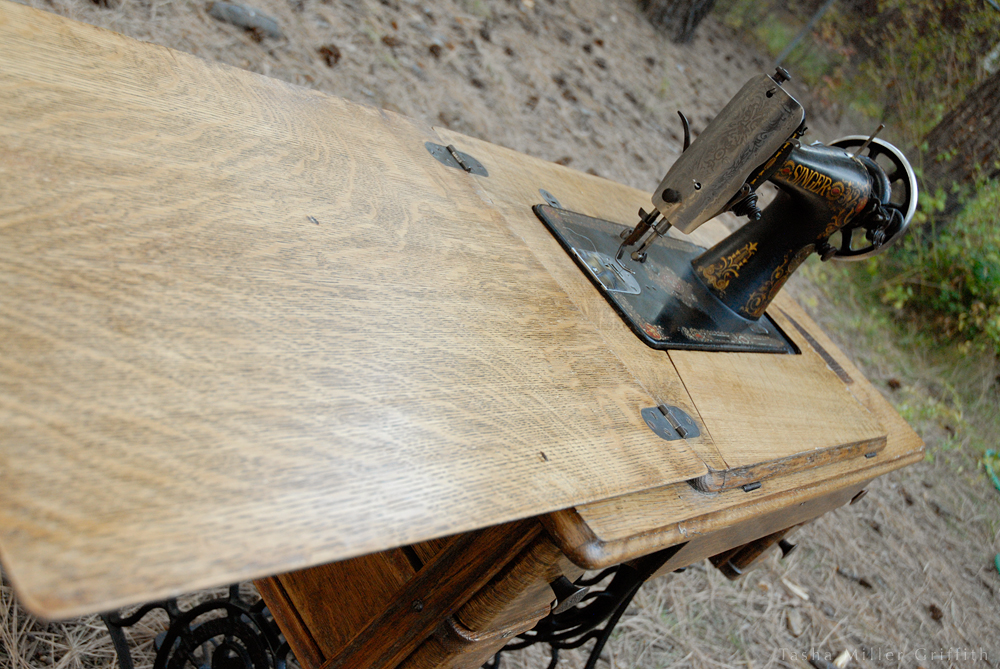
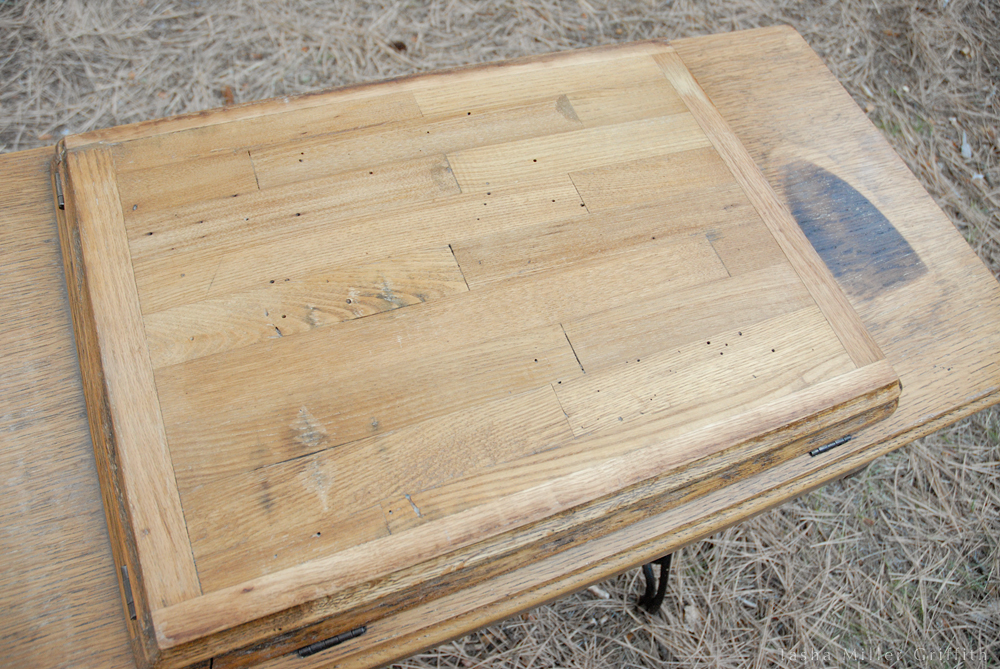 I decided to keep the exposed-inside top and sand it carefully smooth, rather than apply new veneer.
I sort of hate to tell you this, but you can’t fully appreciate this thing unless you touch it. I couldn’t stop touching it when it was first done. The velvety smoothness seems miraculous after all the time I spent with it when it was in such bad shape.
I don’t know if it’s because I don’t often do projects like, because it waited for so long and then in the end came out so well, or because of a shift in my attitude (probably some of all of those), but this project was so incredibly satisfying. In the final stages, I was really able to appreciate exactly what I was doing while I was doing it, and reveling in both the results and all the work that got me there in felt fantastic.
When I go into my work space in the mornings now, this is one of the first things I see. I still often reach out and touch it at some point while I’m stretching and getting ready for the day, or if I’m sewing with it later I’ll give it an extra caress. It probably sounds like I’m obsessed, but while this is now one of my very favorite physical objects in the world, it’s the experience of having brought it from what it was to what it is that’s my favorite part. The best reward for tackling something big is the satisfaction. Cheers to that!

Huge Congratulations! It is beautiful and even moreso for all your own heart that you found deep in the grain. I wonder if the person who painted it was the same who made the burn mark- if she just didn’t want to see it again?
Thank you! I love the way you phrased that. I’m pretty sure the burn mark is from a generation or two before the painting … but I wouldn’t be surprised if it was part of what led to the painting over.
I just finished restoring my old Singer treadle cabinet. Embossed drawers and side panels. Put new veneer on the lid and tabletop. Lots of hard, tedious work, but oh, so worth the satisfied feeling of accomplishment! Like you, I find myself touching it whenever I walk past. I love this beautiful object my grandmother gave to me almost 40 years ago. And to think, I let it sit neglected for so many years! I am now cleaning the 1909 Singer 66 with lotus decals. I do not want to make it look like a new machine. I will allow her to wear her patina gracefully after I have thoroughly cleaned her. I call her Alta, after my grandmother.
Hi Vivian, and thanks for leaving such a lovely comment! I agree, old tools that are allowed to show their age and the fact that they’re well cared for are so beautiful, they have such a story to tell. Good luck with your next machine project!
What an inspiration! This is such a lovely piece.
Hello Nice work on the restoration I am working on a similar project however inside the cabinet was a very large spring not attached to anything . I cant figure out if it part of the cabinet or not . Did yours have one ?
Hi Vince, yes there is a huge spring at the back inside top of the cabinet, mine is attached to the little plate at the side of the machine where the treadle belt goes through. It’s to help the machine swing underneath to close the top flat, and swing back up for sewing. Good luck with yours!
good morning, just letting you know that all your hard work paid off. the machine cabinet is beautiful. i have my mom;s Singer 15-91 but not brave enough to do the work the cabinet needs so I am in the process of finding someone to do the work. Have a wonderful and blessed day.
Pingback: Treadle Sewing Machine - Buying, Restoring, And Using Treadle Machines | Mother ...