A beginning embroidery primer, with free patterns.
For the last few years, May has found us around Washington DC. We usually do two art shows there, and in between stay with some dear friends and ride the Metro to visit the sites of our nation’s capitol. The whole time we’re surrounded by so many people (especially from my middle-size-town perspective). Since it’s Me-Made-May, I spend even more time thinking about what those people are wearing than I normally would. It’s easy to get a little bummed out when I look around and consider that, of the hundreds of strangers I can see at any given moment on the subway platform or at a monument, perhaps none of them are wearing anything handmade. But it also got me thinking that maybe they just haven’t considered it, that if they knew there was a whole movement going on, that folks around the country and the world were encouraging each other and posting about their handmade wardrobes at that very moment, maybe it would encourage a few of them to at least think about it.
So I wanted to bring something that said I was participating in Me-Made-May, and/or that I had made part of my outfit, off the internet and onto my physical person where all those strangers could see it. I started to talking to Zoe about it, and she liked the idea too. I owe her big thanks for her support, bouncing ideas around, and of course for putting on this challenge for us again this year! Since MMM is all about stitching, and I’ve been doing a lot of hand-sewing and embroidery lately, here’s what I ended up with:
![]()
You can make them too! I designed these little badges with embroidery beginners in mind, and I’ll walk you through some parts that might be confusing, so even if hand-sewing isn’t usually your thing, you can handle it. If you’re already further along in your embroidery journey, feel free to skip down and glance through the photos, then print the pattern and get started. Click the link below to get the pattern:
materials & tools
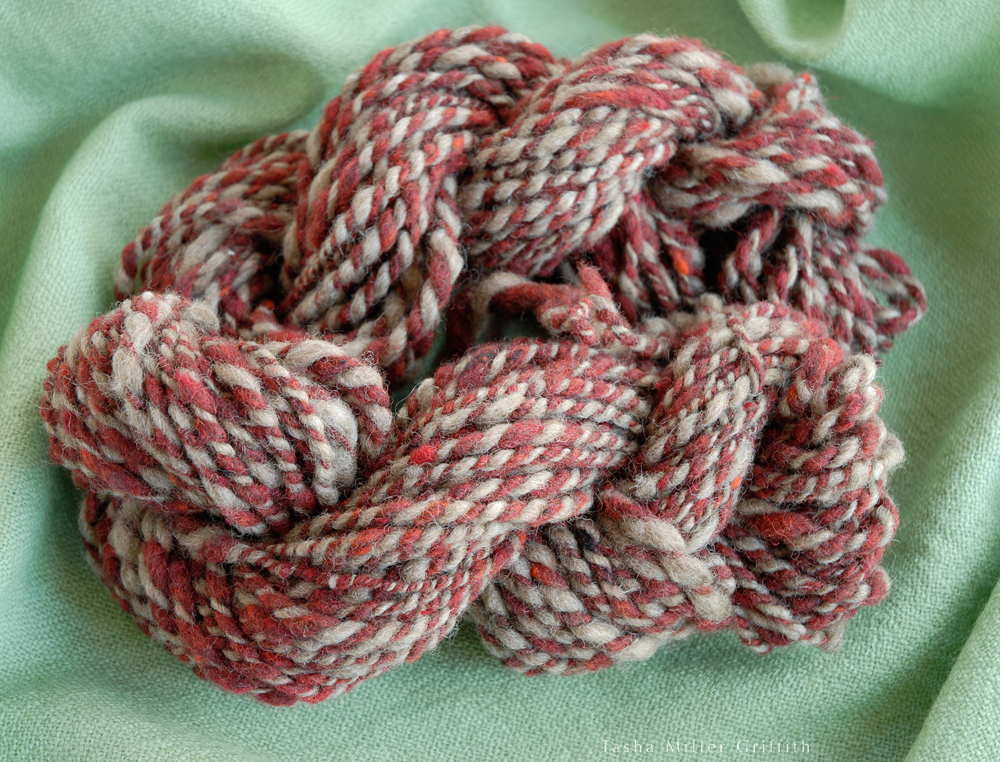
You’ll need some felt, and some embroidery floss, thread, or fine yarn.
Wool felt is an ideal material to start stitching on, since it’s forgiving, doesn’t ravel, is thick enough to not need backing, and you can hide ends and extra stitches in the thickness.
The Me-Made-May badge is stitched here in variagated cotton floss, and the “I MADE this!” one in wool thread. There’s more about the specific threads I used at the end of this post.
You’ll also need a few basic sewing tools: a sharp needle with a long eye, and a small sharp scissors. I always wear a thimble like this one when I’m hand stitching.
Finally, you’ll need a scrap of tissue paper and a fine-point pen to transfer your design to the felt.
thread types
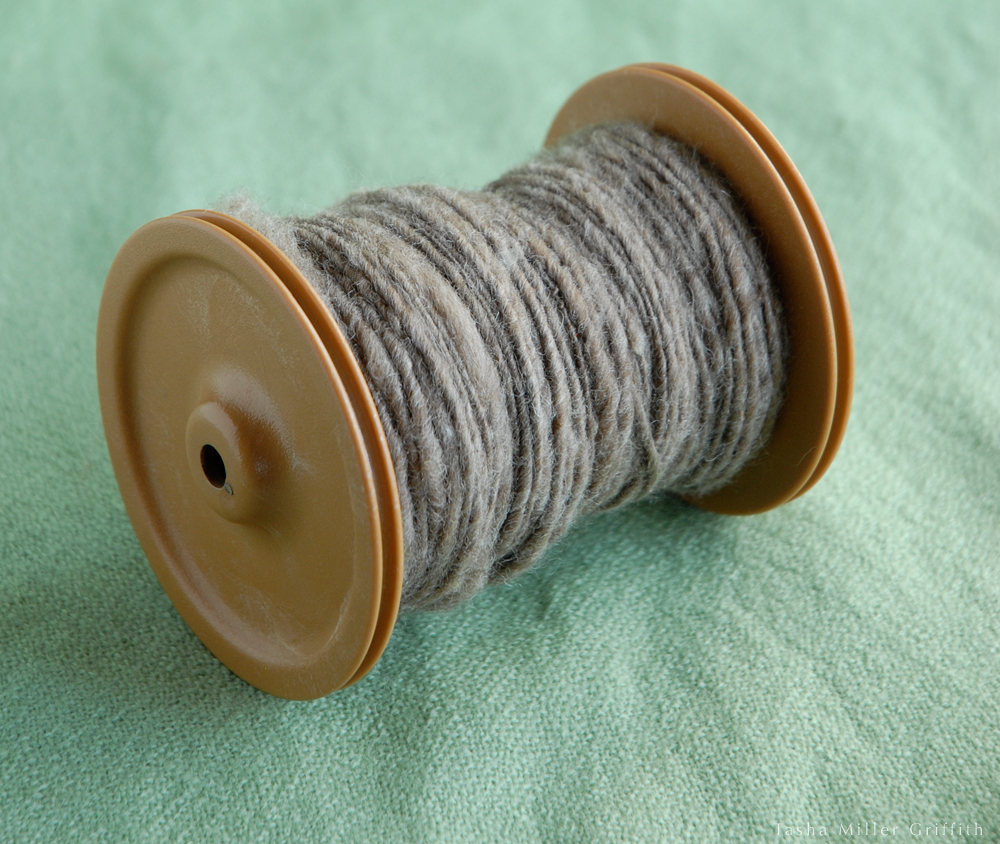
Let’s talk for a minute about the differences between cotton and wool, and floss and thread, for stitching. Wool threads designed for embroidery are often labeled “crewel” (a type of embroidery) and are usually made up of two single strands (called plies) twisted together. This plying is integral to the structure of the thread, and it’s not meant to be separated.
![]()
Cotton floss often comes in a loosely twisted bundle of threads, which can be separated to make various thicknesses. This is called “strandable” floss. If you look closely (maybe with a magnifier), each strand of this kind of floss actually has its own two-ply structure. Some cotton threads have a non-strandable structure as well.
![]()
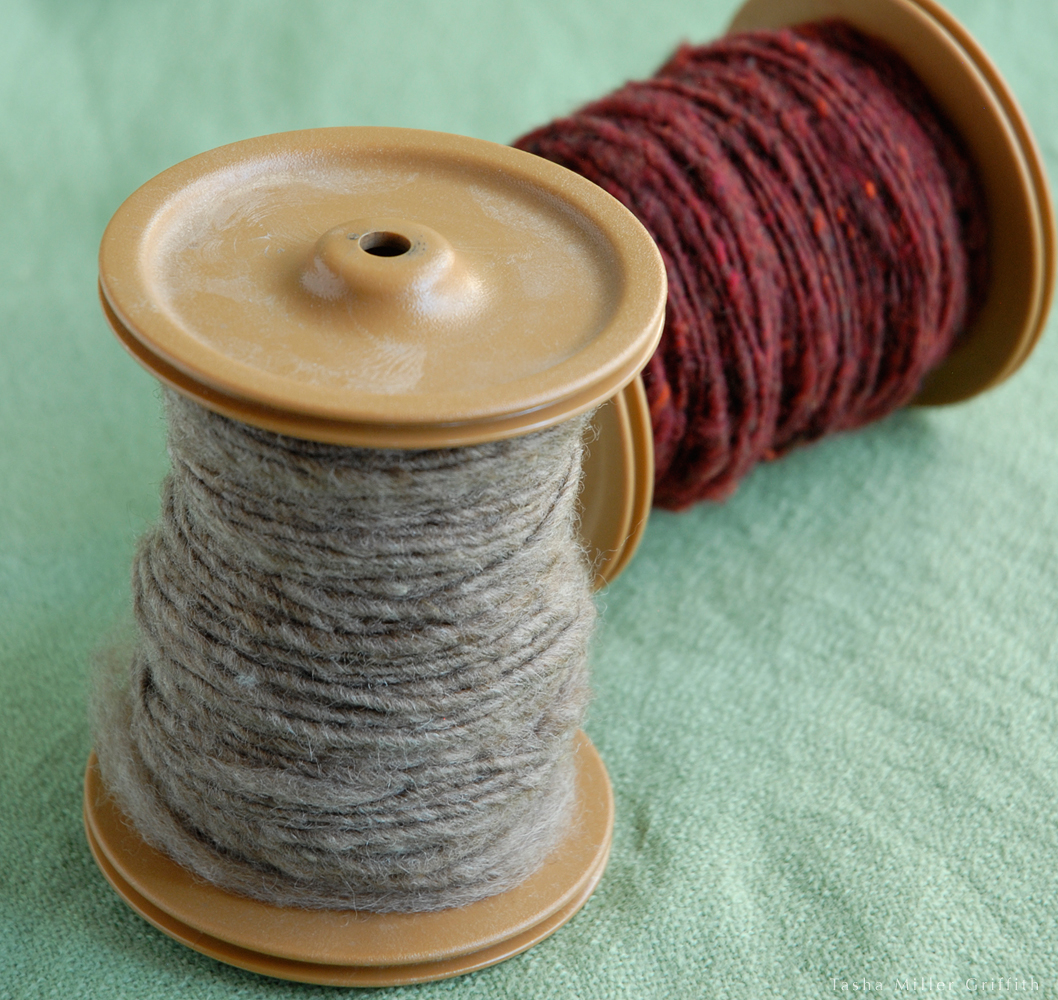
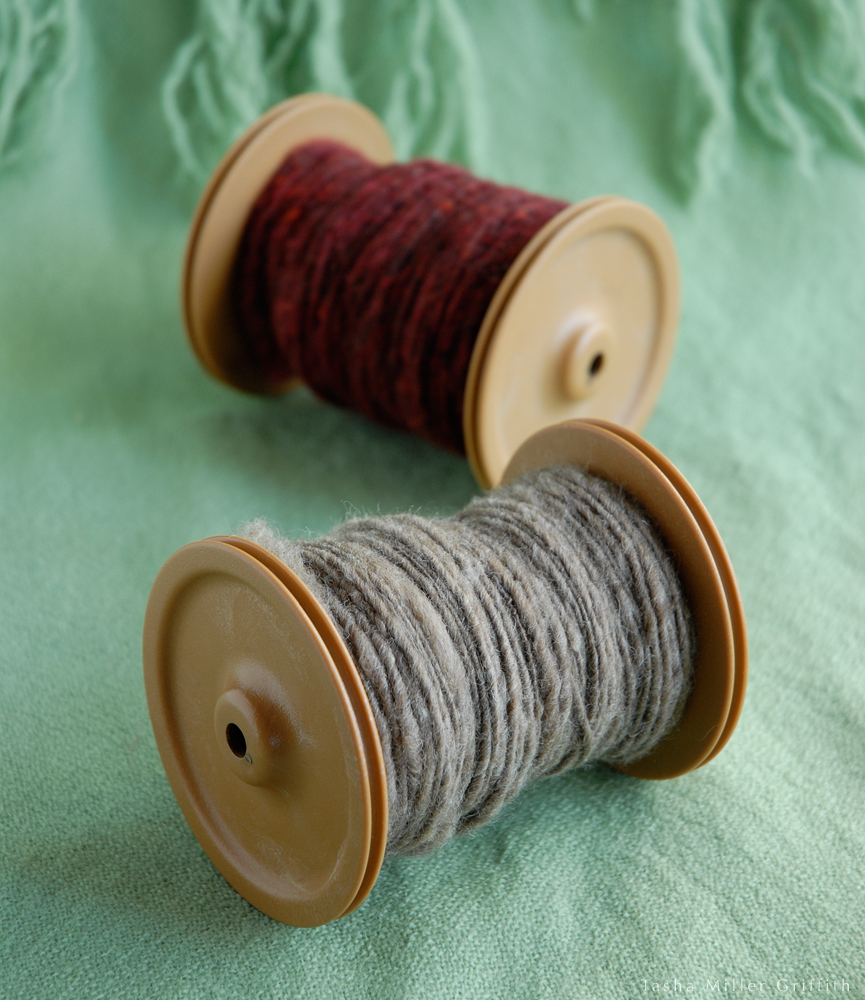
Just like in sewing or knitting, the different properties of wool and cotton fibers make a difference to how they work in embroidery. Wool’s crimpy, elastic nature means that it plumps up, filling gaps and making it easier to embroider a smooth satin stitch or a plush knot. Cotton is denser, smoother, and less elastic, meaning you may need more thread to cover the same area, and the stitching will have a tighter, flatter look.
getting started
Put a little piece of tissue paper over the printed pattern you want to make. You can use scraps of tissue, and iron them flat if necessary. Using a fine-point pen that won’t bleed, trace the pattern carefully, including the circle around the edge. Make a single line for thinner shapes and letters, and draw around the outline of thicker shapes. Pin the tissue to your felt, with the pins outside the circle. You’ll stitch right through the tissue and the felt to make the design.
![]()
I tried several methods of transferring the patterns to my felt, and this one worked the best. An iron-on transfer pen (not a pencil) also works, but it makes thick permanent marks that are a little fiddly to apply, and must be covered with stitching.
To thread the needle, I use the techniques I shared in this Seamwork article about hand-stitching. I found that it helps to fold over the end of the wool thread, and to wet the end of the cotton floss.
To begin, take a long stitch on the back through the thickness of the felt, coming up near where you want to start. Let a little bit of thread remain on the back surface. You can trim it off later to neaten things up. If possible, take your first stitch as a backstitch to anchor the thread.
![]()
General embroidery tips:
- Stitch in good light! It’s unbelievable what a difference this makes.
Test out your stitches and thread on a scrap before you start, especially if you are experimenting with new stitches and/or aren’t sure what thickness of thread to use to get the look you want.
- How even your stitches look depends mainly on how even the tension is between one stitch and the next. Start off slow and even.
- When moving from one letter or shape to the next one, take a stitch through the thickness of the felt to keep it hidden. To keep long stitches from pulling the next part of the embroidery out of shape, push the needle straight through to the back of the work, then take a long stitch into the felt, coming out on the back near where you want to start again. Then bring the needle up to the front in your next spot.
the stitches
Most of the text in these patterns is made with backstitch. I explain this stitch in that Seamwork article, and in even more detail in this post.
![]()
Backstitch tips:
- Put your needle in right at the end of the last stitch for a solid line.
- Look ahead at the section you are stitching, and decide whether to divide it into two stitches or three, etc.
- Think about the path of the thread when you come to corners and curves. Remember that where the needle goes in is the beginning of the current stitch, and where it comes out is the end of the next stitch.
![]()
For the scallops around the edge of the Me-Made-May badge, I used a simple straight stitch. Follow the individual lines on the pattern for a looser look that shows off the separate threads, or fill in the whole scallop shape, depending on the thread you’re using and the look you’re going for.
![]()
I filled in the thicker lines of text with satin stitch, which is basically a row of straight stitches very close together, so that they look like a solid surface. It’s easier to keep these stitches even and plush-looking if you work them over a base of another stitch. For these patterns I outlined the satin stitch sections in backstitch first.
Straight & satin stitch tips:
- Backstitch around the outline of all the text, and finish all other parts of the design that use the pattern as a guide, then remove the tissue pattern before you fill in the satin stitch. You’ll be able to see exactly where the stitches are more clearly, and pulling off the tissue will be easier.
- Cut carefully around the outer circle of the design. Leave the outside of the tissue pinned to the felt for reference and later cutting (you may actually want a few more pins at this point to hold it smoothly). Tear out the part under the badge itself. Pointed tweezers are an ideal tool for pulling out tiny/stubborn pieces of tissue.
![]()
- Stitch as close to the foundation backstitches as possible for a full look. You can even push the foundation stitches to the side with the needle to make more space and keep the line of stitches even.
![]()
- If your satin stitch comes out a little lumpy, it can help to put the eye of your needle into a row of stitching and move it gently back and forth.
![]()
- When making satin stitch around curves (like on the D in “MADE”) it helps to make the stitches inside the curve as close together as possible, and fan them out a bit on the outside of the curve, a technique that’s illustrated in detail on Needle ‘n Thread here.
The round knots around the outside of the “I MADE this!” badge are colonial knots. They’re a variation on a French knot where you loop the thread in a figure eight around the needle before pushing it back into the fabric. I like these because they hold a larger, more textural shape, and can’t come undone as you’re making them. They look especially plump in wool threads. There are more pictures and explanation about colonial knots on Sarah’s Hand Embroidery Tutorials.
![]()
finishing
When you come to the end of a section of thread, bury it through the felt for a short distance and come out on the back. You can trim the ends close, since some thread remains in the thickness to keep your stitches from pulling out.
![]()
Once all your stitching is complete, cut out the felt circle, once more going carefully around the shape you traced.
![]()
Sew a pin, a clip, or a magnet to the back, and it’s ready to go meet the world.
![]()
supplies
I used handmade felt, because I have lots of scraps of it laying around. Use what you can find near you, but if you possibly can, use real wool felt rather than the synthetic stuff. Wool is just so much lovelier to work with, and it will hold up to wear much better. Mine was 2-3mm, or around 1/8” thick. Weir crafts sells a variety of felt online, including some that’s handmade and some that’s made in USA.
I discovered two things while looking for threads for this project: there are probably as many small companies and indie dyers making embroidery threads as there are making knitting yarn, and I personally am just not interested in using floss in flat colors. My mom has been into embroidery for as long as I can remember, and a quick dig through just part of her stash resulted in many more beautiful options than I could use.
For the Me-Made-May badge, I chose two colors of variegated cotton “painter’s threads” from Tentakulum; 121 “Cezanne” and 125 “Matisse.” They’re made in Germany, and available through embroidery suppliers in the US, including Artistic Artifacts. DMC also makes a couple of ranges of variegated floss, which are a lot more common, at least where I live.
For the “I MADE this!” design, I used some amazing fine crewel wool thread, dyed with natural pigments by Renaissance Dyeing, out of France; color numbers 0309, 1622, 1708, and 2000. Single colors are available in the US through Hedgehog Handworks. Photos do not do these colors justice; they are good enough to eat! Any crewel wool or very fine yarn that you like would be a good substitute.
![]()
In case you’re wondering, while I had plenty of materials to choose from right in front of me, I did do a little searching to see what I could come up with for organic/traceable threads. Renaissance Dyeing looks good on the sustainability front; they use all natural dyes and local wool, it’s just that they’re far away from me. Organic Cotton Plus also sells a line of organic cotton embroidery floss which is grown & spun in Peru and dyed in the USA.
Personally, I think I’ll be using a lot of the yarn scraps I have lying around, especially for larger designs. And I think it would be well worth it to buy (or spin!) some natural colored thread, and drop a tiny skein into every dye pot I try. It takes so little, why not?
resources
All you have to do is start searching on Instagram, Etsy, or wherever you get your internet eye candy to find amazing examples of beautiful modern embroidery. I particularly like Katherine Shaughessy’s crewel work, she has two books with a fun modern aesthetic, and sells supplies and patterns (with some free ones) on her site Wool & Hoop. Yumiko Higuchi also does some of my favorite embroidery. She likes to to mix wool & cotton threads, and her book just published in English (Simply Stitched) does a great job of taking advantage of the properties of both, as well as being full of inspiring designs.
If you make one of these, I’d absolutely love to see it! Share it using #mmmay16, #handstitched, or email me a photo. And of course, I’m here to answer questions if I can.
Happy stitching!