Knitting 102 Cowl – Free Pattern


T with simple knit cowl
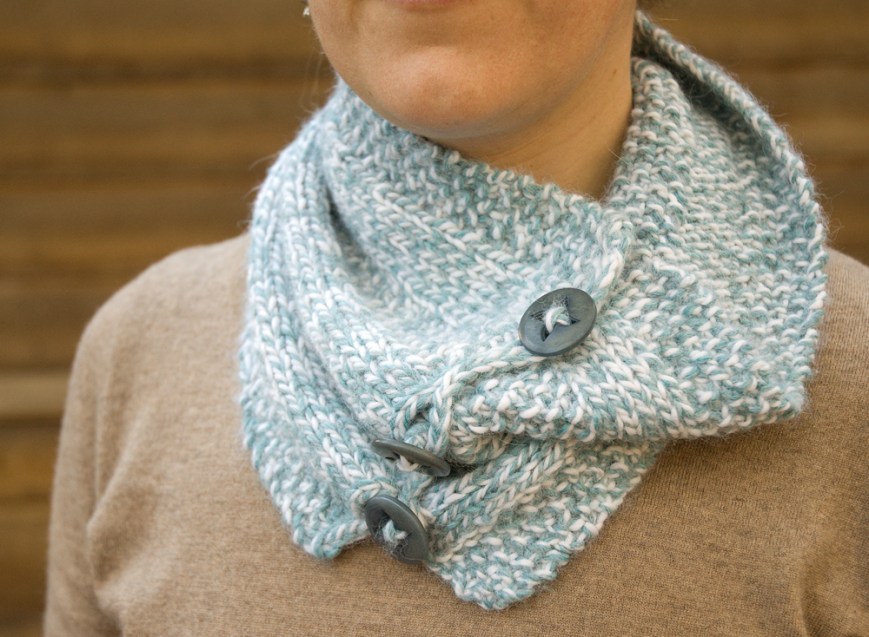
When my cousin was about 12 years old, she knit me a scarf. I’m touched by this gesture every time I think about it. That’s a lot of time and effort to put into an object for someone else when you’re that young. The scarf (at left) is great, made from a colorful thick-and-thin yarn, but it’s kind of short. Then one day a couple of years ago I realized that if I added buttons and buttonholes to the ends, it could be a stylish cowl, and I’d probably wear it a lot more. Which I do.

Then I realized that a cowl like this, just a knitted rectangle with buttons added, would be a perfect second or third knitting project for my students. For when you can knit and purl, but maybe you’d like to make something besides a washcloth using your current skills, before moving on to knitting in the round and all that.

I made a sample one with some seed stitch columns added, and left it at the yarn store where I teach. One day not long ago I was over there, and the owner and one of the employees were telling me about how people ask for the pattern a lot. I was quite surprised. I agreed to write it out. Then I got to thinking, if I’m going to give this pattern to whoever comes into the shop, I’d like to give it to you guys too. So here you go:


Knitting 102 Cowl Pattern


102 cowl 1


To make this cowl, you’ll knit a long rectangle, and then use a simple crochet stitch to make buttonholes on one end. Sew buttons on to the other end, and it’s ready to wear!

This concept is very adaptable. It’s easy to vary the yarn, stitch choices, and size to suit your own taste and knitting level.


102 cowl 4


Materials

Yarn: the sample is made in Cascade Baby Alpaca Chunky, a very soft yarn with a lot of drape and not much bounce. One skein is enough for a small cowl like this. The finished fabric hangs in liquid folds. If you’d like a cowl that will stand up more, choose a yarn with more body and spring.

Gauge: the finished sample has 4 stitches per inch in both stockinette and seed stitch. It’s OK if your gauge comes out a little bit differently, since exact size isn’t super important for this project. It’s still a good idea to make a swatch with your yarn and see if you like how the fabric is coming out, and measure your gauge to get an idea of how big your finished cowl will be.

Needles and Hook: try US size 8 (5mm) knitting needles, but keep in mind that you may need a larger or smaller needle to get the gauge you want (especially if you use a different yarn). You’ll also need a crochet hook in a similar size for the buttonhole loops. In my experience the hook size doesn’t need to be exactly the same for such a small section.

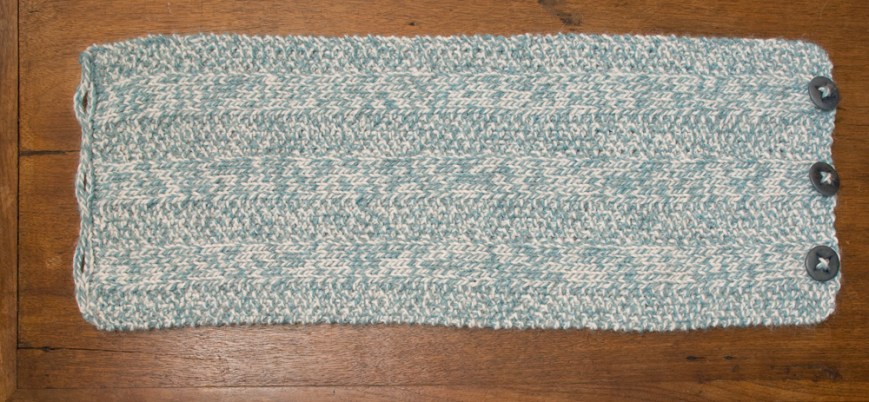
Finished size: the sample cowl is 8 ½“ wide and 22 ½” long. It fits fairly close around my neck, but is big enough to get over my head without undoing the buttons. You can compare the dimensions to any cowl you like to see if this seems like a good size for you.


Directions

Cast on 35 sts (or your stitches per inch x desired size in inches).

Other options: If you’re not quite ready for keeping track of the seed stitch columns, you can also make a perfectly good cowl using garter stitch (knit every stitch, every row) or using seed stitch across the whole piece. (A cowl made with all stockinette stitch—knit one whole row, purl one whole row—will curl up at the edges.)

For the seed stitch pattern, you’ll need an odd number of columns of stitches. In the sample cowl, there are 7 columns of 5 stitches each. You can also vary the number of stitches in each column if that works better with your stitch count.

First row (right side): work in seed stitch for 5 stitches (knit 1, purl 1, knit 1, purl 1, knit 1), and then knit 5 stitches. Repeat this sequence of 10 stitches (2 columns) two more times, and end with 5 stitches of seed stitch.

Note: You may want to put a stitch marker around the needle between the sections to help remember when to switch patterns.

Second row (wrong side): work seed stitch for 5 stitches (knit 1, purl 1, knit 1, purl 1, knit 1), and then purl 5 stitches. Repeat this sequence of 10 stitches (2 columns) two more times, and end with 5 stitches of seed stitch.

Note: this seed stitch in this pattern alternates every stitch between knit and purl, both horizontally and vertically. After set up in the first row, work a knit stitch on top of each purl stitch you see in the seed stitch sections, and vice versa.

Repeat these two rows until you reach your desired length for the cowl.

Bind off—not too tightly or the edge will pucker. Leave a long tail (a couple of feet long) and you can use it to make the buttonhole edge as well.


102 cowl 5


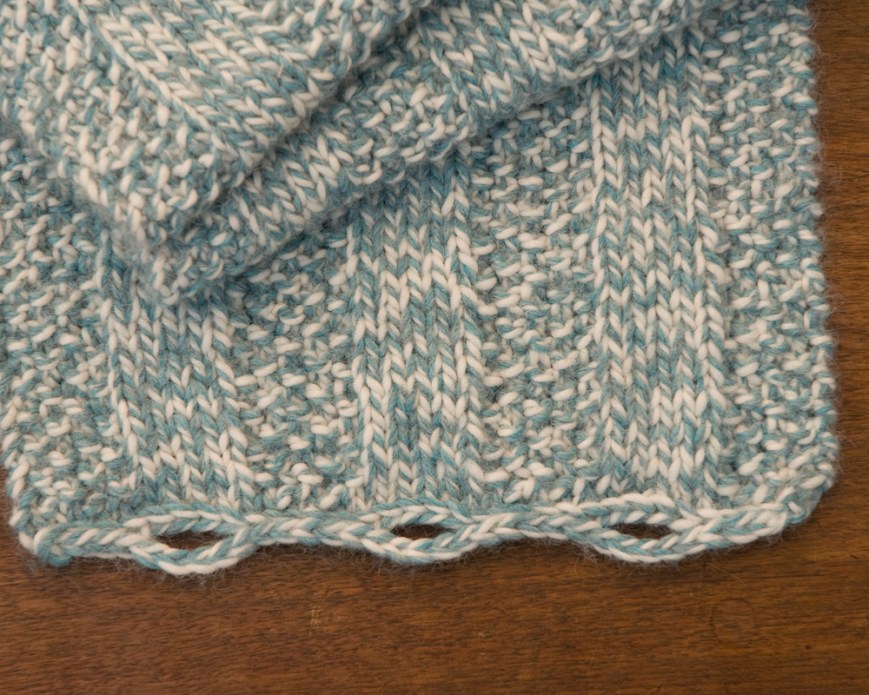
Crochet buttonhole edge
Go into the first stitch of your bind-off with a crochet hook. Pull a small loop of yarn through with the hook. Go into the next bind-off stitch the same way, pull another loop through, and then pull the second loop through the first loop so that you have only one left on the hook.

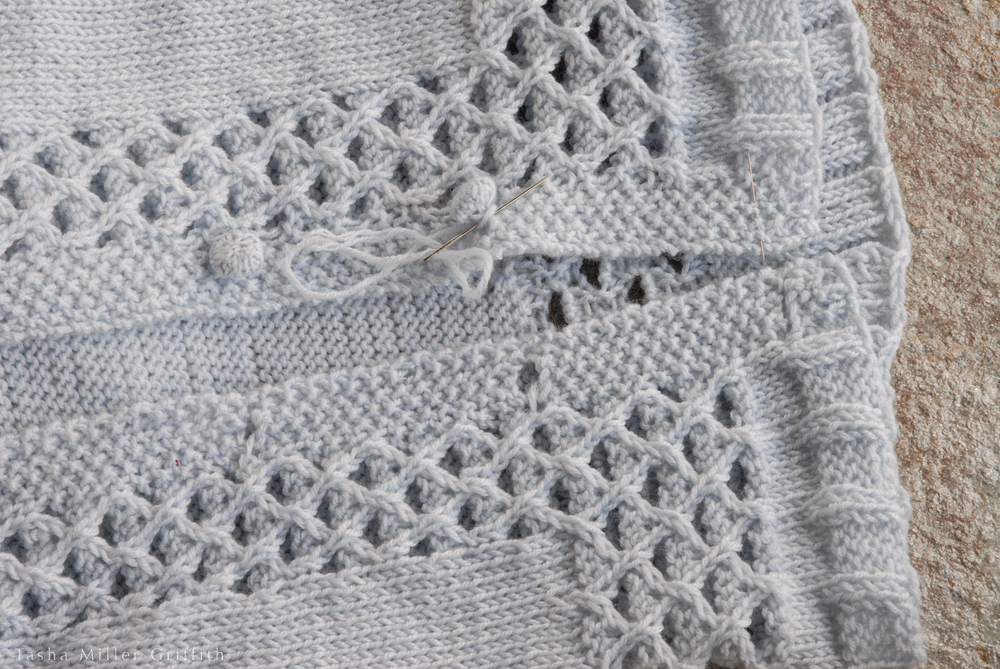
(I drew these illustrations for my students, who would also have me standing next to them to show them how to do it.  If this whole concept of crochet edges is new to you, check out this explanation from Knitty, which covers crocheting on to a knitted edge, as  well as the difference between a crochet slip stitch and single crochet stitch.)


crochet edge


Continue in the same way, going into each stitch as you come to it, pulling a loop though it and then through the loop you already have on the needle. This is called a “slip stitch” in American crochet terms.

You’re making a line of crochet stitches, which should look like another bind off row on top of the first one.

When you get to the place where you want to make a buttonhole, chain (pull loops through your working loop one at a time, without connecting to anything else) until you have enough stitches to just fit around your button.

You can make the buttonholes flat to the edge or more of a loop—your choice, depending on where you attach them—but either way they should be just big enough to push the buttons through, otherwise they may come loose while you wear it.

Reattach the chain to the edge by going into the bind-off stitch you choose, and making a slip stitch as you did before.


crochet buttonhole v2


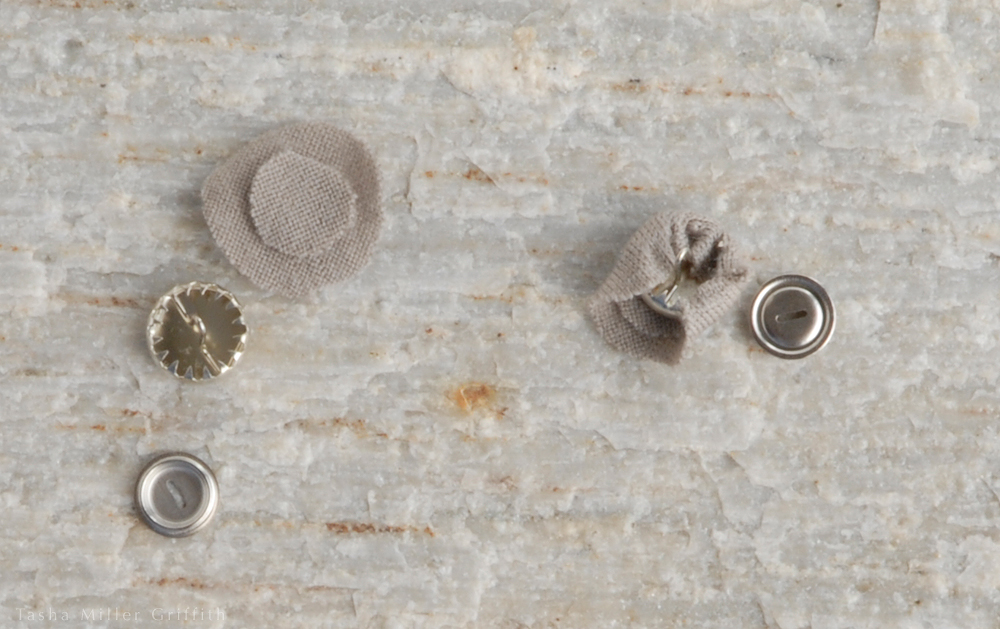
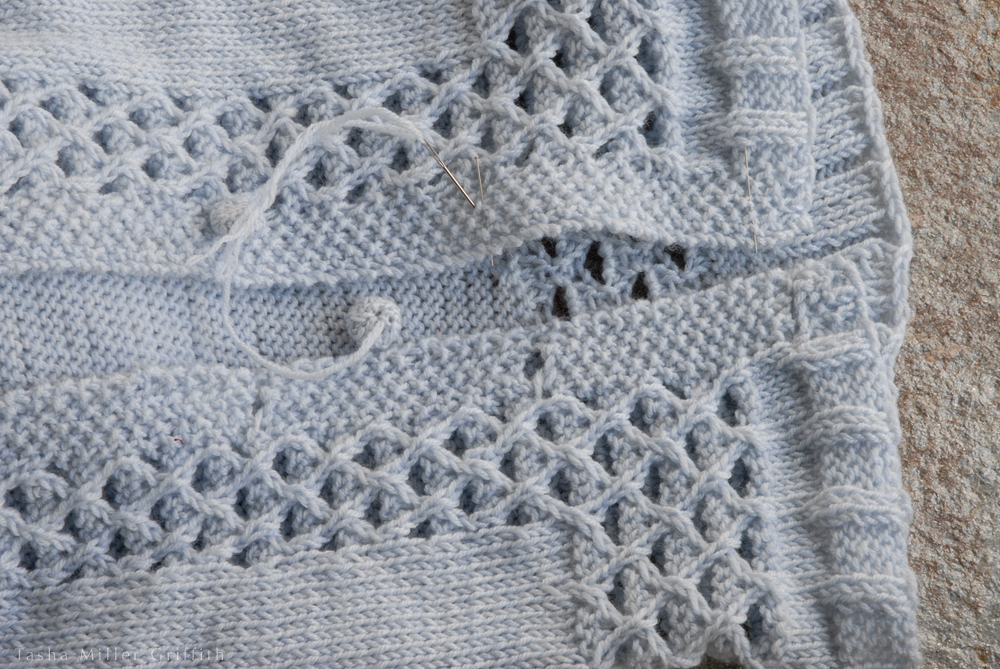
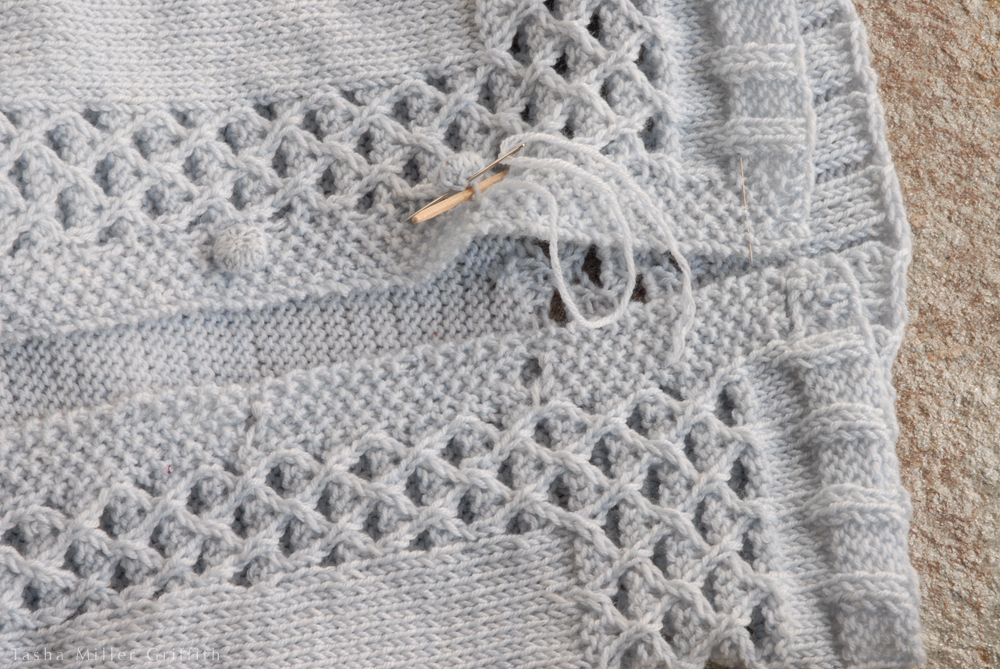
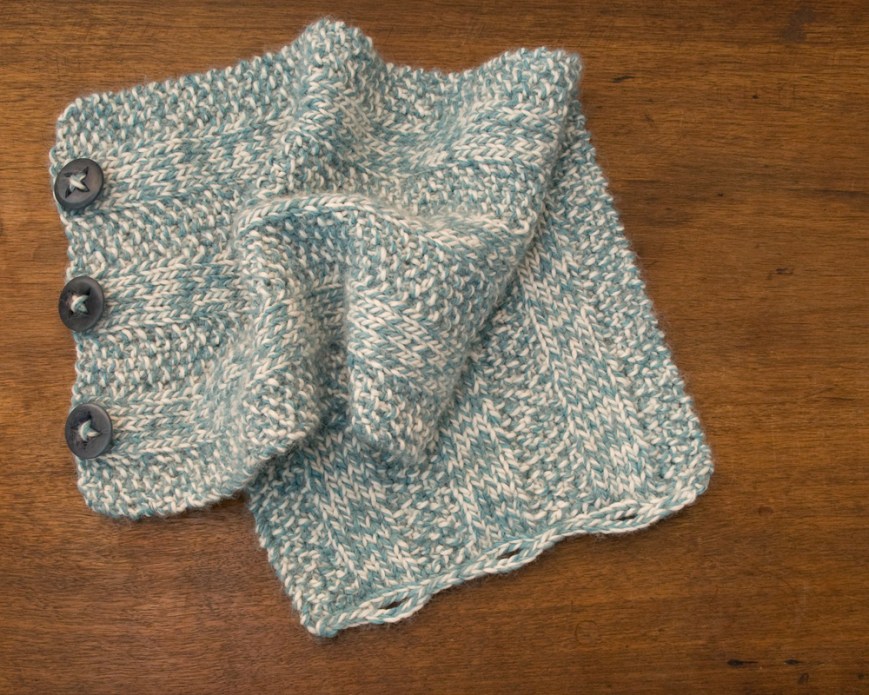
The sample cowl has three large buttons and buttonholes, which line up with the three stockinette stitch columns.


102 cowl 2


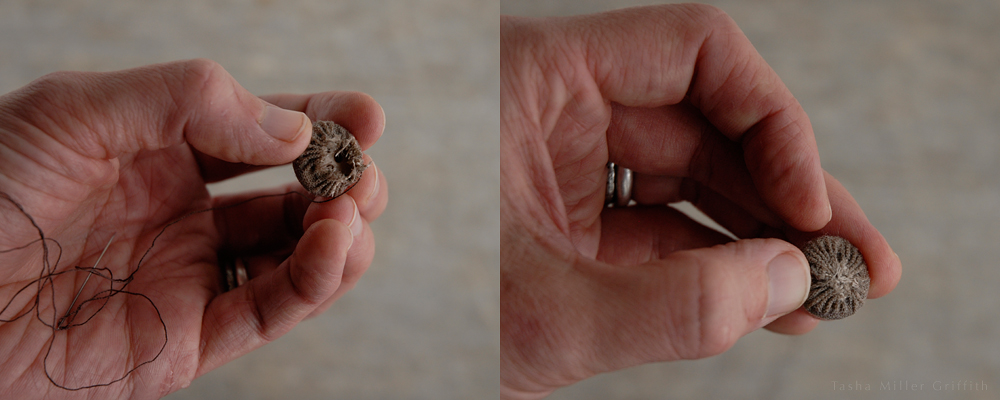
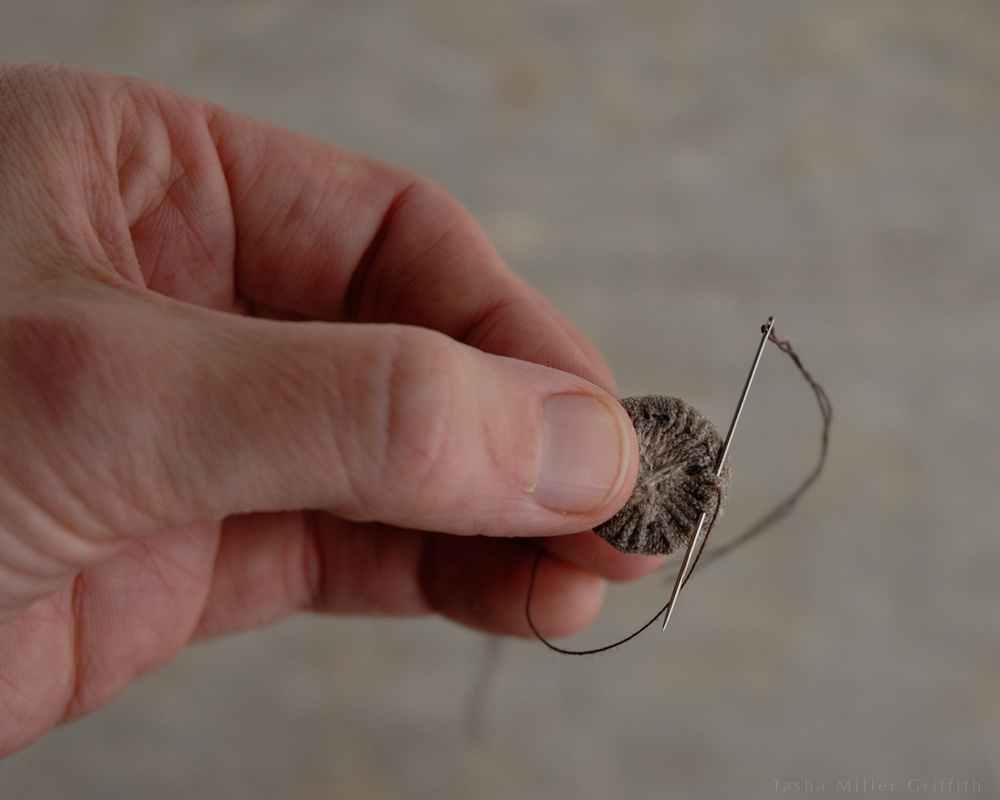
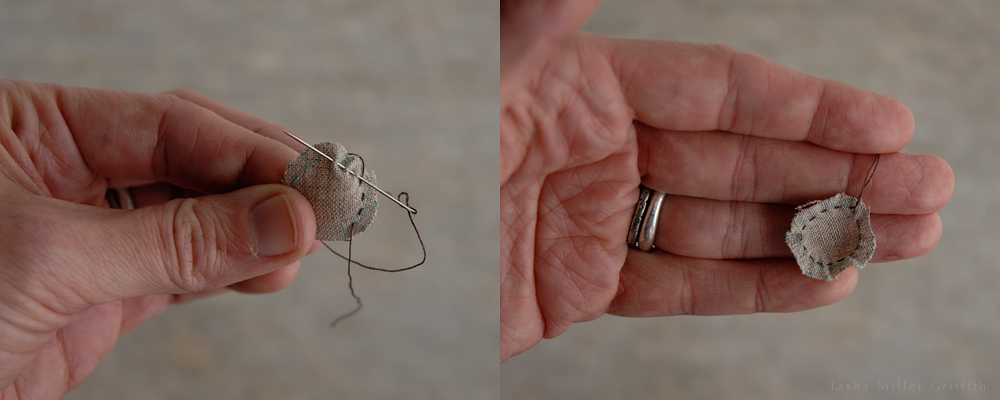
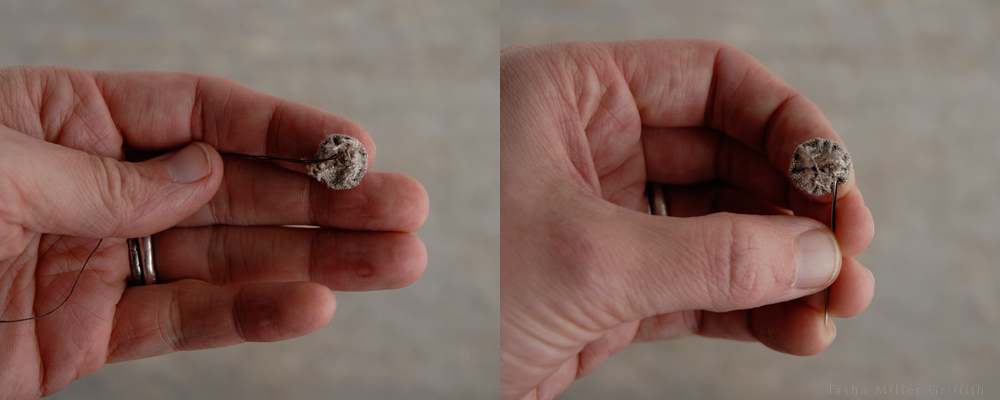
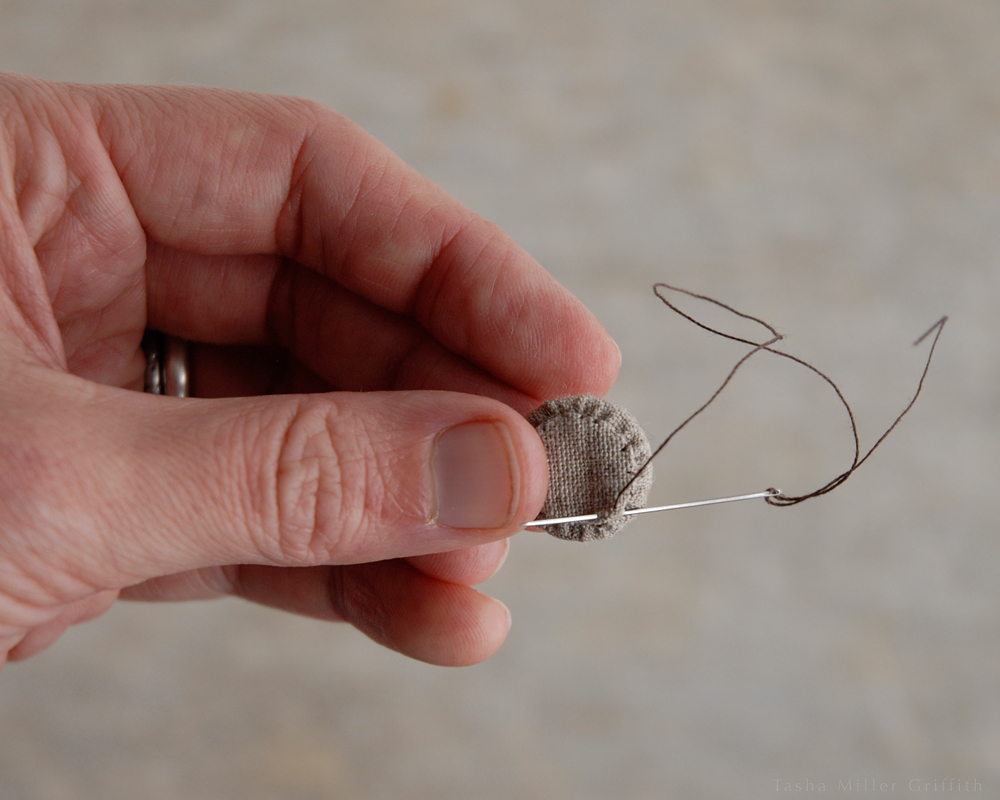
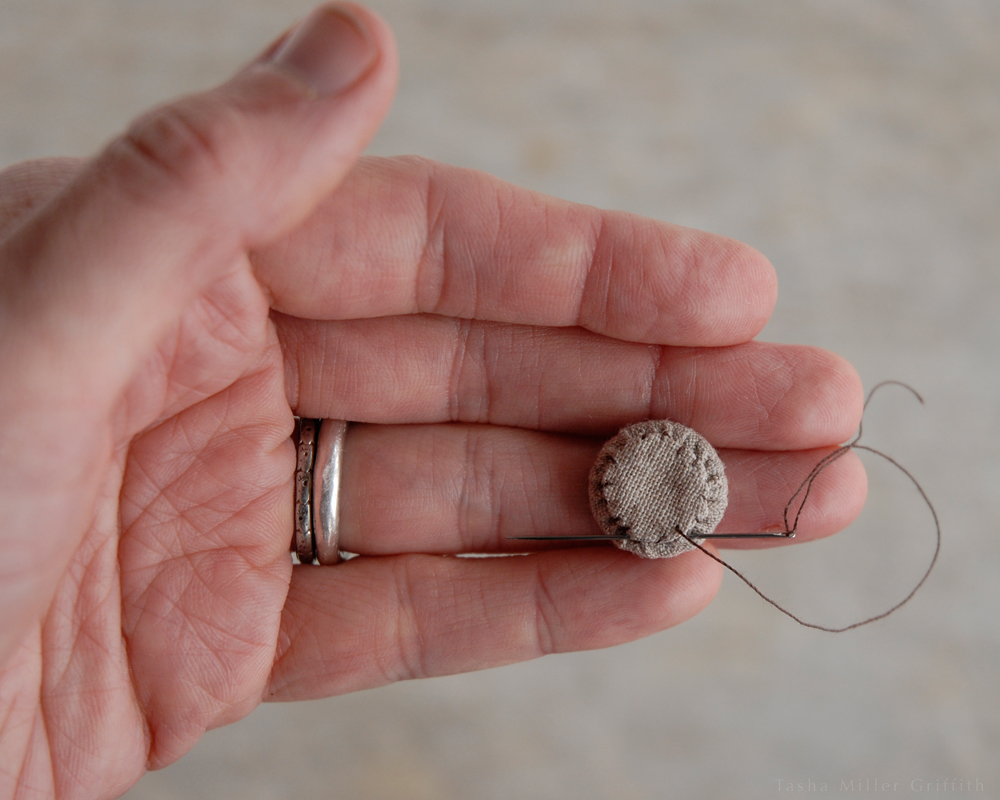
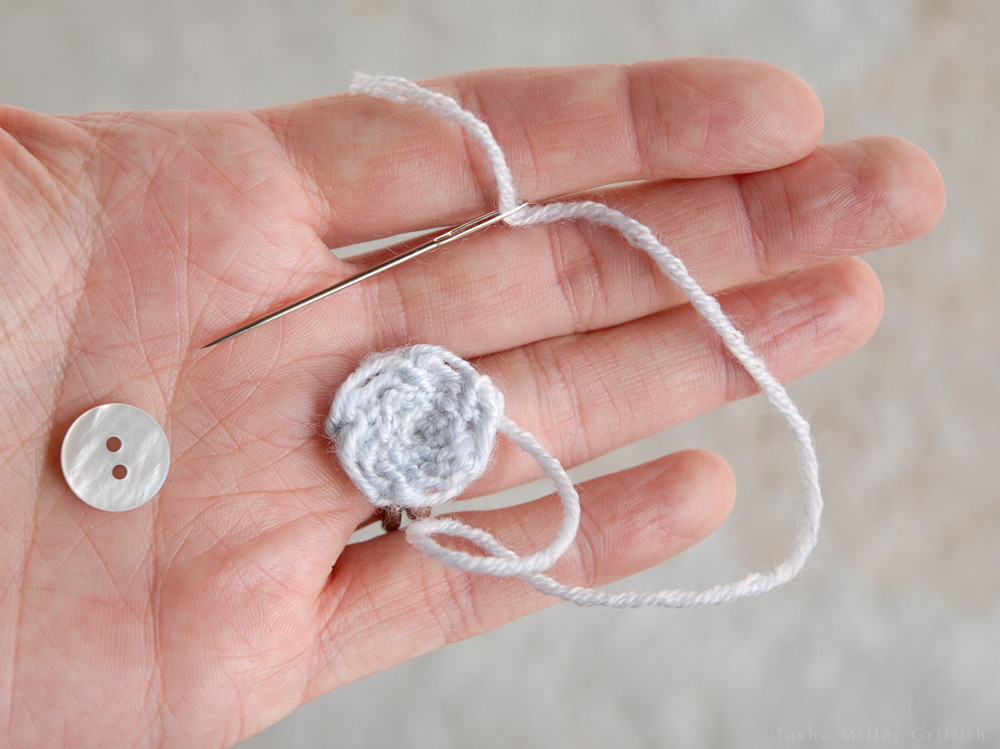
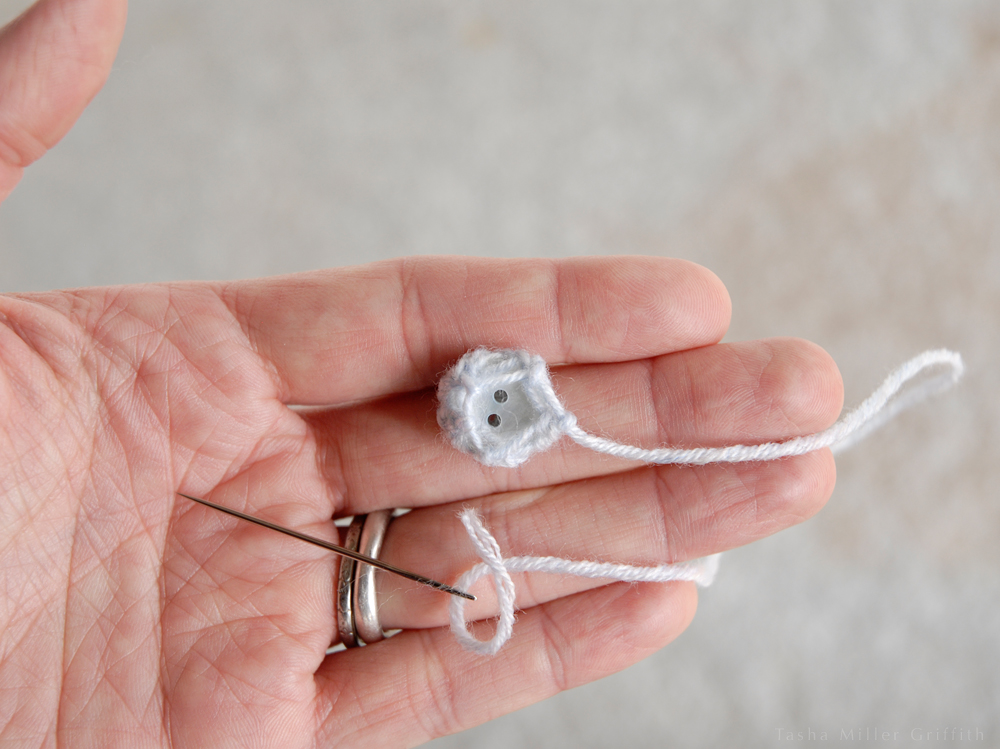
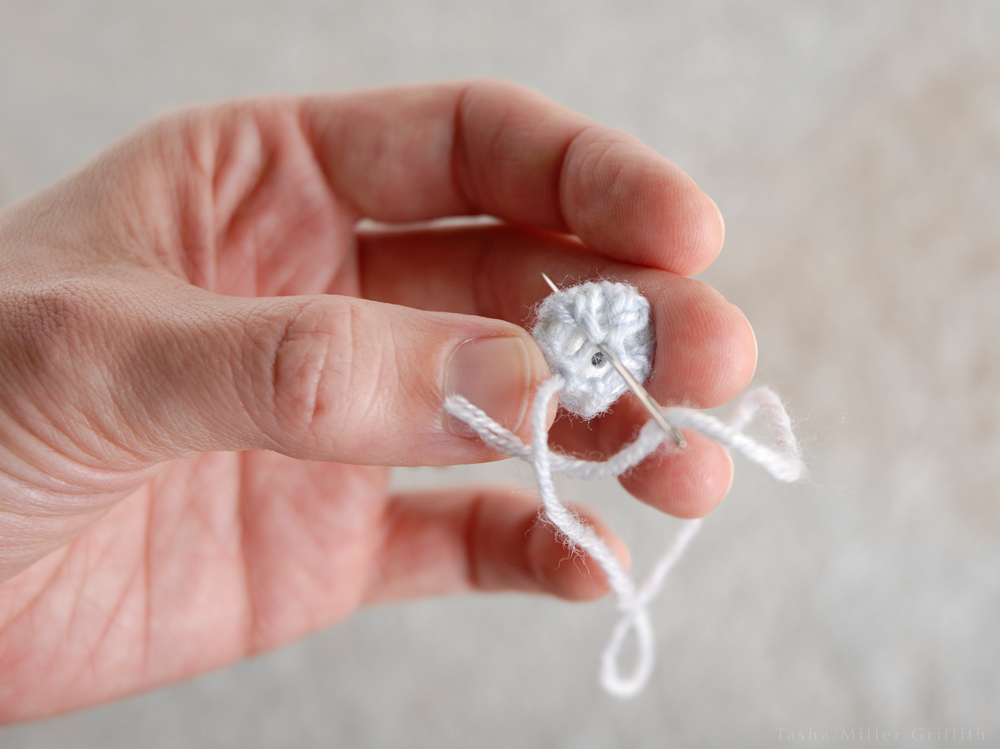
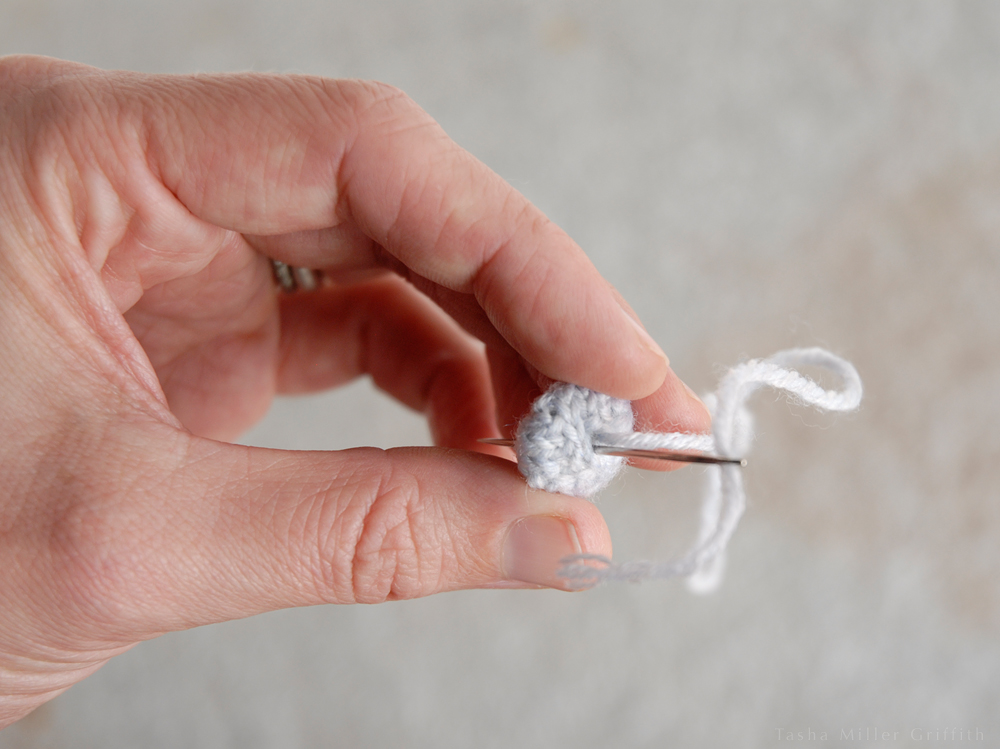
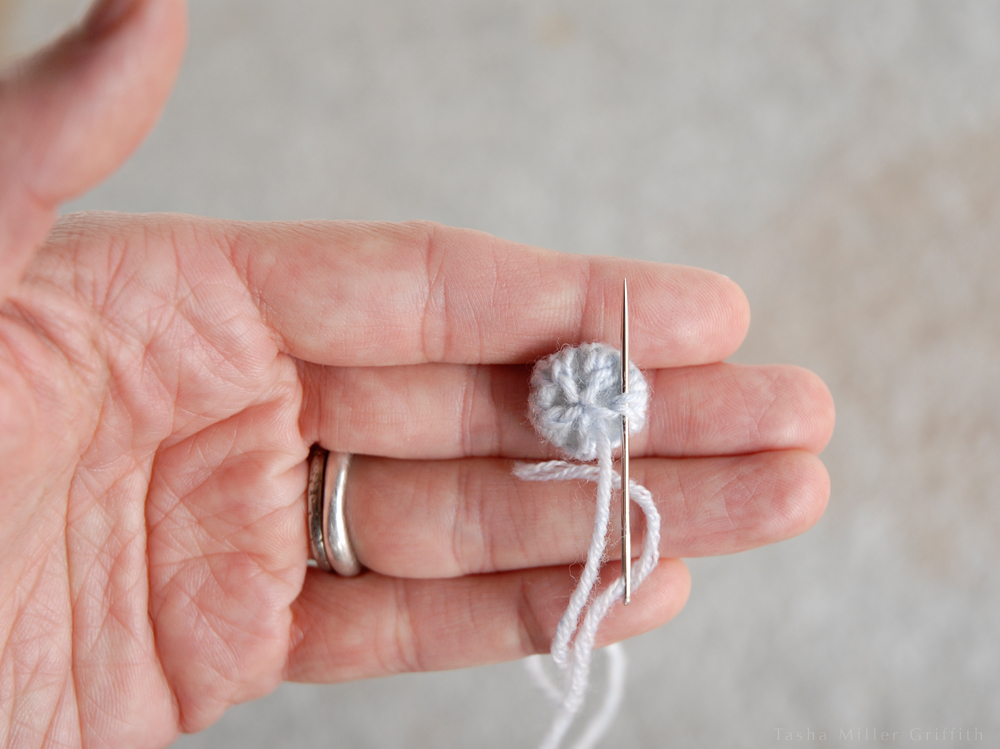
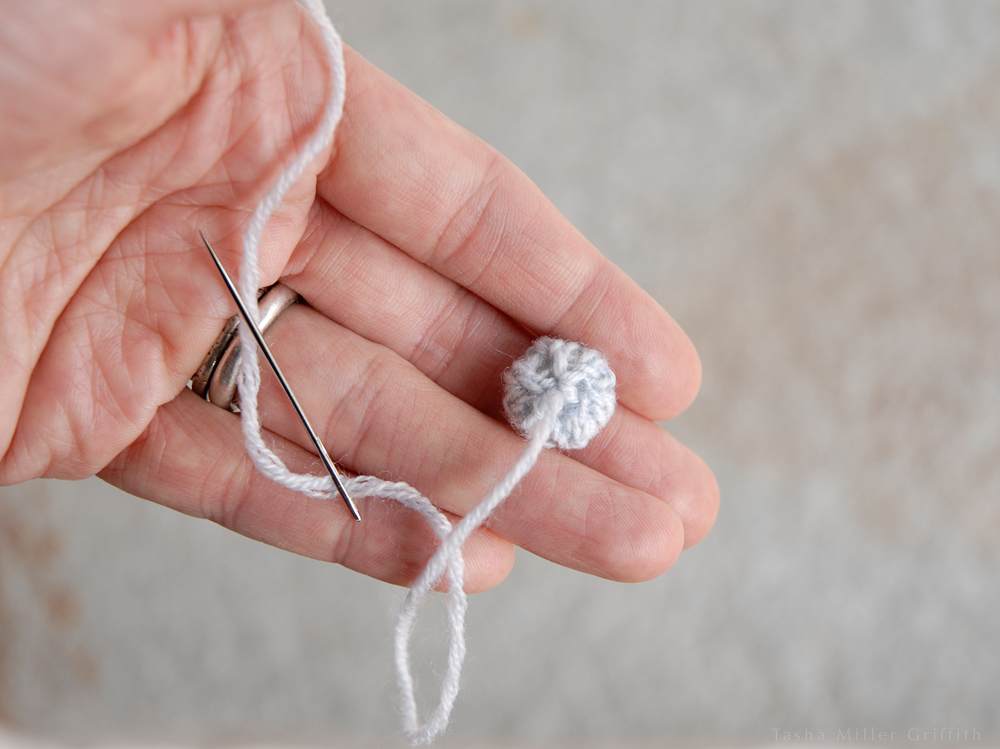
Sew on your buttons to line up with the buttonholes.  I use the same method as I do with sewing thread, except the yarn only goes once each way through the buttons since it’s so thick.


102 cowl 3


Enjoy!  If you make one, I’d love to see it.


Tips and Ideas for Sewing Cover Buttons, DIY and Store-Bought


diy sewing cover buttons 1


As I mentioned in my knitted cover button post, I got into some online research on DIY cover buttons, and I couldn’t resist making up a couple of sewn ones.  Special thanks to Sophie of Ada Spragg for pointing me towards Ebony H’s tutorial for fabric covered buttons on SewStylist!  I love the idea of covering existing buttons, and especially that you can sew through them.  But, I’m kind of a purist, I like things clean, and held together with needle and thread alone.  And I had some more ideas … so, below is my version.

If you’d rather use a cover button kit from the fabric store (I do this a lot too), scroll down (way down) towards the bottom of the post, and I’ll include my favorite tips for those as well.

Let’s get started, shall we?

Measuring & planning the button front

Draw around your button with a fine-point marker.  It’s easiest to use one that erases with water or air, but if you don’t have that, you can use any regular marker that won’t show through your fabric, just keep all markings on the wrong side of the button.  Draw another circle outside the button outline—this is the fabric that will wrap around the button to the back.  It should be just a little smaller (about 1/8″ or 3mm smaller) than the thickness of your button plus half its width.  If your button is bigger, you can have more of a gap in the fabric at the middle of the back.  For these little buttons, I wanted as much fabric on the back as I could get without it bunching up in the middle, so that it has the best chance of staying in place and not fraying as I sew it.  Mark the distance you want outside the button outline at several points, then connect them to make an outer circle.  (This picture also shows the markings for the back piece, which we’ll get to later.)


diy sewing cover buttons 2


Embroidery (optional of course)

If you’d like to add any embellishments, it’s easier to work them before you cut out the fabric pieces.  I was inspired by this post on The Purl Bee, but decided I’d rather have simple stitching.  I think this would look great if you used the same thread as the topstitching on your project.

Since I used a water-erasable pen, I could stitch on the same side as the marks, following the button outline.


diy sewing cover buttons 3


Once I was done with my embroidery, I caught the thread ends in the stitching on the wrong side, and trimmed them off.


diy sewing cover buttons 4


Sew & gather the button front

Cut out your fabric circle.  Then sew a line of running stitches around the edge, around 1/8″ or 3mm inside the cut edge.  Ordinarily I’d use matching thread for this, but as you’ll see, it won’t show, so use contrasting if it’s easier to see.  Start with a knot, or leave a long tail so you can pull on both ends of the thread when you’re done.  The smaller you make the stitches, the easier it will be to pull your gathers in tight.


diy sewing cover buttons 5


diy sewing cover buttons 6


Time to pull the gathers around your button.  At this point it occurred to me that I needed to get the button wet at some point to erase the marker, and it might be easier to manipulate the gathers if the fabric was damp.  It totally was!  So I highly recommend spritzing your fabric with a little water before you cinch it around the button.  This should work for all natural fibers.

Pull the gathers in tight.  Use your thumbnail or an awl, etc. to redistribute any gathers that are bunching up.


diy sewing cover buttons 7


Once the gathers are set how you’d like them, stitch around the back, a bit inside the edge, with a series of backstitches to hold them in place.


diy sewing cover buttons 8


The button back

I wanted another fabric piece to cover all these raw edges on the back.  To make one, draw around your button again, but this time just add a tiny bit around the edge, I found 2 mm to be just about perfect (I know you have a metric ruler, fellow Americans).

Stitch another circle of running stitches, this time just inside the line you drew around the button.  Leave a tail of thread at the beginning and the end.


diy sewing cover buttons 9


Pull on both the thread tails to gather the raw edge to the inside.  It may help to get the fabric wet again.  You can use the blunt end of a needle to push out any parts of the turned-in edge that get bunchy.  This doesn’t have to end up as a perfect circle, since it will be on the back, but roundish is helpful.


diy sewing cover buttons 11


Once the back looks pretty good, I like to tie the thread ends in a knot, so the fabric won’t come ungathered as I sew it on.


diy sewing cover buttons 12


You can guess what to do now, right?  Yep, sew the back piece in place, using tiny stitches around the edge.


diy sewing cover buttons 13


Finish off with a couple of backstiches under the edge.


diy sewing cover buttons 14


That’s it!  I sewed them on using my favorite method, making a thread shank on the back. You could also sew just through the fabric on the back of the button, rather than through the original button holes, but I think this would leave the fabric on top of the button free to shift around a bit.

The possibilities here are endless … and speaking of endless possibilities:


Tips for store-bought cover button kits

I use these a lot (at least I did before I discovered the above technique).  My favorite are the tiny ones (surprise).  Here are my best tips:

1.  Get the kind with the teeth facing inwards, not the ones with the flat metal edge.  The teeth are a lot easier to work with, and you can use them without tools, precisely centering your fabric.  The flat edge also cuts through the fabric over time, meaning your buttons wear out faster.


cover button packagesOnes on either side, good, the center ones, not so much.  Her hair!  Can you tell I inherited cover button kits from both my grandmothers?


2. Use another layer of fabric, or something thin and opaque like interfacing, under your button fabric.  This prevents the shiny button from showing through, and gives your button a subtle but nice plusher look.  The extra piece only needs to be the size of the button top, since it doesn’t need to wrap around.


cover buttons coatI replace the fabric on a couple of these buttons on my coat about once a season.  The ones with a layer of interfacing do seem to last longer.


3. The guides printed on the back of the button kit are probably too big for thick fabric and/or knits.  You need enough fabric to secure in the teeth, but not so much that it bunches up and keeps the back from seating in securely.  You may need to experiment to find the right size circle for your fabric.

4.  Pull the fabric up from two opposite sides, and hook it onto the teeth by pressing it under them.  Repeat at right angles to your first two points, and then do the places in between.

5.  For knits, it’s up to you how much you stretch the fabric as you pull it over the button.  Pulling less will make the buttons look more plush.  Try to be consistent, however you like it.


cover buttons small wool knit


6.  It’s totally possible to use the metal parts of these kits many times when the fabric wears out (like on my coat).  Use any small flat tool to pop off the back, then pull off the remains of the fabric, and start again.

7.  You could definitely use embroidery on these as well (they do in that Purl Bee tutorial), just be careful when centering the fabric—see 4.  You could even use the embroidery to tack your two layers together.


cover buttons small wool knit finished


I think that’s the lot, for now anyway.  Best returns of the season, everyone!


Make Your Own Tiny Hand-Knit Cover Buttons

tiny knit covered buttons finished front


These are the buttons I made for my Talamh sweater.  I found some factory-made buttons covered with knit fabric in my button stash as I was starting the sweater, and the idea stuck.  When I finished the sweater, I knew I wanted buttons covered in my yarn, so I made some.  Afterwards, it occurred to me that I might have been reinventing the wheel here, but searching Google and Ravelry turned up nothing like these, so here are the directions!  At the end of the post I’ll also include some links to other ideas I did find, in case these aren’t quite your style.  As always, click on any of the photos to enlarge for a closer look.


Knitting the Cover

Pick your buttons to go inside the knitted cover first.  They should be a little smaller than you want the finished button to be, and ideally a similar color to the yarn you’re using to cover them.

These buttons are knit in the round from the center out.  Since they are tiny, there are only a few rounds before you decrease, and secure the knitting to the button.

You want the button fabric to be tight, so that it will be sturdy and the button underneath won’t show through.  Use a much smaller needle than you usually would with the yarn (even if your yarn is thicker).  Here I used size 1 needles, after using size 4 with the same yarn for the sweater.  I’ve illustrated using double points, but of course you could use two circulars or a magic loop if you prefer.

Start by casting on four stitches, using Judy’s Magic Cast On, or another method that starts seamlessly from the middle (this one from Cat Bordhi is also good).


tiny knit covered buttons cast on


If you increase 4 stitches per round, it makes a flat circle of knitting.  I learned this from Daniel Yuhas’ book, Knitting from the Center Out.  Since a flat circle is my goal here, I knit into the front and back of each stitch, for 8 total stitches in the next round.  (If you aren’t sure how to knit front and back, otherwise known as kfb, just Google it—more tutorials than you’ll ever need will pop up.)


tiny knit covered buttons 8 sts


Increase 4 stitches again in the next round (ie: knit into the front and back of one stitch, knit one stitch, repeat those two actions around).  At this point I switched some stitches onto a third needle, to keep my little circle from getting too stretched out where the needles join.


tiny knit covered buttons 12 sts


Since my button is tiny, I only needed one more round of increasing 4 (knit front and back, knit 2, repeat around, for a total of 16 stitches) to reach the size of my button.  You can compare the amount of knitting you have to your buttons, but it can be hard to judge without finishing.  Luckily, these only take a few minutes to make, so it’s easy to try another one if the first one isn’t quite right.


tiny knit covered buttons 16 sts


When the button is the size you want, start decreasing, so that the knitted fabric will cup around the edges of the button smoothly.  If your button is bigger and/or thicker, you may want a plain round before you start to decrease, but for these little guys I found it made the cover too baggy for the button, so I went straight from an increase round to a decrease round.

I did one round of knit 2 together, knit 1, repeat.  You can see how the cover begins to puff up in the middle as the edges draw in.


tiny knit covered buttons decreasing


On the next round, I knit every 2 stitches together, until there were 5 stitches left.  If you have a lot more stitches, it may take a couple more rounds of decreasing.  You also want there to be enough fabric on the back of the button so that you can pull these few stitches together at the center back.

When you have just a few stitches left, cut the yarn, thread the end on a sewing needle, and pass it through the remaining stitches.


tiny knit covered buttons needle to yarn


Knitting Meets Button

At this point the actual knitting part is done.  There are a couple more tricks I want to show you as we sew it together, to make the button come out really nice.

First, before you start to cinch up the knitting around the button, take the sewing needle from the end you finished knitting with, and thread it on the end left from casting on.


tiny knit covered buttons yarn tail inside


Open out the little circle so the inside of it is clearly visible.  Use the center yarn tail to cinch up the first stitches from the cast on, if necessary.  Then sew around in a little spiral, starting near the center, piercing just the backs of the knitted stitches (use a sharp needle).  This secures the tail, and adds a little extra cohesion to the stitches that will be the button front.


tiny knit covered buttons inside spiral 2


When your spiral is done, trim the inside tail, and thread the outside/last knitted with tail back on the sewing needle.


tiny knit covered buttons ready for button


Place the button in the middle of the circle, and draw the edges up with the remaining tail.


tiny knit covered buttons gathering back


Pull the last stitches tight together in the center back, which hopefully will snug the whole cover nicely around the button.  If it’s too loose or too tight, just start again, make another one with modifications.

Once your cover fits your button, secure it by taking a stitch through one hole in the button, out to the front side.


tiny knit covered buttons stitching through button


Then take a stitch back, aiming to enter the knitted fabric in the same place you came out (so as not to leave a stitch on the surface) but angle the needle so it goes through a different hole in the button.  You’re putting a loop of yarn through the button itself, to secure the knitting in place.


tiny knit covered buttons stitching through button 2


I think this technique would also work with shank buttons, you would just want to take a few stitches around/through the shank instead.

Lastly, I stitched around the edges of the back side of the button, adding a little more yarn and securing the stitches there.


tiny knit covered buttons reinforcing back


Tada!  A tiny knitted covered button, ready to go.


tiny knit cover button back finished


I sewed these on using a variation of my usual technique (I updated the photos on that post just this week, and love how they came out): sewing through the yarn on the back of the button rather than through the button itself.


knit cover buttons sewing on 1

knit cover buttons sewing on 2

knit cover buttons sewing on 3


I’d love to try making some bigger buttons using this techinique, too.


More Ideas

As if that weren’t enough, when doing research for this post I stumbled on a few other fun things.  Actually, I fell down a bit of a rabbit-hole of cool ideas for DIY covered buttons, both for sewing and knitting, and another post is probably coming soon.  In the meantime …

Kate Davies has a lovely clear tutorial for yarn-wrapped buttons that come out looking sweet.

What about embroidering a design with your yarn on fabric, and then covering a button with that?  There’s a tutorial here on The Purl Bee.

There’s always traditional thread-button techniques, like these from Threads Magazine. Full disclosure: I long ago tried and failed to make sturdy buttons using similar techniques, but I’m pretty sure it was user error.

You could also knit a circle from the bottom up, rather than from the center out, increasing and decreasing at the sides, and then gather it over a button or use a commercial button form.  There’s an example on Knit Darling here. She uses a cover button kit, and rightly points out that those don’t work in small sizes with thick fabrics.  I think you could gather a smaller size over a regular button and secure it something like the second part of my technique (but I haven’t tried this yet to be sure).


Not that there aren’t beautiful buttons out there, but especially during this season when we’re surrounded by encouragement to over-consumption, I just love the idea of putting the final touches on a project myself, made with bits and pieces I have around the house. Here’s wishing you all a restful, creative December!


Stamping on Fabric – With Hand Carved Stamps and Household Objects


Ok, so now you have a hand carved stamp.  Or, maybe you don’t yet.  How about stamping with something you already have around your house?  And, what gets me excited about either of these options: being able to use them on fabric and clothing.


Before we discuss fabric ink and stamping, let me talk briefly about how I set up these buttons as stamps.  I got this idea from a really creative slideshow (on Martha Stewart of all places) which illustrates using all kinds of things you might find around your house to make some interesting designs.  My favorite was the buttons.  Some things already have an easy point to grab them by without getting your fingers covered in ink (like long pieces of wood, which you can see printed in the top photo), but buttons, not so much.  I cut some pieces from a leftover dowel and a small wood block, just using a clamp and a handsaw, they don’t have to be perfect in any way.  I did some quick online research and a couple of sources suggested using some kind of foam to back your stamps, to give them a little more give for even printing.  This seemed like a good idea since buttons are pretty much hard to begin with.  I used tiny pieces of dish packing type foam (we get it as packing material with some supplies) glued to the back of each button and its piece of wood with ATG, which once again I borrowed from the photo studio.  You can use any type of glue as long as it will hold the object and be water-resistant enough to be rinsed after you stamp.  And, you could use just about anything squishy for the foam, just cut the pieces smaller than your object, otherwise the edges of the foam may print.


Ok, time to stamp!  For ink, I used Speedball Water-Based Textile Screen Printing Ink.  I have gotten it from Blick, local art stores, and chain stores.  On the jar, it just says FABRIC Screen Printing Ink, but if you look on the side it also says water based and non-toxic.  I really like that you can thin this ink as much as you want with water, and you don’t have to worry about it if you get it on your hands, which is pretty much inevitable.  Plus it is permanent on fabric with heat setting.  It comes in lots of colors.  I like to mix my own using the three primary colors; the “process” cyan, magenta, and yellow will give truer mixing results than the regular red blue and yellow.  You’ll also need white and black.  A tip I learned from Lena Corwin’s book Printing by Hand (I highly recommend this book if you are interested in more about printing!) is that mixing in a little of both white and black will give you a more subtle color (less screaming bright) and I love subtle colors.

To set up for printing, you’ll need ink, a little water for mixing, and more for washing things off (a big cup full with an old toothbrush for scrubbing is perfect) and a wet rag to wipe your hands and tools on after you rinse.  It’s easier to print on thin fabrics if you put down an old towel underneath to give the surface a little more give, which can allow more details of the stamp to print.  Putting all this on a big table you can wipe off is ideal, and it’s nice to have something under the messy ink part to catch drips.  I used a box since I figured it would still be good for shipping with ink on it.  I used one spoon to get out each color, one to mix my color with, and a small foam brush to hold the ink for stamping.  I let the spoons dry when I’m done, and wash the foam brushes to save for the next time.


When mixing ink colors, start with as little ink as you can, you’ll add more as you decide what to add to get the color you’re looking for (a color wheel can help here), plus you’ll be adding water, and stamping doesn’t take very much ink in any case.  Keep in mind that the ink will dry slightly darker in color than it looks wet.

Having scrap fabric to test on is essential!  The closer the fabric is in type, weight and color to your intended project, the better you’ll be able to see how the stamps are coming out.  For this project, I just used a small section on the edge of my fabric for testing, changing the color or the dilution of the ink a little bit at a time and waiting a couple of minutes to see how the results looked as they dried.

I like the ink to be absorbed into the fabric so that it doesn’t leave a hard or crunchy surface, but looks more like a dye.  To get this effect, I add water until the ink slowly drips from the foam brush when I lift it up.  The consistency you want may vary with your fabric, again, testing is key!


Here is my best fabric stamping tip: squeeze the ink out of the foam brush until it’s not dripping, and only releases ink when you press on it, like a stamp pad.  Then, gently press your stamp or object against the sponge to get a coat of paint.  You can see which parts are going to print by where the ink is on the stamp or object.


Keep the foam brush in one hand, and bring your stamp back to it for a fresh coat each time you print it.  The sponge will hold enough ink for a bunch of stamps before it needs more from the cup.

I found that a light coating of ink, and a soft rolling motion against the fabric with each stamping helped the full possible detail of the buttons to print.


That’s about it!  I place my stamps pretty much randomly, alternating whichever ones I am working with until I get a design density that I like.  It helps to step back and take a look, especially if you are printing something big that you can’t work on all at once.

For troubleshooting, take a look at the very top photo (click to enlarge it).  If you have too much ink on the stamp or the ink is too watery, it will spread out all around your stamp and the detail of the design will be lost.  Clean the stamp off, squeeze more ink out of your sponge, press it gently on just the surface of the stamp and try again.  If it’s still too flowy, add more ink to your color to reduce the water content.  If you don’t have enough ink on the stamp, you’ll get a pale ghost of an image.  If the ink is thick, like it comes out of the jar, it will dry harder and raised on the surface of your fabric, which you may want, depending on your design. If your fabric is wrinkled, iron it before you start.  Soft wrinkles won’t get in the way too much, but if you stamp over a crease, you can see it when the crease opens up.

One last troubleshooting thing: some objects print better than others.  Some of the buttons I tried had details too fine to print, but this will depend a lot on what fabric and how much ink you use, so test it out!


Here’s my finished button printed fabric.  I think it may become a skirt.


Stamping is also awesome for reviving finished clothes or linens that are a little too plain.  I used some of my aunt Barb’s hand made stamps to decorate this previously just beige thrift store skirt.


While your stamped fabric is drying, it’s worthwhile to clean off your tools, since this ink can eventually clog your stamps if left to dry.  Using the old toothbrush and a little water from your clean-up cup works great.

Next time, I’ll post about heat setting the ink, lots of options for this important step that makes the finished product washable!  Plus, a little bit about “green” crafting and less waste from what we make.

In the meantime, have you tried something similar?  I’d love to know what you did and how it came out!