Tips and Ideas for Sewing Cover Buttons, DIY and Store-Bought


diy sewing cover buttons 1


As I mentioned in my knitted cover button post, I got into some online research on DIY cover buttons, and I couldn’t resist making up a couple of sewn ones.  Special thanks to Sophie of Ada Spragg for pointing me towards Ebony H’s tutorial for fabric covered buttons on SewStylist!  I love the idea of covering existing buttons, and especially that you can sew through them.  But, I’m kind of a purist, I like things clean, and held together with needle and thread alone.  And I had some more ideas … so, below is my version.

If you’d rather use a cover button kit from the fabric store (I do this a lot too), scroll down (way down) towards the bottom of the post, and I’ll include my favorite tips for those as well.

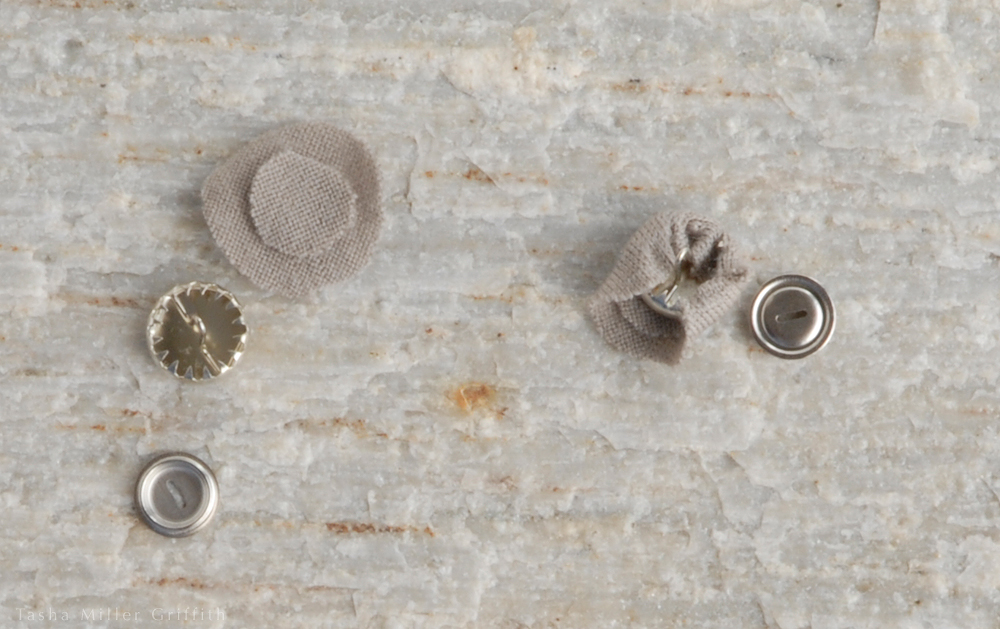
Let’s get started, shall we?

Measuring & planning the button front

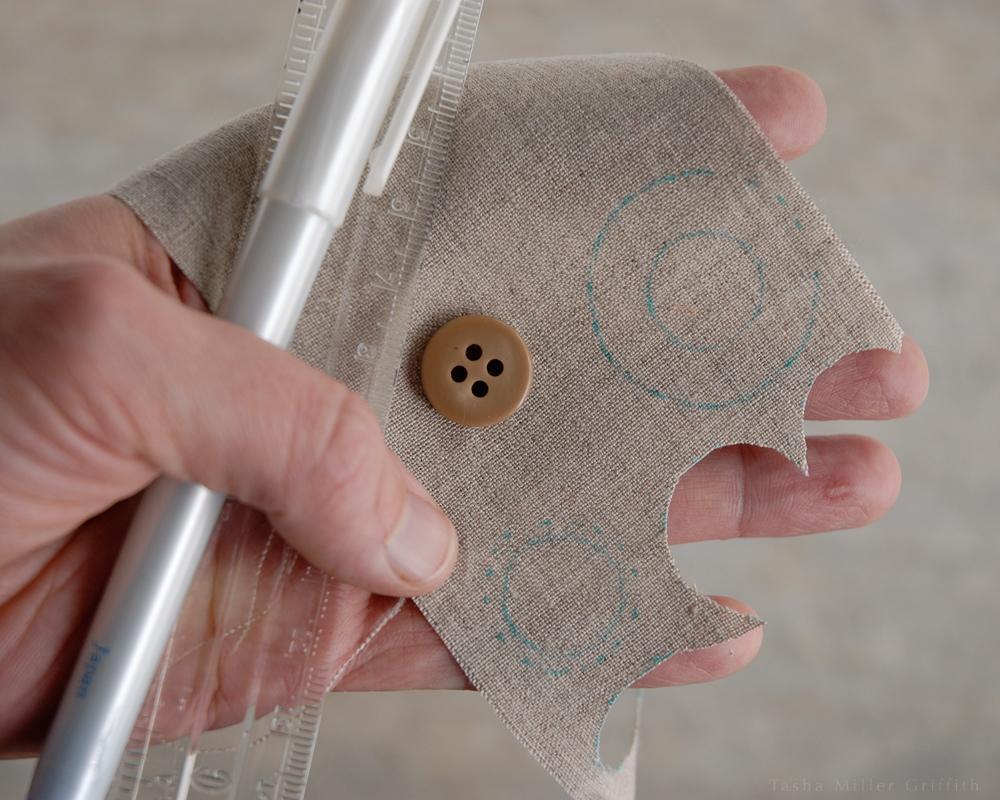
Draw around your button with a fine-point marker.  It’s easiest to use one that erases with water or air, but if you don’t have that, you can use any regular marker that won’t show through your fabric, just keep all markings on the wrong side of the button.  Draw another circle outside the button outline—this is the fabric that will wrap around the button to the back.  It should be just a little smaller (about 1/8″ or 3mm smaller) than the thickness of your button plus half its width.  If your button is bigger, you can have more of a gap in the fabric at the middle of the back.  For these little buttons, I wanted as much fabric on the back as I could get without it bunching up in the middle, so that it has the best chance of staying in place and not fraying as I sew it.  Mark the distance you want outside the button outline at several points, then connect them to make an outer circle.  (This picture also shows the markings for the back piece, which we’ll get to later.)


diy sewing cover buttons 2


Embroidery (optional of course)

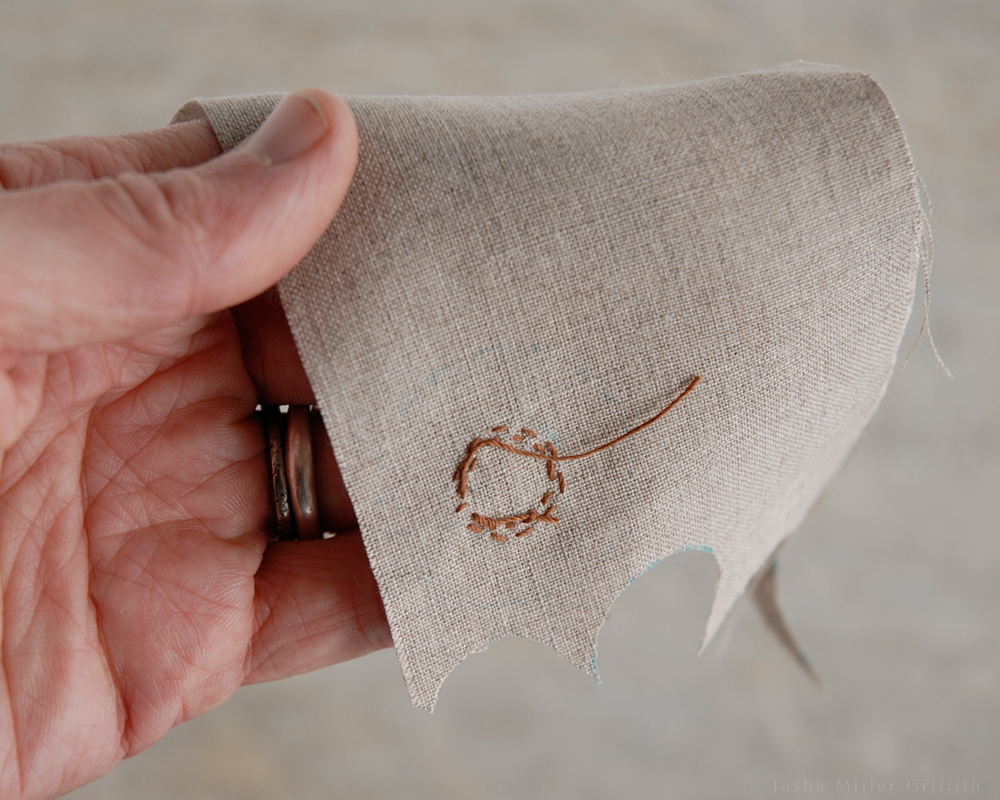
If you’d like to add any embellishments, it’s easier to work them before you cut out the fabric pieces.  I was inspired by this post on The Purl Bee, but decided I’d rather have simple stitching.  I think this would look great if you used the same thread as the topstitching on your project.

Since I used a water-erasable pen, I could stitch on the same side as the marks, following the button outline.


diy sewing cover buttons 3


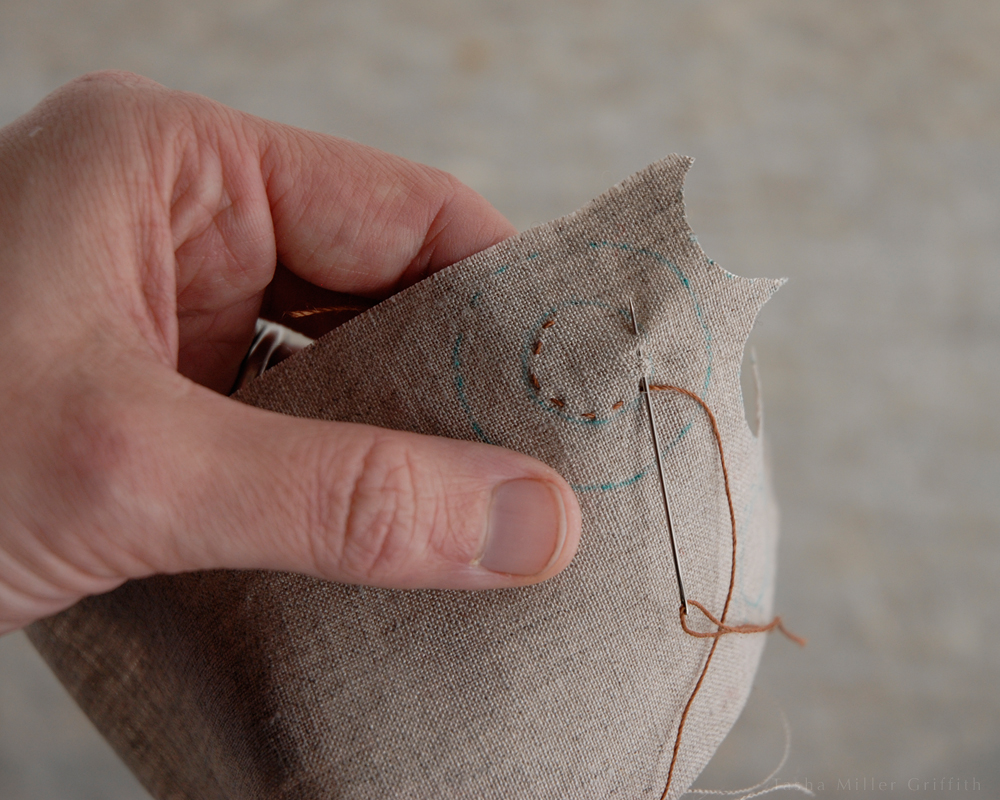
Once I was done with my embroidery, I caught the thread ends in the stitching on the wrong side, and trimmed them off.


diy sewing cover buttons 4


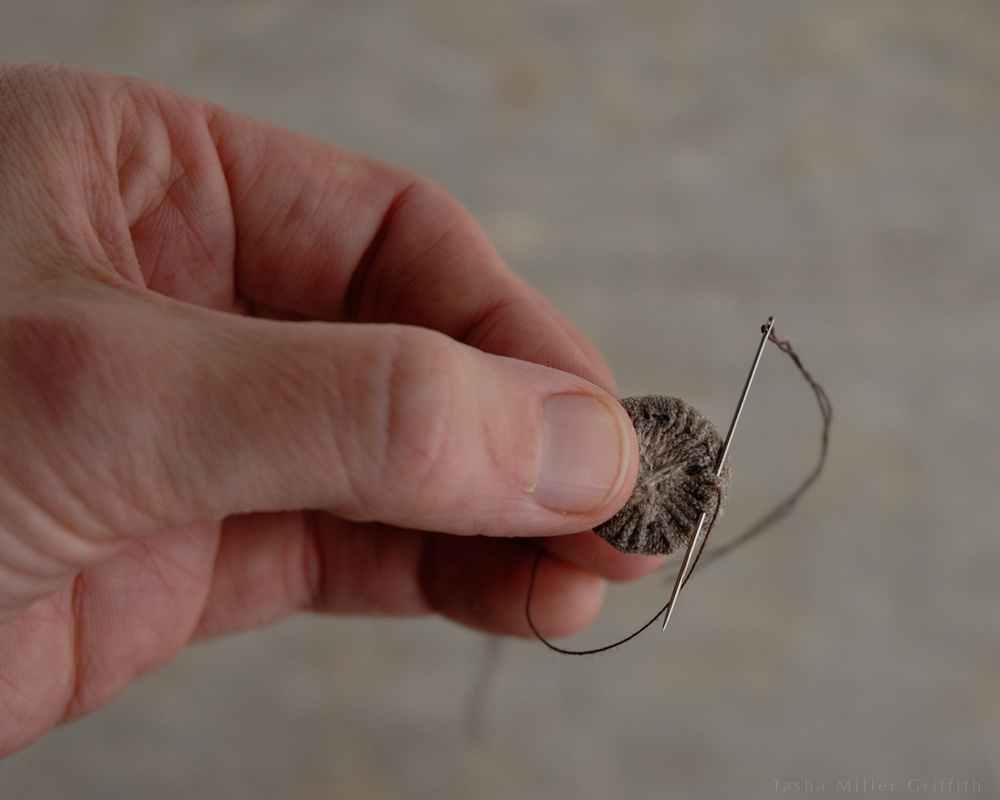
Sew & gather the button front

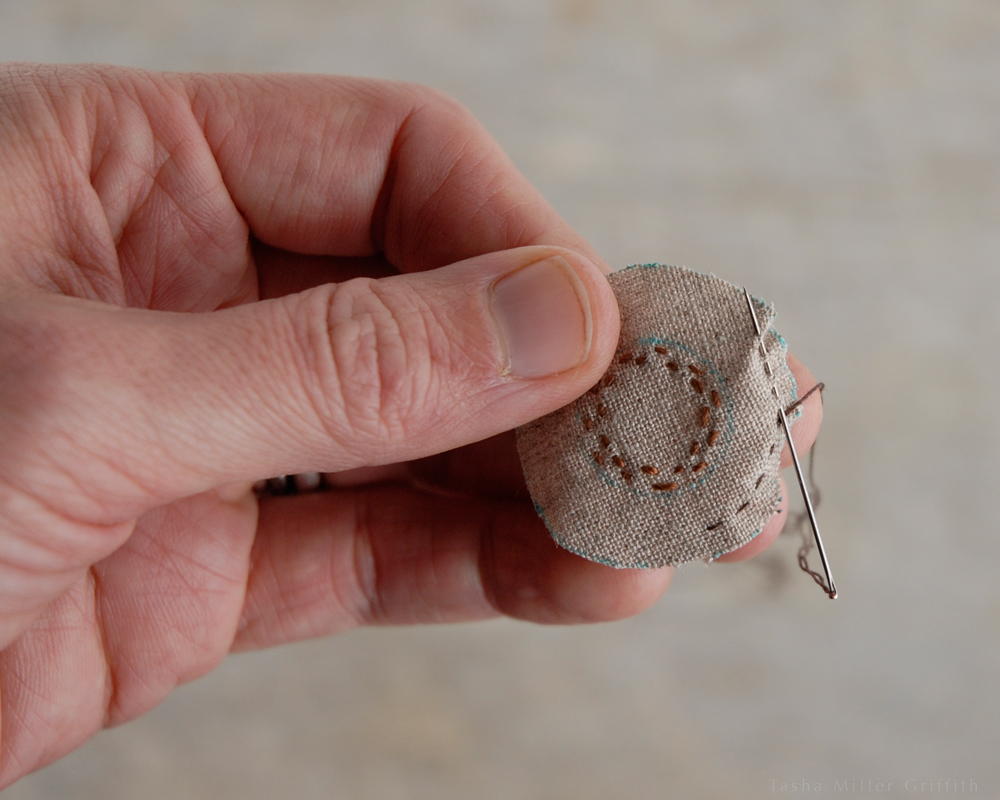
Cut out your fabric circle.  Then sew a line of running stitches around the edge, around 1/8″ or 3mm inside the cut edge.  Ordinarily I’d use matching thread for this, but as you’ll see, it won’t show, so use contrasting if it’s easier to see.  Start with a knot, or leave a long tail so you can pull on both ends of the thread when you’re done.  The smaller you make the stitches, the easier it will be to pull your gathers in tight.


diy sewing cover buttons 5


diy sewing cover buttons 6


Time to pull the gathers around your button.  At this point it occurred to me that I needed to get the button wet at some point to erase the marker, and it might be easier to manipulate the gathers if the fabric was damp.  It totally was!  So I highly recommend spritzing your fabric with a little water before you cinch it around the button.  This should work for all natural fibers.

Pull the gathers in tight.  Use your thumbnail or an awl, etc. to redistribute any gathers that are bunching up.


diy sewing cover buttons 7


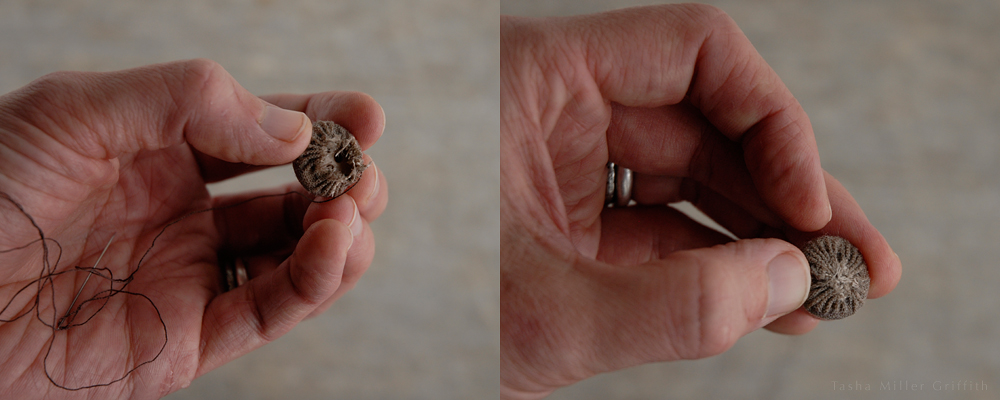
Once the gathers are set how you’d like them, stitch around the back, a bit inside the edge, with a series of backstitches to hold them in place.


diy sewing cover buttons 8


The button back

I wanted another fabric piece to cover all these raw edges on the back.  To make one, draw around your button again, but this time just add a tiny bit around the edge, I found 2 mm to be just about perfect (I know you have a metric ruler, fellow Americans).

Stitch another circle of running stitches, this time just inside the line you drew around the button.  Leave a tail of thread at the beginning and the end.


diy sewing cover buttons 9


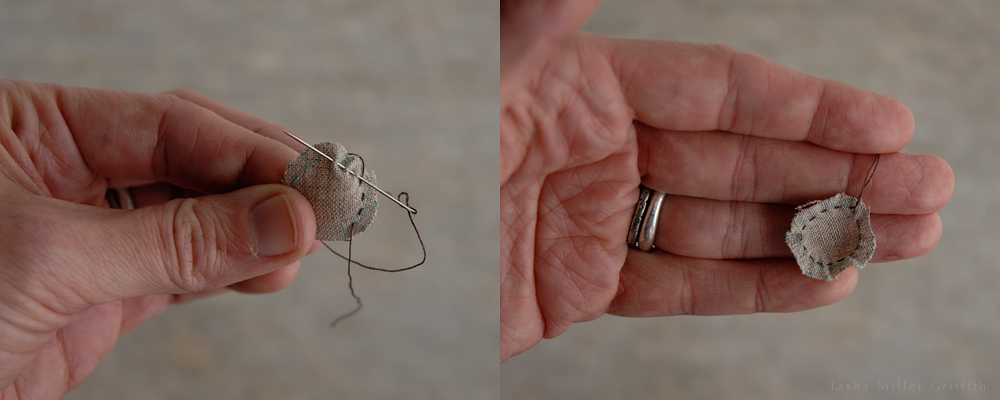
Pull on both the thread tails to gather the raw edge to the inside.  It may help to get the fabric wet again.  You can use the blunt end of a needle to push out any parts of the turned-in edge that get bunchy.  This doesn’t have to end up as a perfect circle, since it will be on the back, but roundish is helpful.


diy sewing cover buttons 11


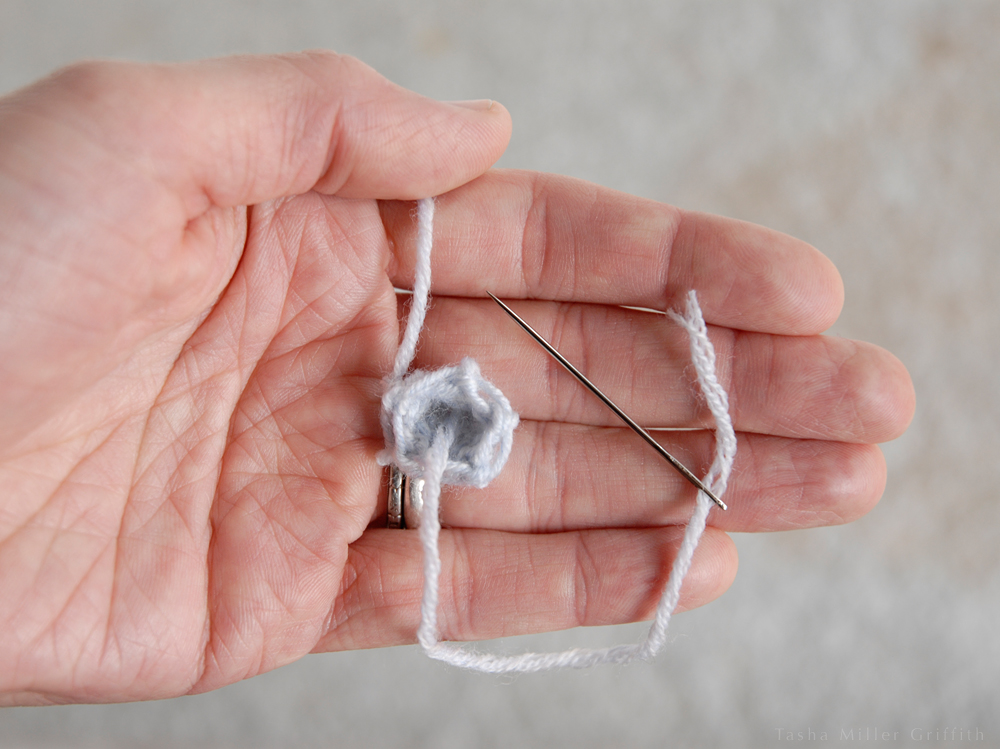
Once the back looks pretty good, I like to tie the thread ends in a knot, so the fabric won’t come ungathered as I sew it on.


diy sewing cover buttons 12


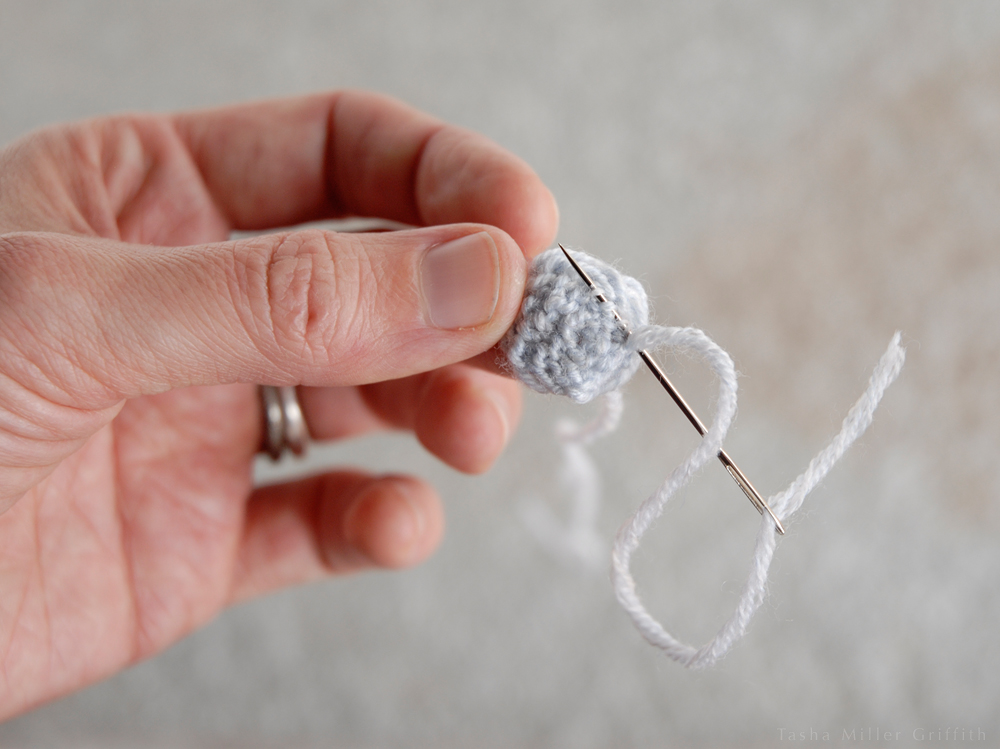
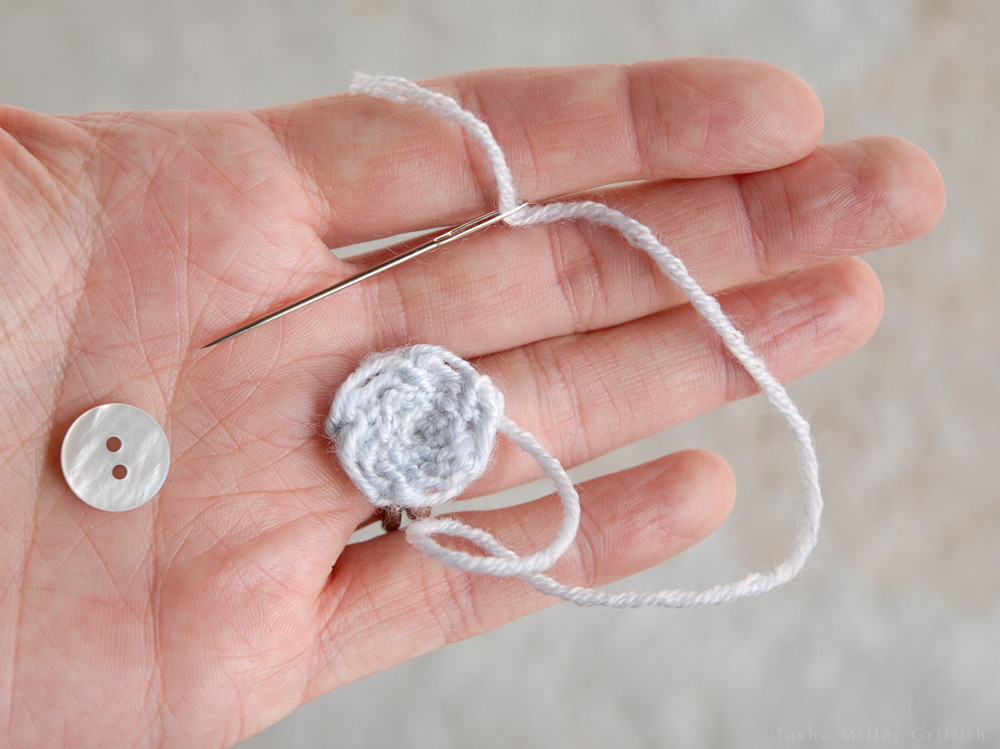
You can guess what to do now, right?  Yep, sew the back piece in place, using tiny stitches around the edge.


diy sewing cover buttons 13


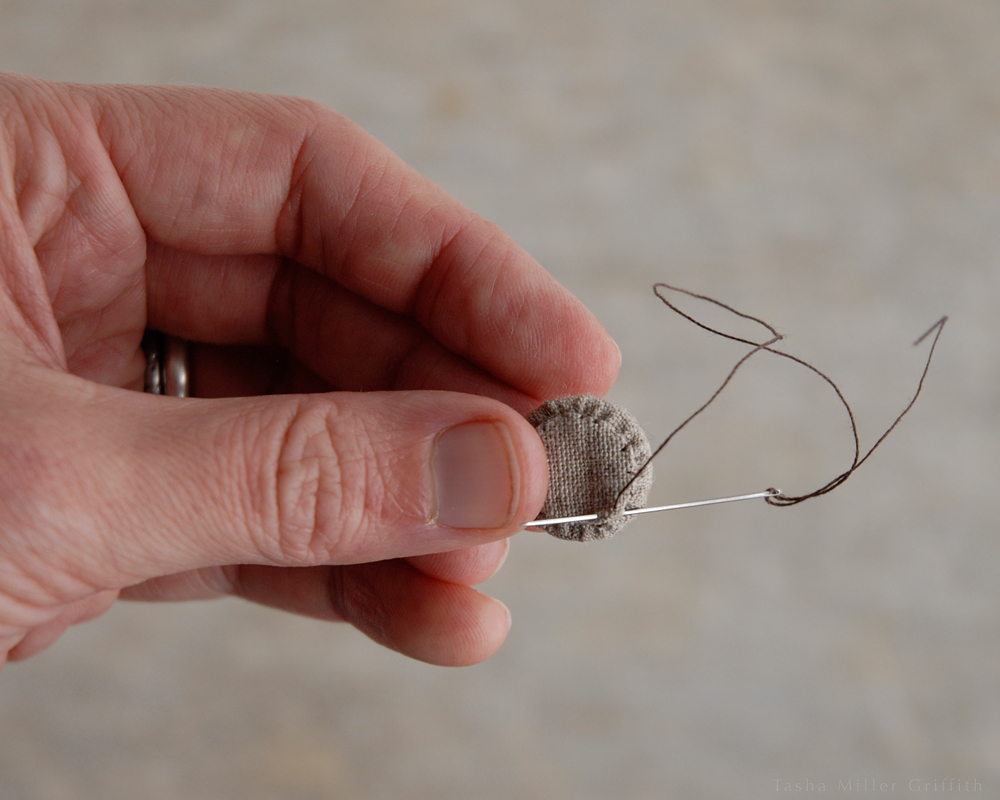
Finish off with a couple of backstiches under the edge.


diy sewing cover buttons 14


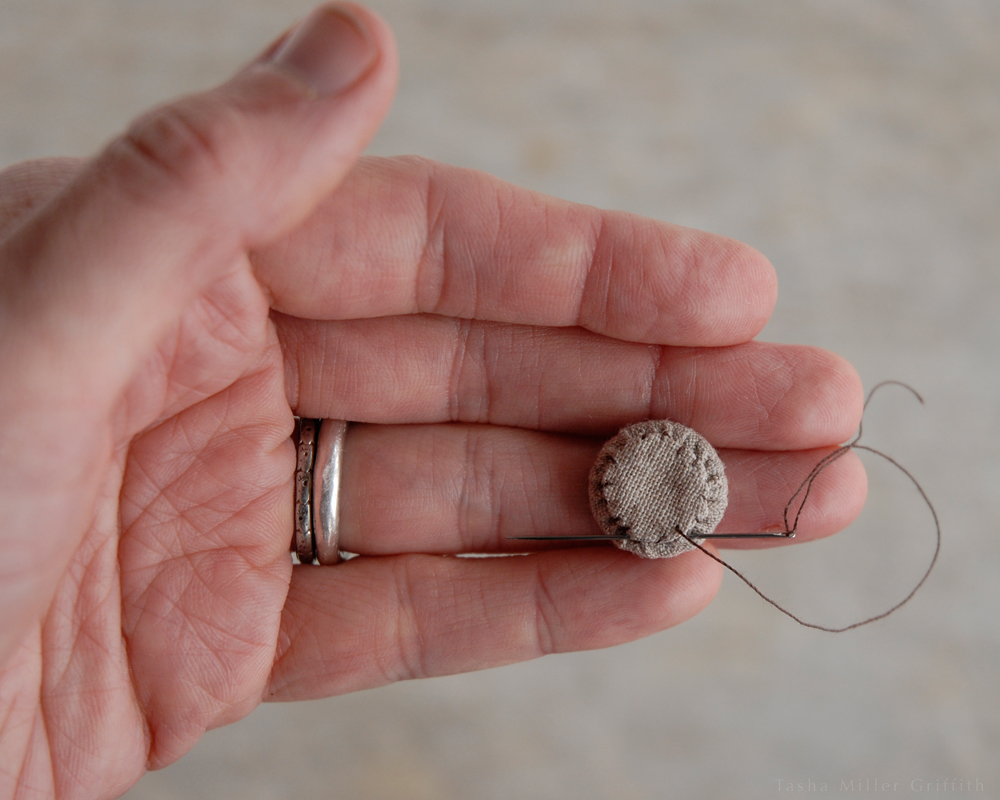
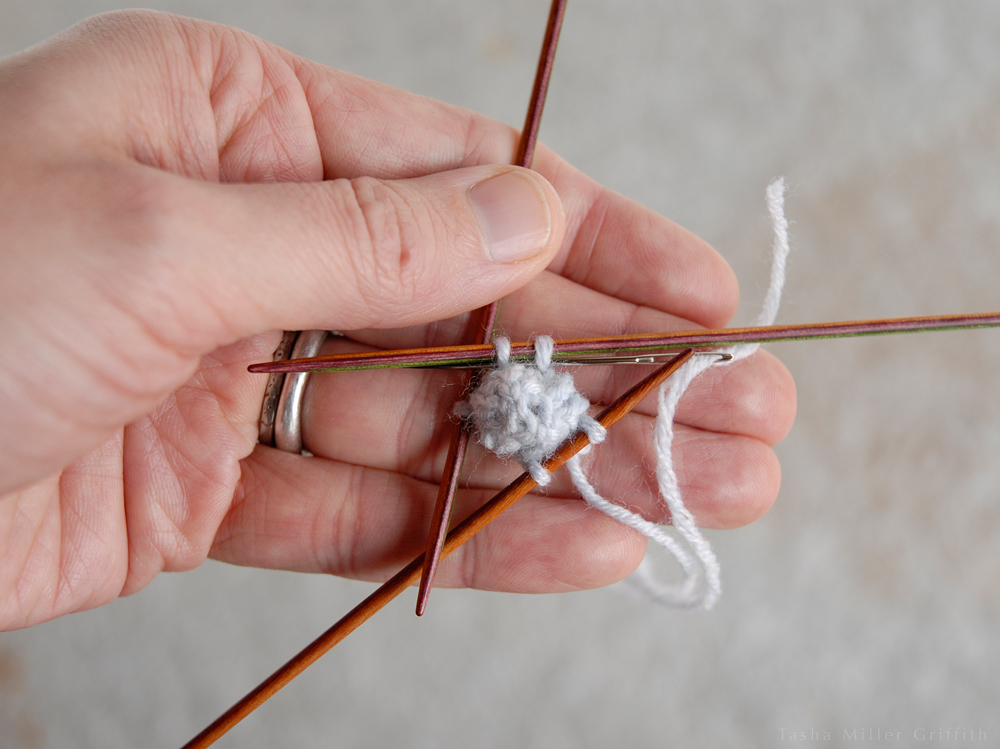
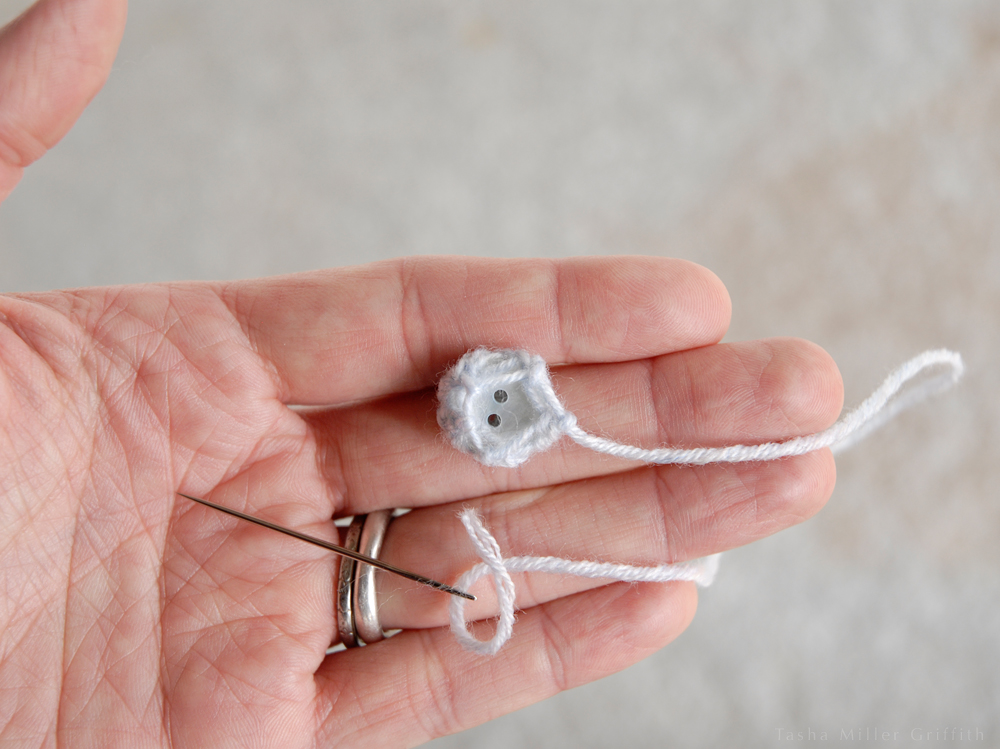
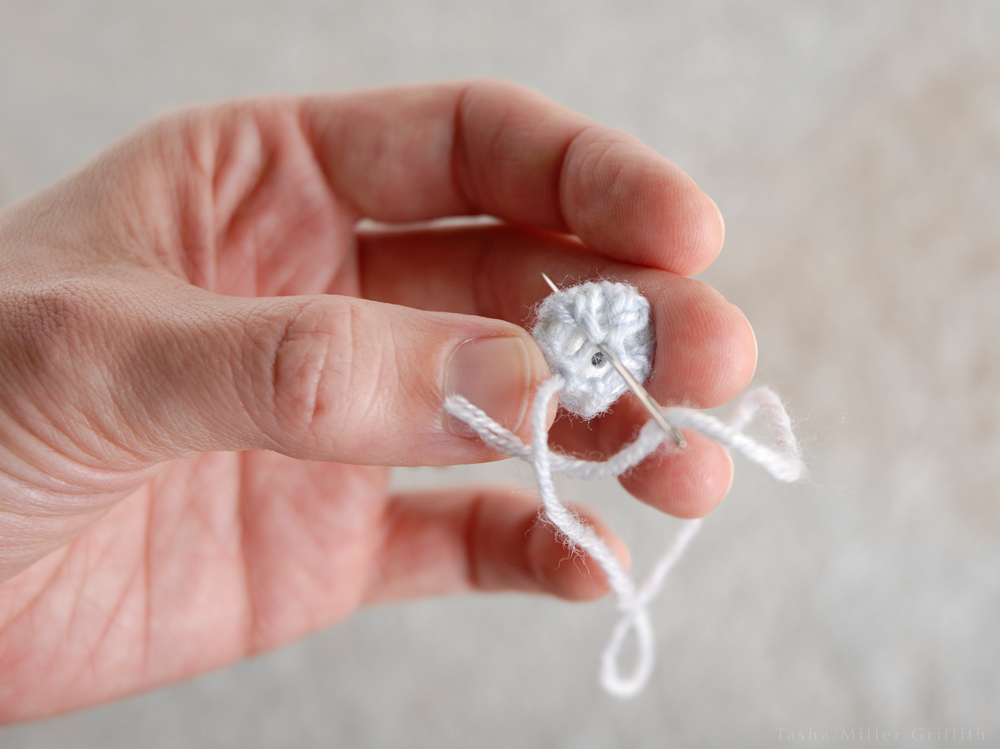
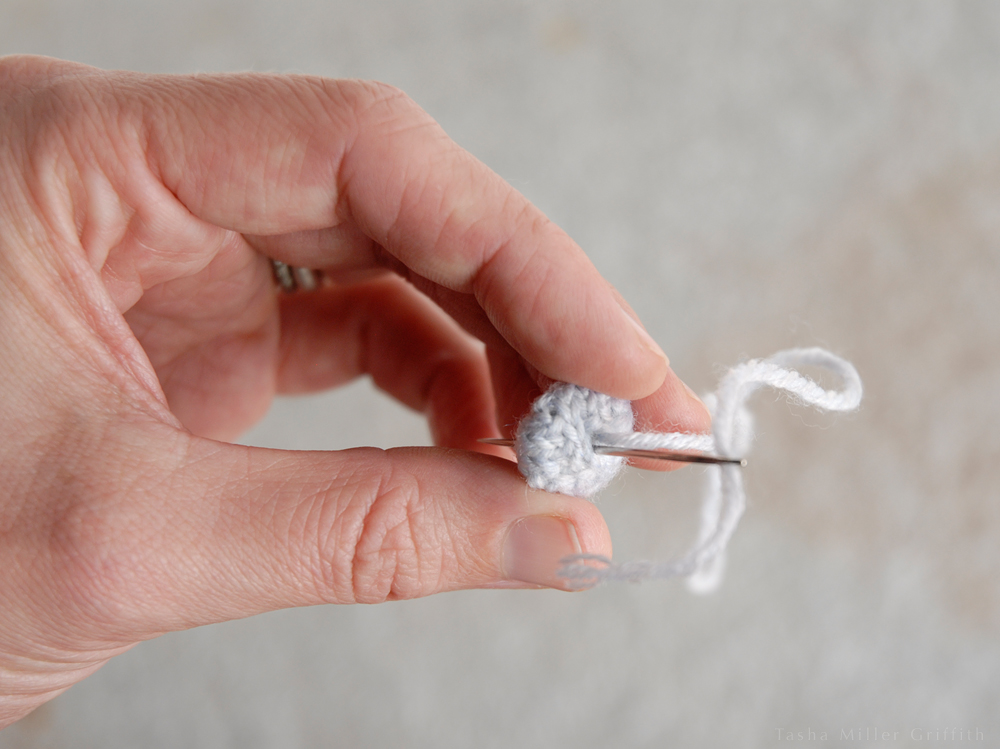
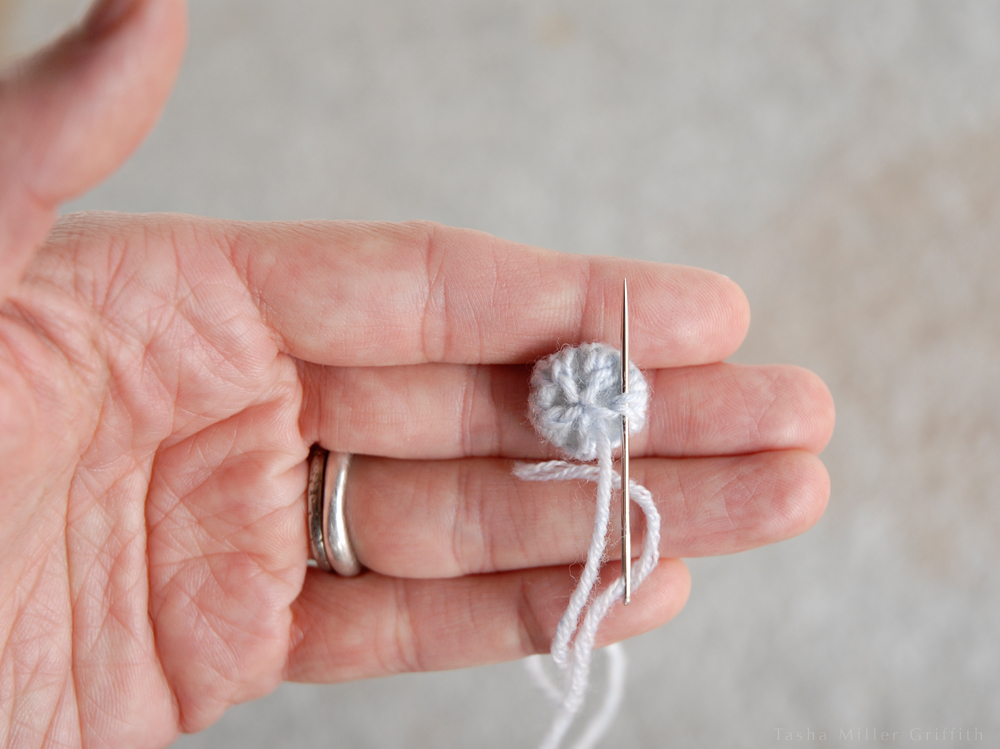
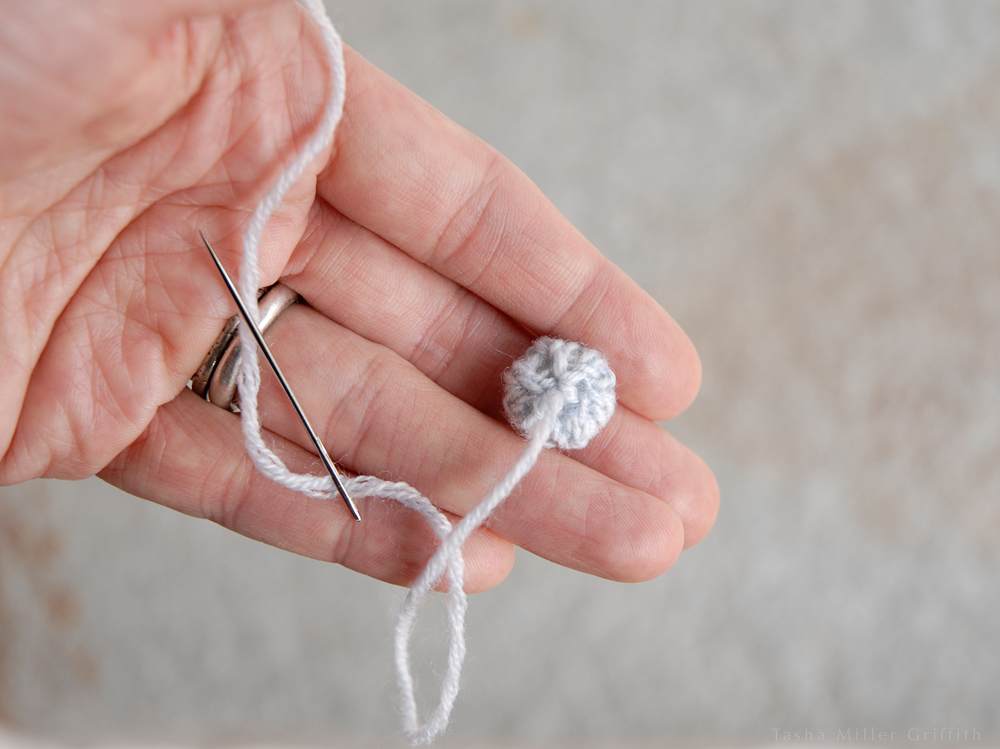
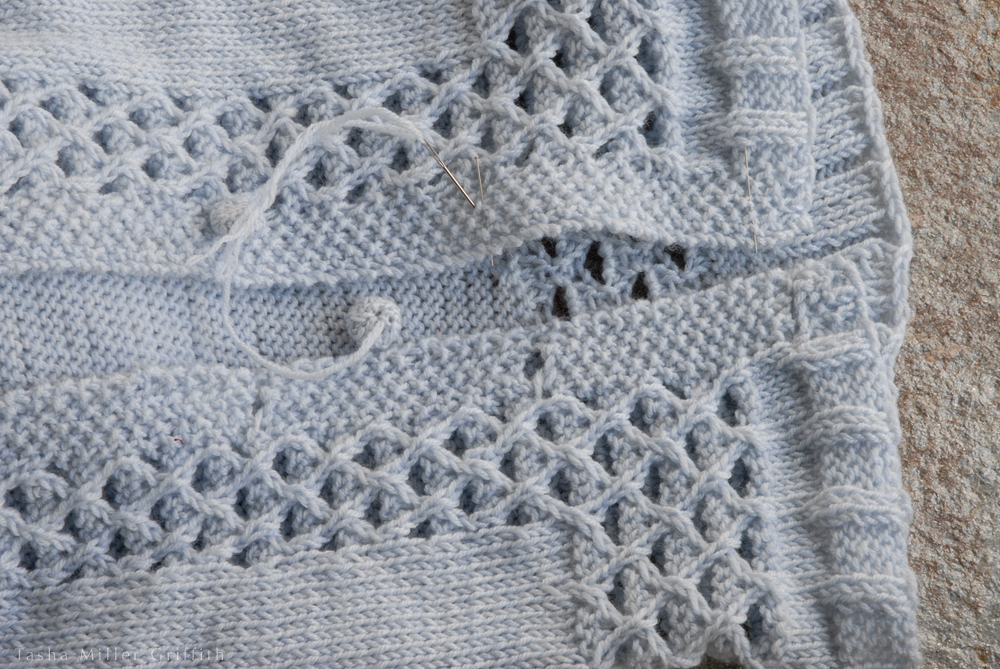
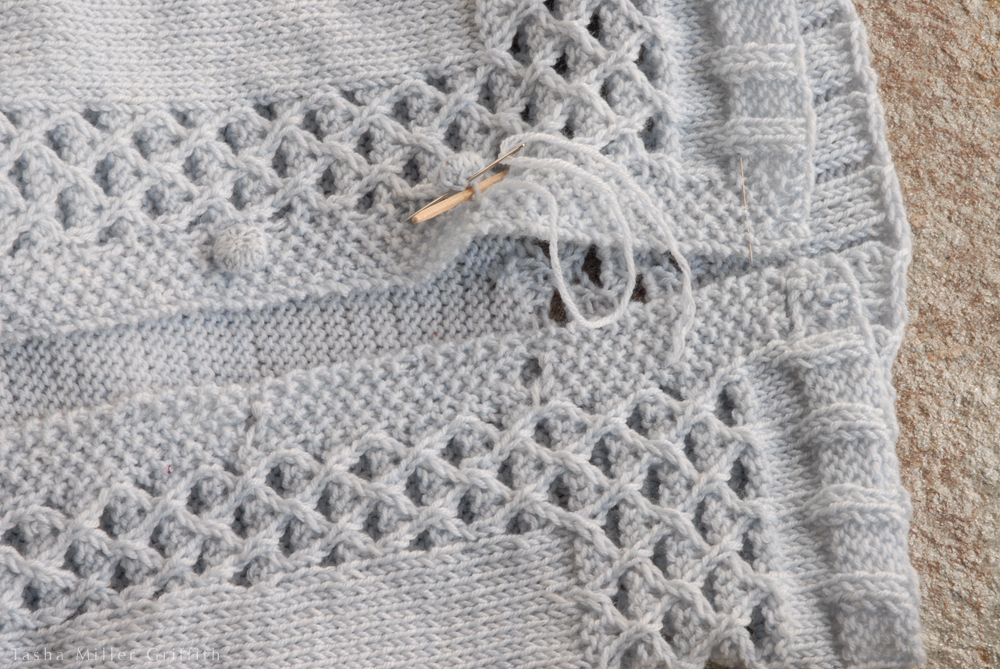
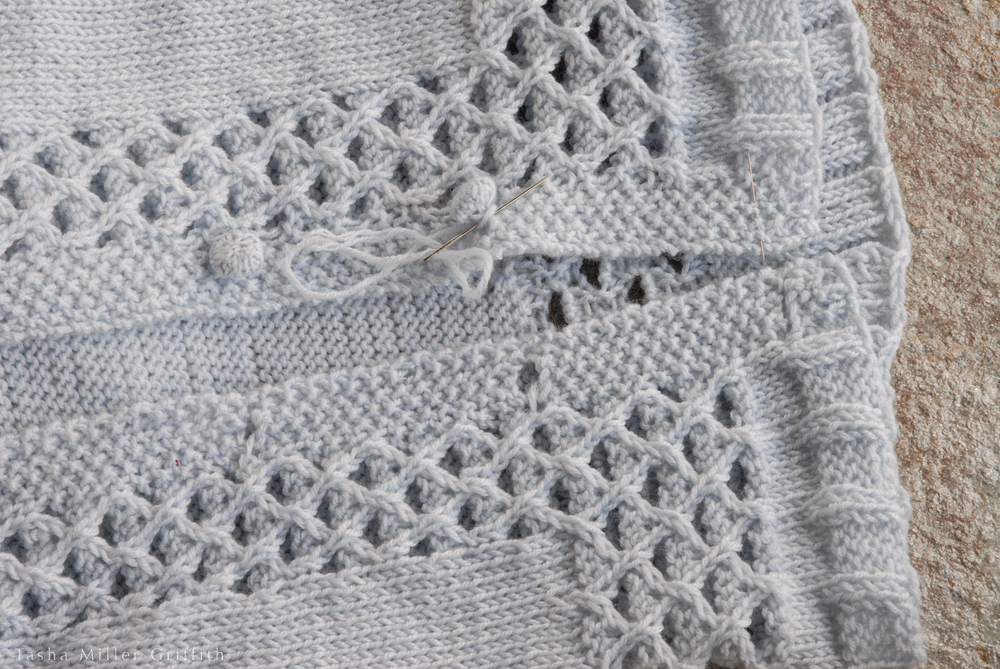
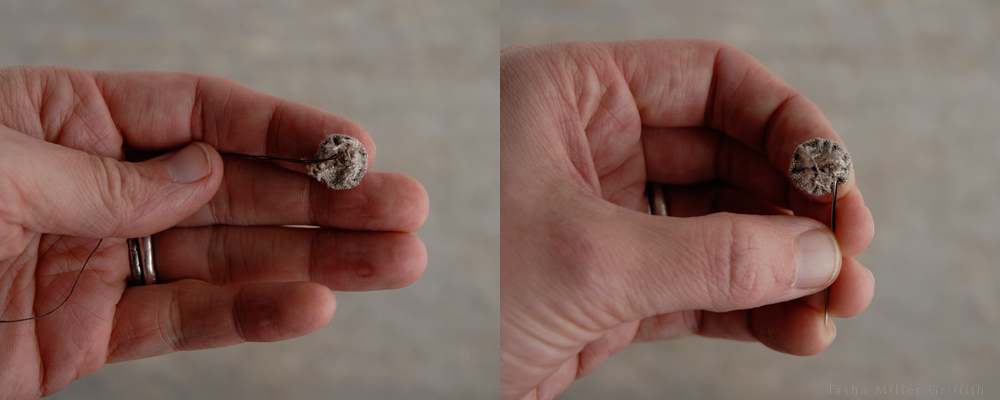
That’s it!  I sewed them on using my favorite method, making a thread shank on the back. You could also sew just through the fabric on the back of the button, rather than through the original button holes, but I think this would leave the fabric on top of the button free to shift around a bit.

The possibilities here are endless … and speaking of endless possibilities:


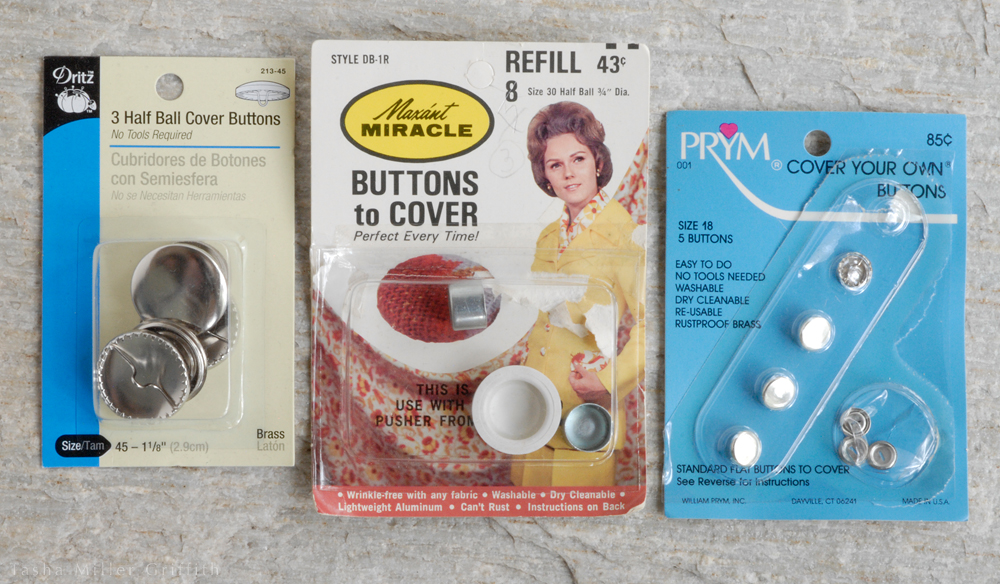
Tips for store-bought cover button kits

I use these a lot (at least I did before I discovered the above technique).  My favorite are the tiny ones (surprise).  Here are my best tips:

1.  Get the kind with the teeth facing inwards, not the ones with the flat metal edge.  The teeth are a lot easier to work with, and you can use them without tools, precisely centering your fabric.  The flat edge also cuts through the fabric over time, meaning your buttons wear out faster.


cover button packages
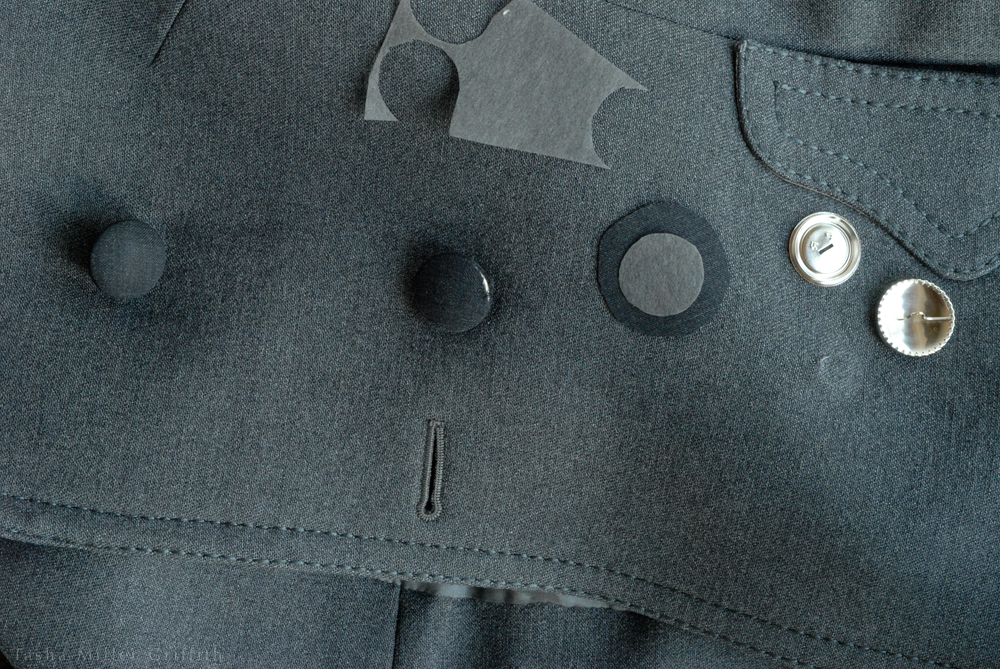
Ones on either side, good, the center ones, not so much.  Her hair!  Can you tell I inherited cover button kits from both my grandmothers?


2. Use another layer of fabric, or something thin and opaque like interfacing, under your button fabric.  This prevents the shiny button from showing through, and gives your button a subtle but nice plusher look.  The extra piece only needs to be the size of the button top, since it doesn’t need to wrap around.


cover buttons coatI replace the fabric on a couple of these buttons on my coat about once a season.  The ones with a layer of interfacing do seem to last longer.


3. The guides printed on the back of the button kit are probably too big for thick fabric and/or knits.  You need enough fabric to secure in the teeth, but not so much that it bunches up and keeps the back from seating in securely.  You may need to experiment to find the right size circle for your fabric.

4.  Pull the fabric up from two opposite sides, and hook it onto the teeth by pressing it under them.  Repeat at right angles to your first two points, and then do the places in between.

5.  For knits, it’s up to you how much you stretch the fabric as you pull it over the button.  Pulling less will make the buttons look more plush.  Try to be consistent, however you like it.


cover buttons small wool knit


6.  It’s totally possible to use the metal parts of these kits many times when the fabric wears out (like on my coat).  Use any small flat tool to pop off the back, then pull off the remains of the fabric, and start again.

7.  You could definitely use embroidery on these as well (they do in that Purl Bee tutorial), just be careful when centering the fabric—see 4.  You could even use the embroidery to tack your two layers together.


cover buttons small wool knit finished


I think that’s the lot, for now anyway.  Best returns of the season, everyone!


Make Your Own Tiny Hand-Knit Cover Buttons

tiny knit covered buttons finished front


These are the buttons I made for my Talamh sweater.  I found some factory-made buttons covered with knit fabric in my button stash as I was starting the sweater, and the idea stuck.  When I finished the sweater, I knew I wanted buttons covered in my yarn, so I made some.  Afterwards, it occurred to me that I might have been reinventing the wheel here, but searching Google and Ravelry turned up nothing like these, so here are the directions!  At the end of the post I’ll also include some links to other ideas I did find, in case these aren’t quite your style.  As always, click on any of the photos to enlarge for a closer look.


Knitting the Cover

Pick your buttons to go inside the knitted cover first.  They should be a little smaller than you want the finished button to be, and ideally a similar color to the yarn you’re using to cover them.

These buttons are knit in the round from the center out.  Since they are tiny, there are only a few rounds before you decrease, and secure the knitting to the button.

You want the button fabric to be tight, so that it will be sturdy and the button underneath won’t show through.  Use a much smaller needle than you usually would with the yarn (even if your yarn is thicker).  Here I used size 1 needles, after using size 4 with the same yarn for the sweater.  I’ve illustrated using double points, but of course you could use two circulars or a magic loop if you prefer.

Start by casting on four stitches, using Judy’s Magic Cast On, or another method that starts seamlessly from the middle (this one from Cat Bordhi is also good).


tiny knit covered buttons cast on


If you increase 4 stitches per round, it makes a flat circle of knitting.  I learned this from Daniel Yuhas’ book, Knitting from the Center Out.  Since a flat circle is my goal here, I knit into the front and back of each stitch, for 8 total stitches in the next round.  (If you aren’t sure how to knit front and back, otherwise known as kfb, just Google it—more tutorials than you’ll ever need will pop up.)


tiny knit covered buttons 8 sts


Increase 4 stitches again in the next round (ie: knit into the front and back of one stitch, knit one stitch, repeat those two actions around).  At this point I switched some stitches onto a third needle, to keep my little circle from getting too stretched out where the needles join.


tiny knit covered buttons 12 sts


Since my button is tiny, I only needed one more round of increasing 4 (knit front and back, knit 2, repeat around, for a total of 16 stitches) to reach the size of my button.  You can compare the amount of knitting you have to your buttons, but it can be hard to judge without finishing.  Luckily, these only take a few minutes to make, so it’s easy to try another one if the first one isn’t quite right.


tiny knit covered buttons 16 sts


When the button is the size you want, start decreasing, so that the knitted fabric will cup around the edges of the button smoothly.  If your button is bigger and/or thicker, you may want a plain round before you start to decrease, but for these little guys I found it made the cover too baggy for the button, so I went straight from an increase round to a decrease round.

I did one round of knit 2 together, knit 1, repeat.  You can see how the cover begins to puff up in the middle as the edges draw in.


tiny knit covered buttons decreasing


On the next round, I knit every 2 stitches together, until there were 5 stitches left.  If you have a lot more stitches, it may take a couple more rounds of decreasing.  You also want there to be enough fabric on the back of the button so that you can pull these few stitches together at the center back.

When you have just a few stitches left, cut the yarn, thread the end on a sewing needle, and pass it through the remaining stitches.


tiny knit covered buttons needle to yarn


Knitting Meets Button

At this point the actual knitting part is done.  There are a couple more tricks I want to show you as we sew it together, to make the button come out really nice.

First, before you start to cinch up the knitting around the button, take the sewing needle from the end you finished knitting with, and thread it on the end left from casting on.


tiny knit covered buttons yarn tail inside


Open out the little circle so the inside of it is clearly visible.  Use the center yarn tail to cinch up the first stitches from the cast on, if necessary.  Then sew around in a little spiral, starting near the center, piercing just the backs of the knitted stitches (use a sharp needle).  This secures the tail, and adds a little extra cohesion to the stitches that will be the button front.


tiny knit covered buttons inside spiral 2


When your spiral is done, trim the inside tail, and thread the outside/last knitted with tail back on the sewing needle.


tiny knit covered buttons ready for button


Place the button in the middle of the circle, and draw the edges up with the remaining tail.


tiny knit covered buttons gathering back


Pull the last stitches tight together in the center back, which hopefully will snug the whole cover nicely around the button.  If it’s too loose or too tight, just start again, make another one with modifications.

Once your cover fits your button, secure it by taking a stitch through one hole in the button, out to the front side.


tiny knit covered buttons stitching through button


Then take a stitch back, aiming to enter the knitted fabric in the same place you came out (so as not to leave a stitch on the surface) but angle the needle so it goes through a different hole in the button.  You’re putting a loop of yarn through the button itself, to secure the knitting in place.


tiny knit covered buttons stitching through button 2


I think this technique would also work with shank buttons, you would just want to take a few stitches around/through the shank instead.

Lastly, I stitched around the edges of the back side of the button, adding a little more yarn and securing the stitches there.


tiny knit covered buttons reinforcing back


Tada!  A tiny knitted covered button, ready to go.


tiny knit cover button back finished


I sewed these on using a variation of my usual technique (I updated the photos on that post just this week, and love how they came out): sewing through the yarn on the back of the button rather than through the button itself.


knit cover buttons sewing on 1

knit cover buttons sewing on 2

knit cover buttons sewing on 3


I’d love to try making some bigger buttons using this techinique, too.


More Ideas

As if that weren’t enough, when doing research for this post I stumbled on a few other fun things.  Actually, I fell down a bit of a rabbit-hole of cool ideas for DIY covered buttons, both for sewing and knitting, and another post is probably coming soon.  In the meantime …

Kate Davies has a lovely clear tutorial for yarn-wrapped buttons that come out looking sweet.

What about embroidering a design with your yarn on fabric, and then covering a button with that?  There’s a tutorial here on The Purl Bee.

There’s always traditional thread-button techniques, like these from Threads Magazine. Full disclosure: I long ago tried and failed to make sturdy buttons using similar techniques, but I’m pretty sure it was user error.

You could also knit a circle from the bottom up, rather than from the center out, increasing and decreasing at the sides, and then gather it over a button or use a commercial button form.  There’s an example on Knit Darling here. She uses a cover button kit, and rightly points out that those don’t work in small sizes with thick fabrics.  I think you could gather a smaller size over a regular button and secure it something like the second part of my technique (but I haven’t tried this yet to be sure).


Not that there aren’t beautiful buttons out there, but especially during this season when we’re surrounded by encouragement to over-consumption, I just love the idea of putting the final touches on a project myself, made with bits and pieces I have around the house. Here’s wishing you all a restful, creative December!