Solved: Leggings


The best thing about making a pledge or taking a challenge may be that it pushes us to find out what’s possible if we stay within certain boundaries. For example: this winter, I found myself in need of some new warm leggings, and a couple of challenges I had in one form or another meant I needed to be creative about how I got them. The results were so good—almost certainly better than whatever I would have come up with without the challenge.


upcycled leggings 1


One of my wardrobe goals is to have enough of the right clothes for winter so that I’m cozy (in other words not always cold and therefore slightly grouchy). For the coldest months, it turns out that means wearing an extra warm layer under pants or a long skirt pretty much every day. I’ve already figured out that wool and silk are much warmer than cotton knits (plus I love everything else about wool). I’m still following my fabric-buying pledge from #1year1outfit (until a full year has gone by this summer), which meant I couldn’t hop online and order lovely wool fabrics from New Zealand, even if they are organic. There are a few totally beautiful made-in-USA wool knits out there, but let’s be honest, I also have a budget. I can’t afford to splurge on every project, and I don’t want to for something like this where I frankly don’t care too much what it looks like, as long as it feels good and works well.

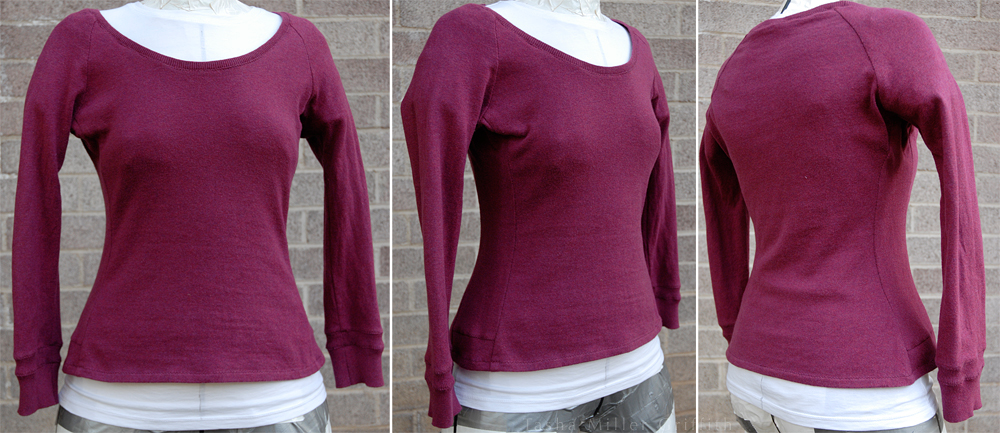
I was thinking about going to the thrift store for something else, and somehow I got the idea that maybe if I found a big enough fine-gauge men’s sweater, I could make leggings out of that. Such, such a good idea!

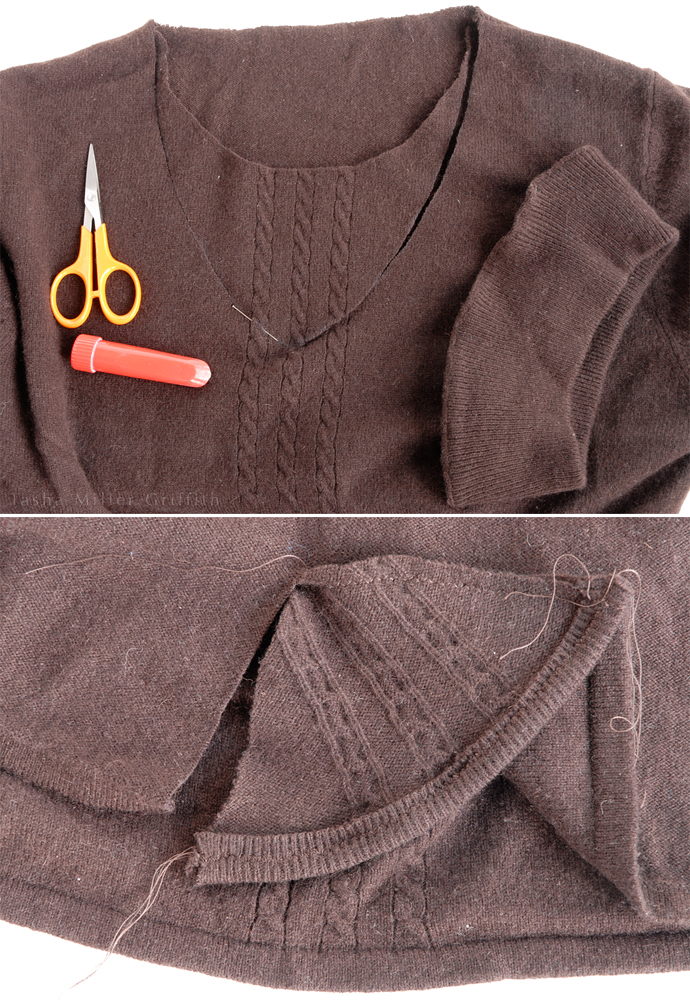
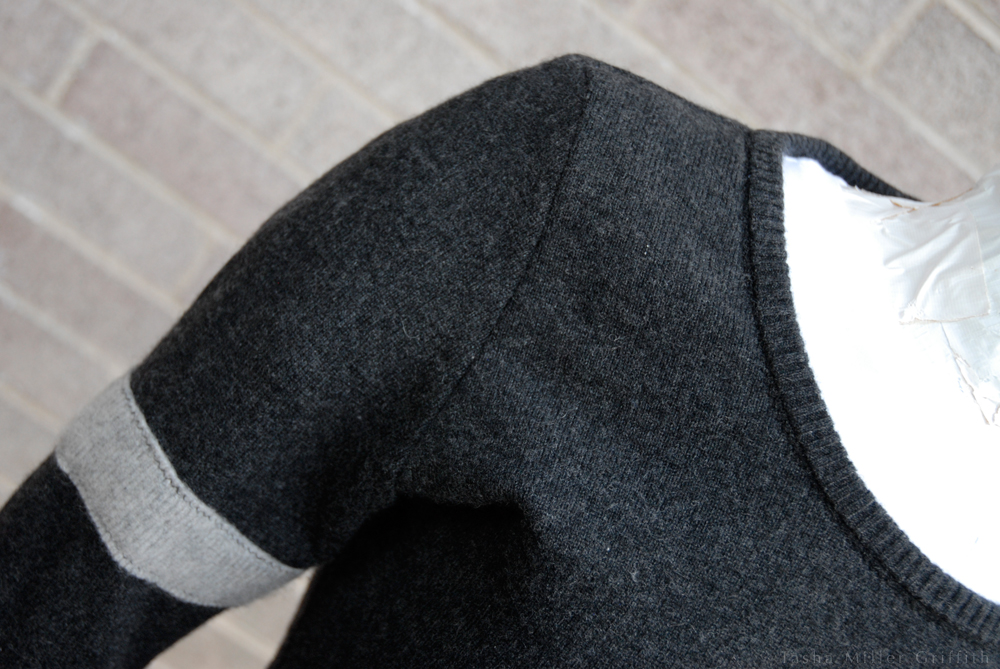
My layout works like this: I cut off the waistband of the sweater, including a little bit above it for seam allowance, and save it for the waistband of the leggings. I flip the sweater inside out and trim off the seams as closely as I can to separate the front from the back. (After making so many hats from reclaimed cashmere, I am an expert at deconstructing sweaters.) Then I remove the sleeves, in this case leaving the sleeve seams intact as much as possible. The front and back often have fairly different shapes (and a lot of times different grainlines) so I separate them completely at the shoulders after the sleeves are off, and cut from them separately. I cut the top potion of the leggings pattern from the front and back of the sweater, however they best fit. The lower leg comes from the sleeves, utilizing the sleeve cuff as the ankle.


sweater to leggings drawing


I used the same Espresso Leggings pattern as my first custom fit pair—there’s no going back from custom fit! The lower arm of the sweater was actually a little smaller than the original cuff on my pattern, but it stretched to fit over my ankle just fine. I laid the folded leg pattern over the sleeve, and started to cut where the leg became smaller than the sleeve.

For sewing, I joined the lower leg to the upper leg flat, pressed the seam open, and sewed down the seam allowances for a non-bulky join. Just don’t forget to add a seam allowance to the upper and lower leg when you’re cutting.

As I sewed the inside leg seams, I just merged my seamline into the original seam of the sleeve when I got to that point.


upcycled leggings 2


Working on these, I thought a lot about stretch and recovery in knits. All the sweaters I used had about the same horizontal stretch as the fabric I bought for the very first pair; with 4” stretching to about 7”, or 1.75%, so I could use the same size pattern. The sweaters had almost no vertical stretch though, which made the first pair of sweater-cut leggings feel a bit shorter on top than I wanted, so I slashed the pattern and added ¼” vertically above and below the crotch point.

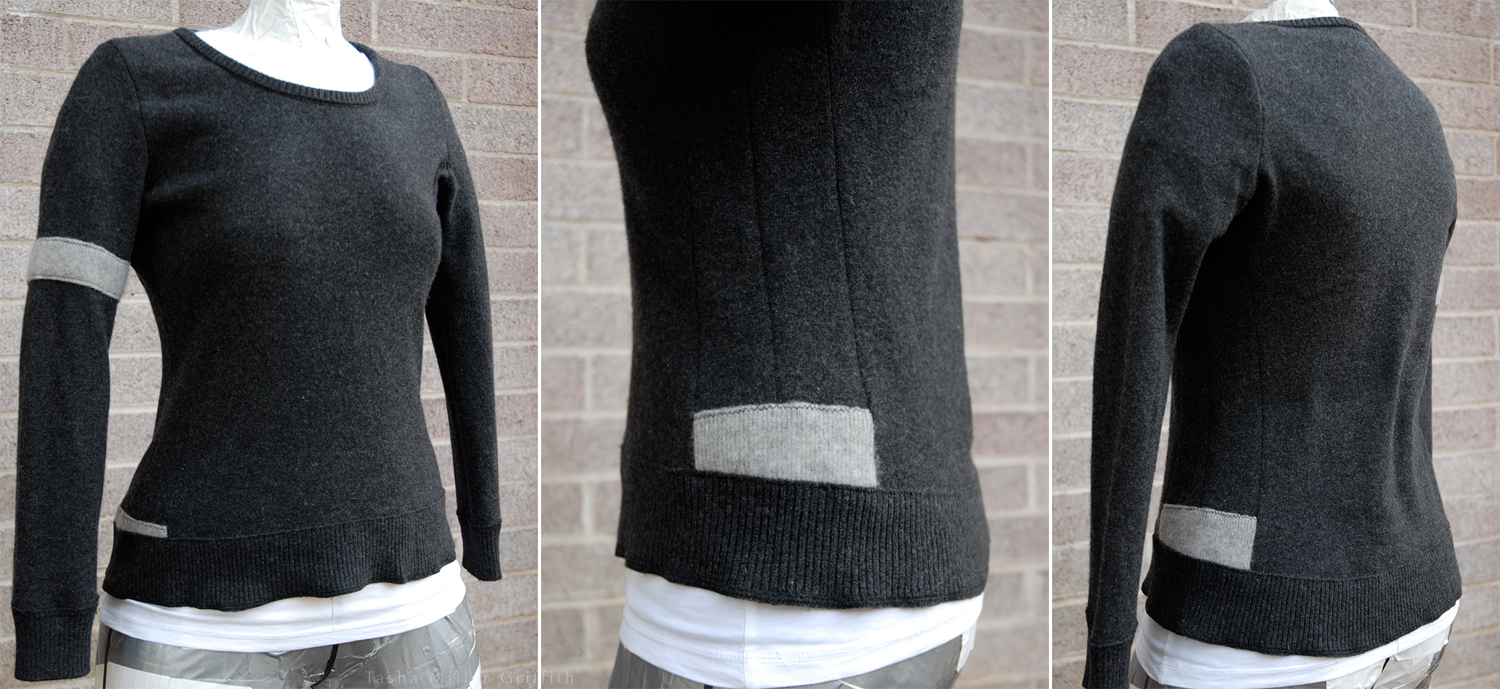
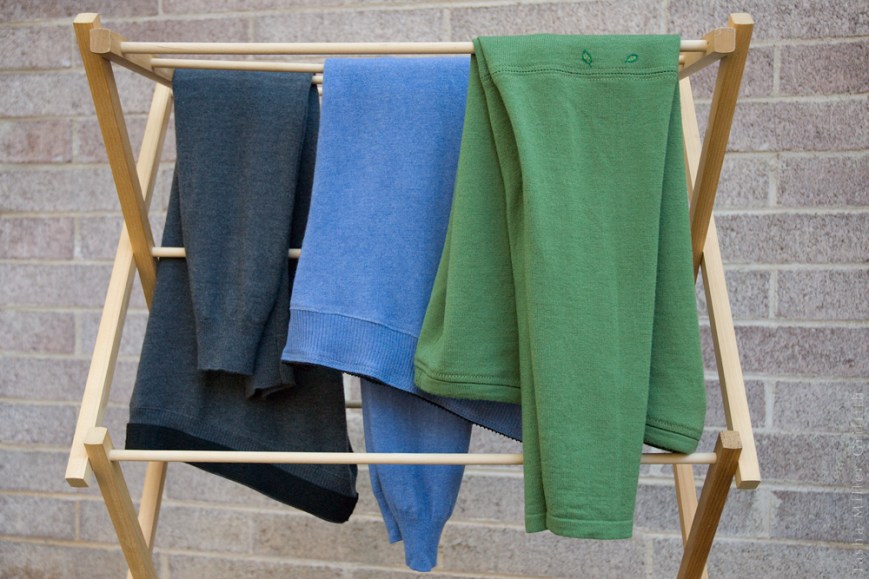
I ended up cutting the ribbing for waistband much shorter than the top of the leggings, since it could stretch much further. The ribbing alone wasn’t quite enough to hold the leggings up, although I loved how it looked. For the charcoal pair, I added wide elastic on top (it may possibly have come off a pair of Bryan’s boxers with worn fabric). This holds up the leggings no problem. The elastic has the recovery needed, but it actually won’t stretch as far as the ribbing, so I had to cut it a little longer. This can make the waist look a little wrinkly by itself, but it all stretches out smooth on the body.

For the second blue/periwinkle pair, I wanted to see if I could use slightly less wide/firm elastic, so I tried some of the bra-band kind from my stash, which is soft on one side, inside the ribbing. That works too, leggings stay up with no problem.


upcycled leggings 3


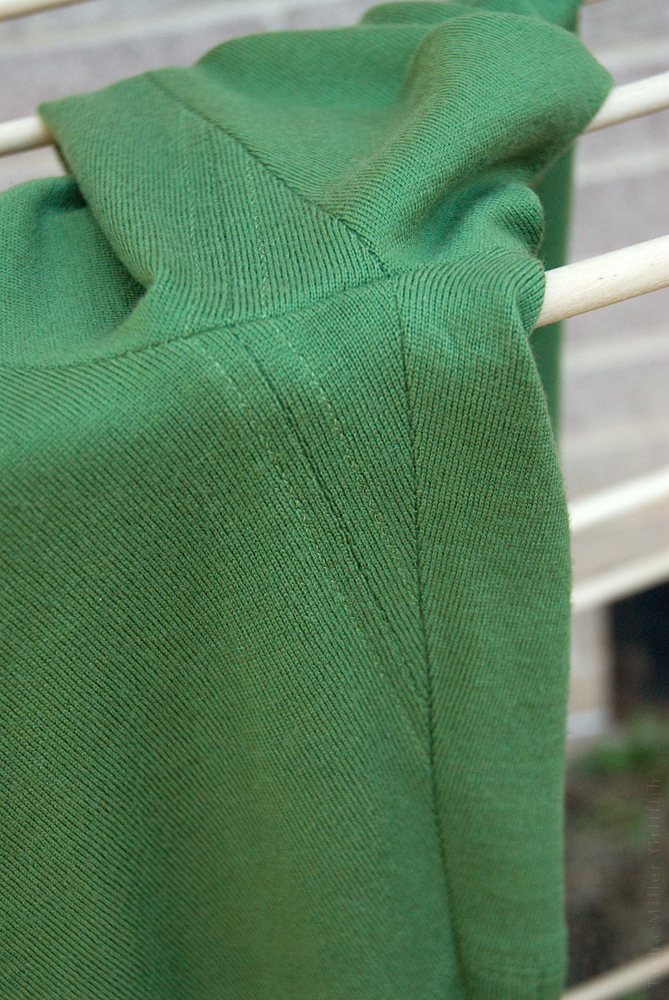
The third green sweater had a narrow hem instead of ribbing at the waist. I decided to use that as a casing for narrow elastic, cutting two sections from the waistband and catching the elastic in the seams. After wearing this pair a couple of times, the jury is still out on whether it could use slightly wider elastic/more pull inside the casing … but if so it would be easy enough to unpick the little vertical seams at the top and sew it in.


upcycled leggings 4


Overall, I’m super happy with how these turned out! I answered a few leftover questions from the first-ever pair; like would elastic be enough to hold them at the low-waist level I like (a resounding yes!) and would they work in 100% wool (a big yes again!). Despite the fact that the pattern recommends fabrics with Lycra or Spandex, I like the all-wool version much better (the green and grey pairs are Merino, and the periwinkle is cashmere). These float like a warm soft cloud just touching my skin. They feel amazing and don’t bind in any way. If I were dancing on stage in them, I might care that the knees look a little baggy by the end of the day, but since these are under-layers only, I don’t at all.

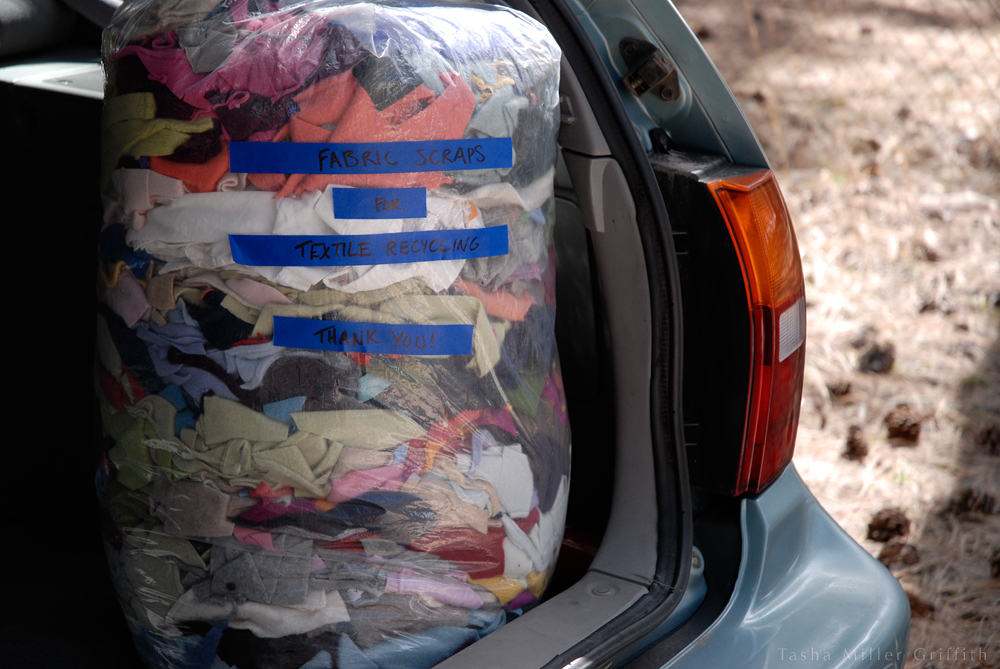
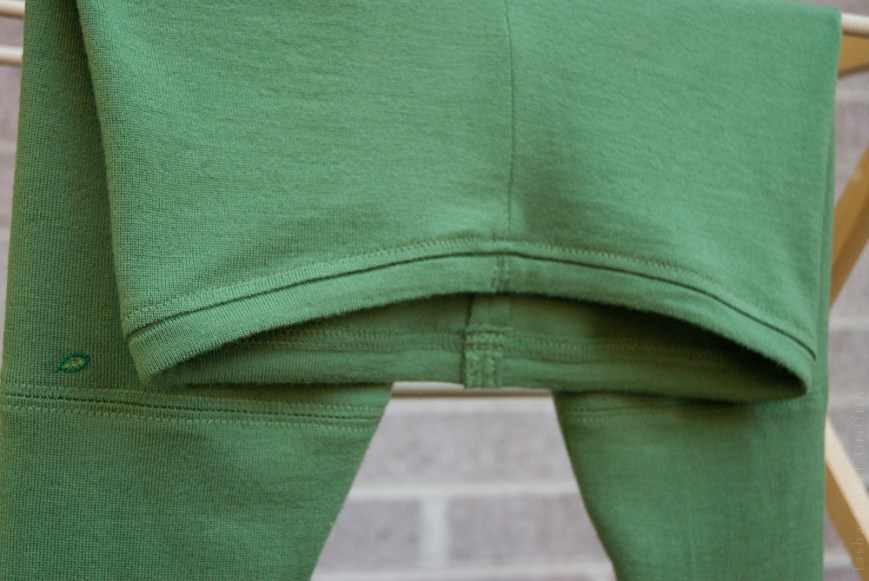
So I’m officially set on leggings for a few winters at least! We’ll see how these hold up. They should be fairly easy to patch if needed, since I have the pattern and scraps. I consider the used sweaters a sustainable material source, especially since I can utilize ones that have small stains or holes in them (the little stitched leaves on the green pair are covering former holes in the original sweater). Making leggings this way keeps me within my pledge and my budget. Plus they’re awesome.

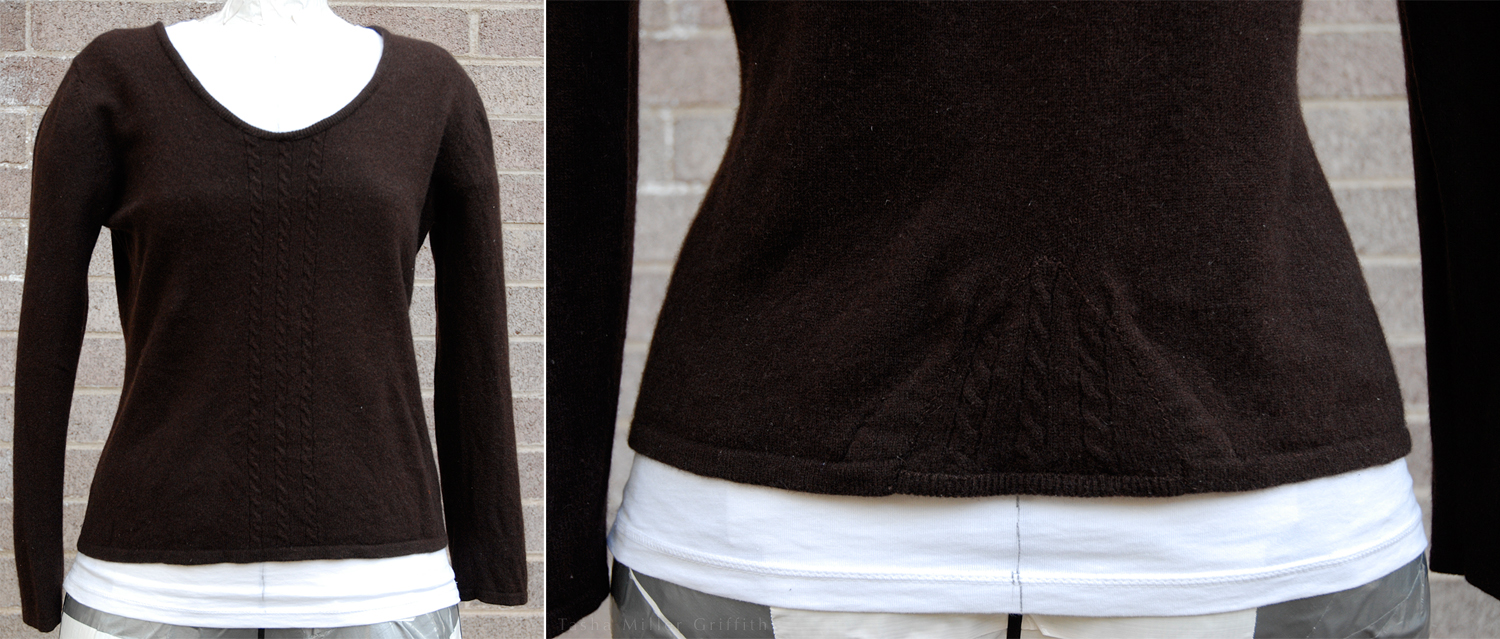
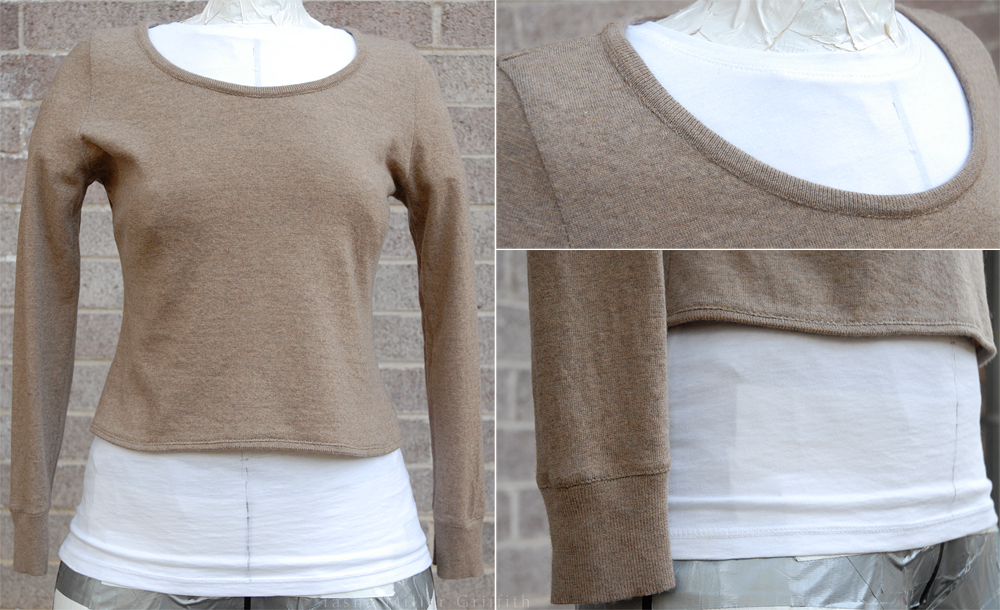
If you want to try this, go for it! For my fairly-small-but-very-pair-shaped figure, I need to start with a men’s extra-large sweater to cut the pieces as illustrated. Of course, you can patchwork them a little more if needed. The green sweater was in really good shape (except for the holes), so I got it even though it was a little smaller. I ended up piecing in wedges at the inner thigh to make up for not having quite enough width across the sweater body. It worked fine, but it was a little mind-bending to make sure all the pieces had the right shape and seam allowance, so I don’t recommend it for your first try.

Happy stitching!


upcycled leggings 5


Four Upcycled Winter Tops

In which I think about the difference between fit and flatter, ways to seam knits for a pear shape, and the pros and cons of sewing with recycled sweaters.


Last fall, I knew I could use some more long-sleeve cozy tops for the coming winter, and I decided to see if I could find some “fabric” (in the form of large garments) at our local thrift stores, figuring that it would be cheaper than ordering quality wool knit, and I would be more willing to experiment if I wasn’t super attached to the materials.

Many things still take longer than I think they will, so I just finished the last of these a couple of weeks ago … luckily they still work as light sweaters for spring, and I’m now set for next fall/winter. Some people would probably call these light sweaters at any time, but for my winter wardrobe they’re shirts, something soft and warm that goes under a bigger sweater. (If it’s winter, I’m pretty much always cold. Heck, if it’s Texas in Spring but I’m inside and the is AC on, I’m still probably cold.) I’ve switched pretty much exclusively to wool (or cashmere etc.) and silk for winter wear, and I just love it that way, so those were the fibers I was looking for.

One of the biggest problems I’ve found with trying to upcycle tops for me out of existing tops, is that for there to be enough fabric to cut a new garment, the original sweater must be truly huge. Yet in the past, trying to reshape something without treating it as fabric and cutting new shapes has been a recycling nightmare that eats up way more of my time than the results are worth …

The first top I found this time was a women’s size large, with a pretty awful turtleneck, but in a nice brown cashmere. There just wasn’t enough fabric to dramatically reshape it, but it definitely needed a new neckline, and some ease around the hips (not a surprise to my pear-shaped self). I decided to take a wedge of the cable pattern from the old neck, cut a slit at center back, and splice it in.


brown winter top alterations


This worked—and I learned a few things. Probably the most obvious thing is that the wedge can’t be too large, unless you want it to ripple like a little peplum. I ended up folding in the sides and sewing them down again to make a flat wedge. It doesn’t look perfect, but I was experimenting. If I did this again I’d also add a little more pull-in factor to the neckline, probably with some slightly stretched clear elastic in the neck seam. But the biggest issue with this shirt is that it just isn’t that flattering. It fits OK, but I’m aiming for better. This one found a good use as my new winter sleep shirt.


brown winter top on form


The next top I found to use was a little bigger, at least big enough to cut out new pieces from it. My favorite part about this one is the fabric; it’s Merino, and just the perfect amount of stretchy, cozy, soft and wooly. If I could buy a bolt of this I probably would. This top came out quite a bit shorter than I’d like (again due to lack of fabric—by the time I cut the old sweater apart and put the pieces for my regular knit top pattern on it, this is what I got), but I’ve been wearing it all the time.

I played with the ribbing on this one a little more, cutting and sewing lengths from the original hem ribbing and treating it more like elastic, stretching it to sew around the neckline. That worked well, the ribbing on these sweaters has a tighter structure, and I suspect some added stretchy fiber that makes it behave quite differently from the rest of the garment. Sewing ribbing on things reminds me of the late 80’s, when my mom would order fabric by mail to make tops for us, along with coordinating ribbing in various colors. I wish I’d had a little more of the matching ribbing for this project, as it is the tiny hem on the bottom has to be encouraged to lie flat as it’s drying, otherwise it will flip up, and I had to baste it on before sewing to keep those little bits in place.


tan winter top on form


I’d been thinking how, in order to fit my figure better, I really need more seams, even in a knit fabric, than just one at each side. I love princess lines, but I thought that traditional ones would be more structure and more of a closely fitted, formal look than I want in a knit top. I was thinking of making a curved panel at each side, when I realized that I already have a top/sweater like that, it just fits a little looser than I’d want for this. So, I tried it on and pinned out the extra to get a fit I liked, traced a new pattern from the old one following those modifications, and cut it out.

This berry colored top was my most frustrated moment in this batch of upcycling. It came from a men’s XXL sweater in “cotton (90%) cashmere (10%)” which I went for despite the fiber content, going on color and the fact that I could definitely treat this one as a “muslin.” At first I was kind of miffed that even starting with a sweater this big, I couldn’t cut the sleeves long enough and I had to piece the side panels … but as soon as I gave up wanting it to work out “right” and embraced the experimentation and improvisation of working with recycled materials, suddenly it was fun again.

I really like the ribbing on the side panels, but the double sleeve ribbing came out wonky no matter how you look at it, the back neck has too much ease, making it slide off one shoulder sometimes (again with the 80’s), and the whole thing has all the baggy/low-recovery properties of thick cotton knit. However, it’s good to have at least one top that I don’t really care what happens to, and I brought it on the road for that purpose, it’s great to throw on in the truck etc.


berry winter top on form


I’m also having an ongoing thought process about the difference between fit and flatter. I want things to fit well, as in to harmonize with my shape—but maybe not to hug every curve. Sometimes if I aim for enough ease to really skim my hips it ends up emphasizing my pear shape instead, in a way I don’t find flattering, especially if I don’t also add ease around the bust. Also, if I curve a back seam in enough to fit close around my waist, the amount of curve required to flare it back out again over my hips is not really workable or looks a little crazy.

With that in mind, I cut the last shirt a little less curved in at the waist and out at the hips in back. I also added a side seam, mostly so that I could cut set-in sleeves (doesn’t save as much fabric as I thought it would vs. raglan) and set them in flat, then sew the side seam and underarm in one go, which apparently I like so much better than setting in knit sleeves in the round that I’ll do extra pattern tracing to get it.

I’m so happy with this last top. I dig the length, the slight high-low hemline, the side panels, and even the lighter accents (piecing again). And the bottom ribbing! This is every single millimeter of the ribbing at the hem of a men’s XL cashmere sweater (a bit frightening) and it’s just right. I flipped it over so that the original seam is at the bottom, so if anything it flares out a bit at the hem rather than cupping in. It hugs in just enough to feel cozy without riding up too much—like the dream of what ribbing could be on my figure. I’m still undecided about the extra fabric around the small of my back. It’s definitely a bit baggy there, but is that a bad thing?


grey winter top on form


Since I had to piece in a little lighter grey scrap at the side panels, I decided I should also add some to at least one arm to make it look purposeful. I also decided, after the berry ribbing, to make a real effort at getting the two knits to play well together, rather than sticking them under the machine together and hoping for the best. I tried sewing with tissue paper under the bottom layer (inside the sleeve) and it actually worked really well. However, I’m not in love with trying to position the paper around the free arm inside the sleeve, or with picking out tiny bits of tissue from the seam, so further experiments are still necessary.


grey winter top detail


I may have to go for another round of cozy top upcycling at some point, I’m getting kind of fond of the built-in matching ribbing. Although, I think I should resign myself to the need for an extra sweater for every couple finished tops, one to one just doesn’t quite work. And then, since I can’t be nearly as efficient with layout as I could with the same amount of raw fabric, it feels a little wasteful to cut up a shirt which is really perfectly good as it is … unless it has holes in it etc. So there’s a Holy Grail of thrift shopping, as if finding huge sizes in quality fibers wasn’t hard enough, now I need two or three that all coordinate with each other or with another one for extra fabric, preferably damaged! Maybe I’ll just order some nice fabric next time …


Recycle Fabric Scraps and Worn Out Clothes at Goodwill


fabric scraps for recycling


I like saving scraps of fabric from my sewing.  They usually come in handy for other projects.  However, there is a point when a scrap is just too small to be worth saving, and I don’t want to clutter up my storage space with tiny little bits.  On the other hand, I feel like the scraps are perfectly good clean fibers, and I hate to just send them to the landfill.

A while back, Zoe mentioned that in the UK, the charity she used to work for (TRAID) sent scraps on for textile recycling—to be turned into insulation and stuffing and whatever else uses short mixed fibers.  I wondered if any of the thrift shops on my side of the pond were doing the same thing.  I started saving a (large) bag of just the fabric scraps too small to keep, which took a surprisingly long time to fill up, considering it had all the scraps from this fall’s batches of Fiddleheads.  (Probably due to the fact that I can’t bring myself to part with any piece of slightly felted cashmere big enough to be remotely useful.  Want some cashmere pieces? Let me know!)  I also had a few garments that weren’t really fixable any more, but I figured had life left in at least some of the fibers.

I thought about contacting charity shops every once in a while, but basically put it off until the scrap bag was too full to ignore, and then sent out emails.  Good news, USA-dwelling, fabric-cutting folks: Goodwill will take your scraps!


This was my message:

Hello,

I have some worn-out clothing and fabric scraps which I don’t think a thrift store would be able to sell.  However, I would still like to keep them out of the landfill!  I know that some thrift stores pass on worn out clothes and scraps to recyclers so that they can be remade into something else, and I am wondering if your store does this?


And this is what I got back:

Yes, most fabrics that cannot be sold continue to be recycled in the manner outlined below at all our locations.


Hooray!  Now I don’t feel like an idiot for saving a big bag of tiny fabric scraps can be a good citizen and recycle.  I also took some things I was ready to part with that I thought Goodwill would be able to sell—seems only fair as they are providing this service.

A note: if you don’t have a Goodwill store in your area and decide to contact local thrift shops, I’ve had much better results via email than over the phone.  The people I got when I called were more likely to assure me that they try to sell everything before sending it overseas, etc., than to have the answer I was looking for.

Good luck!


Turning a Lotion Bar into Handmade Salve


For some reason, people give me these lotion bars.  It’s true that I have super dry skin, but the consistency of the bars doesn’t really work for me, it leaves a sticky film on my fingers.  However, I just love homemade salve.  I use it for lip balm, minor burns, on my dry fingertips before bed, etc.  The ingredients of the bars and the salve are about the same (a combination of oils and beeswax, and sometimes a few other ingredients like shea butter), except the salve has a higher proportion of oil.  So …

Basically all you have to do is heat the lotion bar until it melts, add more oil, and cool it again.  I’ve tried this a few times and the mixture has always stayed emulsified.

A re-used glass jar is a good vessel for heating. The ideal container would have a pouring lip (which this one doesn’t). It only took a little brute force to get my lotion bar inside.


lotion bar to salve 1


I melt it gently, in a pot with water over low heat.  It might not be necessary, but to insulate the jar from the direct heat, I put an old dishrag in the bottom of the pot. The bar will take a while to melt, but you don’t have to watch it the entire time, just remember to come back and check every so often, until it’s completely melted.

To figure out how much oil to add, you really just have to let the mixture cool and try it out, as it depends on how much is in the bar to begin with, and the finished consistency you like.  Err on the side of a little less than you think to start with, you can always add more.

You can add olive oil, almond oil, or any other oil you like that’s good for your skin.  I’ve used jojoba oil for the last few batches, since I had some from another project.  Stir the oil into the mixture, so that it’s distributed throughout (I used a wooden skewer).

The first time I did this, I let the jar cool down all the way to test it.  Then it occurred to me that it would be much faster to cool a small amount in a little measuring spoon.  Wait until it’s completely cool to test, and keep in mind that a hard skin forms on the surface, so break through it and smear the salve between your fingers, on your lips etc. to test the texture and absorbency.


lotion bar to salve 2


As soon as you get in as much oil as you want, the salve is done!  If you’d like, you can pour it into smaller containers for storage and use while the salve is still liquid (using a funnel or very carefully).

Every time I do this, I’m pretty excited about the almost effortless batch of lovely new jars of salve around the house.  If you want to, you can even make fun labels for them, like we did for the salve we made at my craft retreat two years ago.


lotion bar to salve 3


I find the best way to get the salve off the teaspoon, or out of a jar I’d like to use again, is to just keep rubbing it off with one dry fingertip after another.

Here’s to upcycling!