DIY Fabric Shower Curtain


fabric-shower-curtain-2


Hello everybody, it’s been a little while! I’m a firm believer in blogging whenever you can and feel inspired, not on a pre-ordered schedule, and I also think that most blogging apologies are a waste of time and just make you feel bad. Still, it’s been much longer than I meant it to be, and I’d like to echo Molly’s sentiments on Orangette: if I ever decide to leave this space for good, I’ll tell you so. It seems only fair. The way she puts it at the end of that post is so good.

The first reason for my losing track of online things was one of the better ones: for the second time ever, we hosted our annual family and friends craft retreat at my house last month. The first time we hosted it, two years ago, was when I had an inspiration—the infinite to-do list—that started a big difference in my thinking.

I have to say, I was pretty proud of myself this time. I felt calm and relaxed in the lead-up, and I even slept well before and during at least the first part of the week—proof that I’ve made progress as a human lately, and let go of some anxiety, even the good kind that’s more like excitement. (If you need this too, may I highly recommend the book The Three Marriages by David Whyte, which is full of deep insights about things in general, and came into my life at exactly the right time. You can also listen to a good interview with him from On Being.)

It was one of those times when being calmer and going slower actually ended up meaning that I got more done. We cleaned off the back porch, for instance, which probably hadn’t been done in the two intervening years …

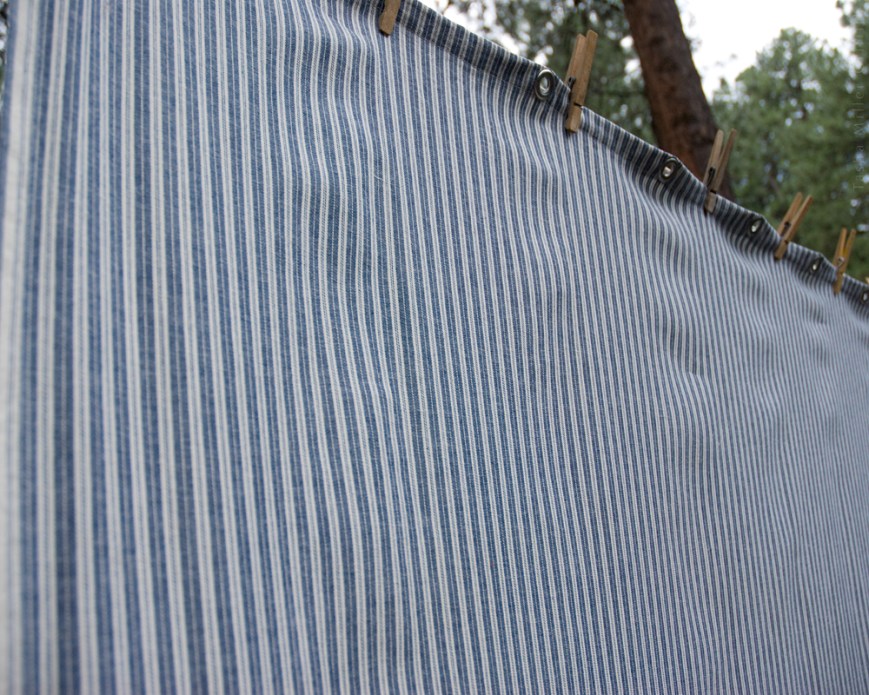
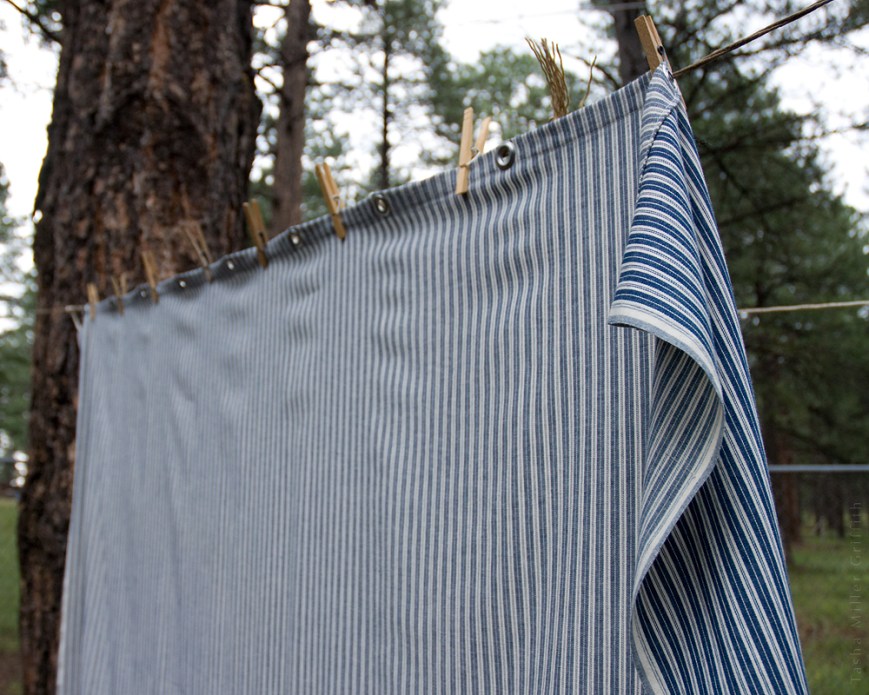
And I made a new shower curtain! Well, “made” might be exaggerating somewhat. I took a length of wide fabric, hemmed it, installed some grommets, and there we go.


fabric-shower-curtain-1


I’d like to apologize to all of our previous guests for the old shower curtain, a cheap vinyl thing with one ripped eyelet, which someone bought right as we were moving into our house a decade or so ago, and had been there in various states of nastiness ever since. Incidentally, I also figured out that if I actually took the vinyl thing down, soaked it in the tub with vinegar and dish soap, and took a scrub brush to it, it came out clean—enough better that I decided to save it in case I need a waterproof something.

Back to the new curtain though: I’ve been slowly moving more and more away from synthetic materials and towards natural ones for all kinds of reasons. I got another push that way when I found out that polyester and nylon clothes shed tiny synthetic fibers in the wash which eventually find their way into the oceans, enter the food chain when they’re eaten by small critters, and never break down. I first heard about this on Science Friday a while back (but cannot now find the specific program). It came up again recently on Root Simple. This was one of those last-straw moments. I’m convinced, I’m done with that, and I’ve been trying harder not to buy any synthetic fabrics.

So I wanted a natural fiber shower curtain, and as I was looking for one and researching options, it occurred to me that I had in my stash some wide cotton fabric which was basically what I was looking for—lightweight but tightly woven. And with stripes!

I measured the old curtain to figure out what length would work best (a little shorter than standard turns out to be good for my tub) and if one width of the fabric would be enough (it was, but you could always add a seam if not).

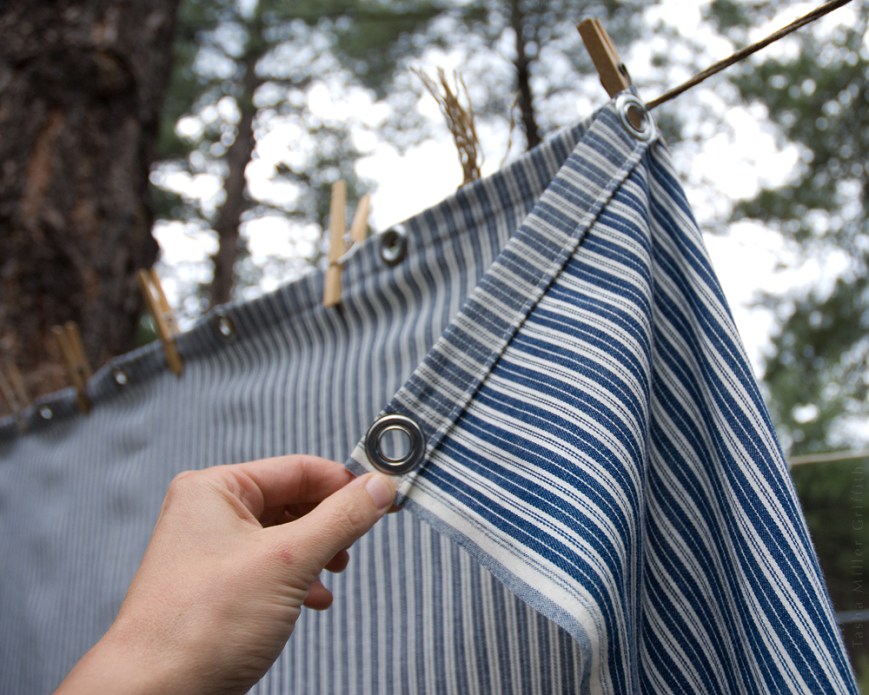
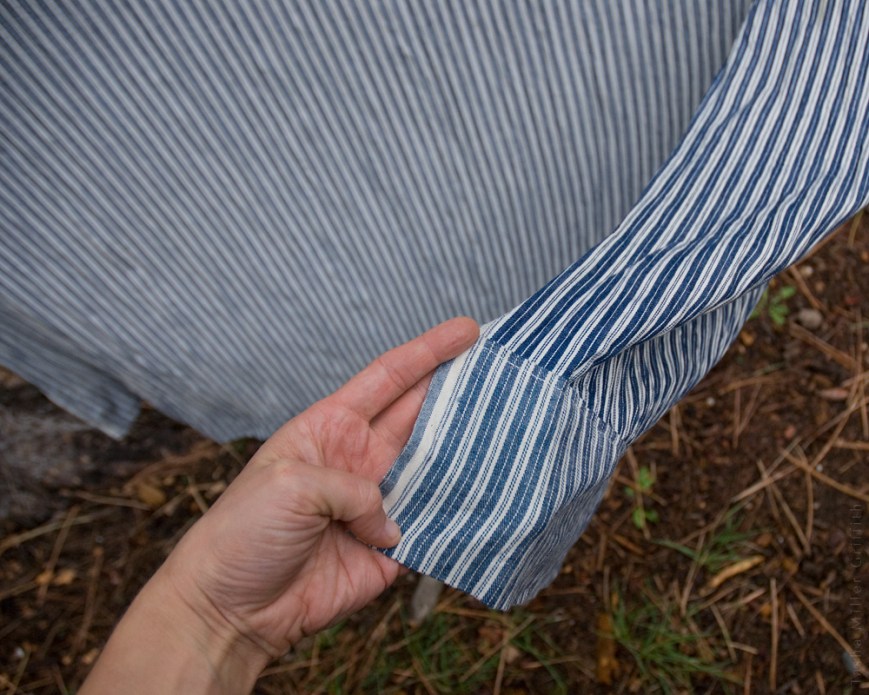
I made a deep hem on the bottom, and a narrower one at the top. The hardest part was hammering in the grommets. Typically for me, I liked the “wrong” side of the fabric better since it’s a little more textured and subtle, so I put that on the outside.


fabric-shower-curtain-3


I had a few questions, but figured it was worth trying to see what would happen. Would plain cotton keep the water inside my shower? Yes it did! Would a deep hem be enough to weigh down the bottom? It was! To be on the safe side as far as mildew, I’ve been wringing the curtain out after I shower, and then spreading it out as much as possible to dry. So far, it’s working really well, and it’s so much nicer to look at than the old one, it’s fairly ridiculous. I also like the idea that I can take this one down, put it in through the washer, and hang it to dry in the sun once a month or so, which should actually be easier than cleaning the vinyl one.

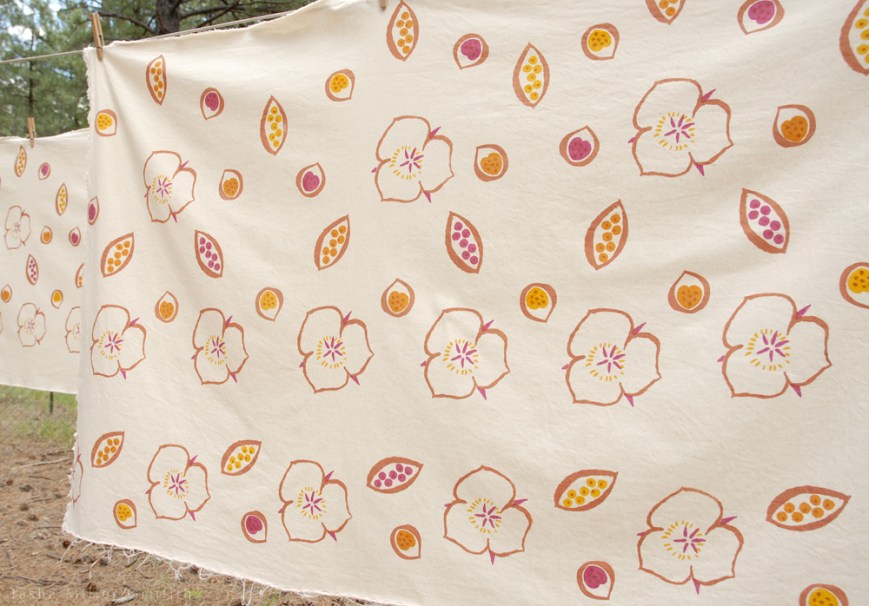
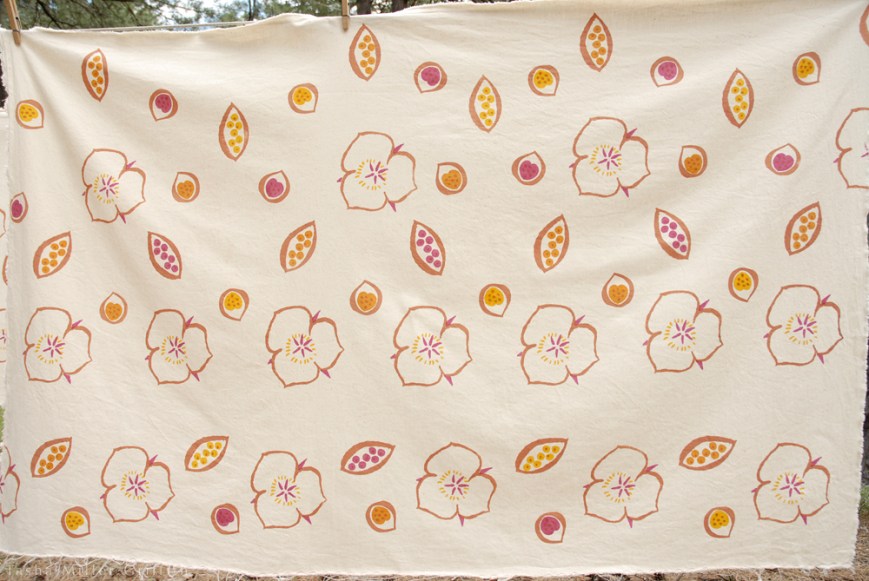
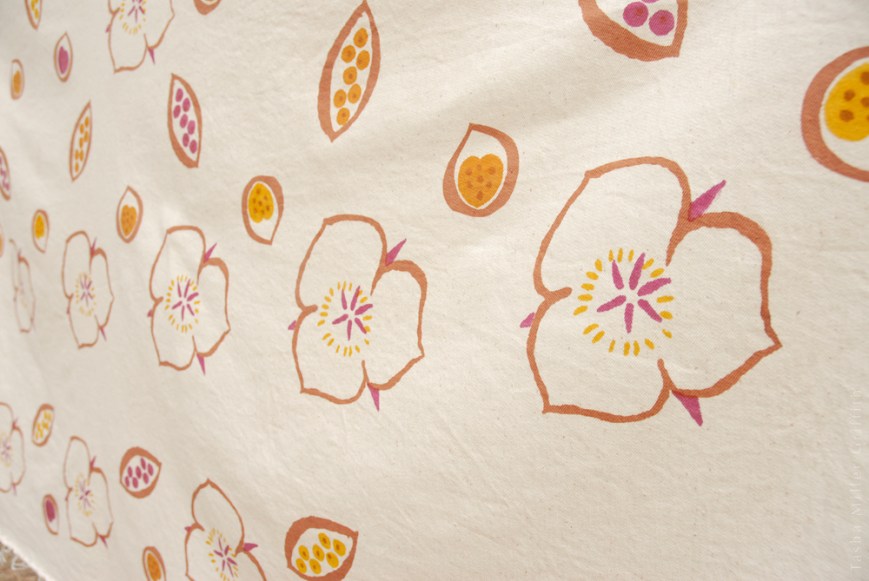
If you wanted a sheer curtain, or a liner for a more decorative fabric on the outside, I suspect that silk organza would be amazing (although I haven’t tried it, not having that much on hand). Something so thin but crisp and tightly woven should dry almost instantly, and look beautiful. Oh printed silk …

Anyway, I hope this give you all some ideas!

It feels good to be writing here, and I intend to do it again soon.


fabric-shower-curtain-4


Natural Dye Printed Fabric


This is the fabric I made for my one Year, one Outfit project.  Well, I didn’t make it as in weave it, it was manufactured in Texas (from US grown organic cotton, as per my pledge for the project) and I bought it through Organic Cotton Plus online (it’s this one).  But I printed it myself, using natural dyes.


natural dye print fabric


Here’s what happened: I knew that coloring/printing fabric would be a major component of this project for me.  I do love the native colors that come from color-grown cottons and the fleece of colored sheep, but that’s not all I want to wear.  Most people feel the same, and have for thousands of years.  So I thought that getting color & design onto ethical, locally-sourced fabrics (which are often available in very limited colors) would be a good thing to tackle.

I had already promised to teach screen printing with dye (rather than with fabric paints designed for printing, which are fun too, but leave a bit of stiffness on the fabric) at our annual family craft retreat.  The time for the retreat was getting closer as I decided to join up with #1year1outfit.  At first I thought I would just take this fabric and print on it with the fiber reactive dyes that most crafters use for cotton.  These dyes may not be the best thing for the environment, but I would apply them myself, in extremely limited quantities, and do the cleanup responsibly.  I was sort of wrestling with these ideas, and reading Printing on Fabric by Jen Swearington.  This is an excellent book, I learned a lot from it.  And I appreciate, among other things, that she’s realistic about safety.  I was reading the part about steam-setting fabric you’ve printed with dye, in which she recommends wearing a respirator and/or having good ventilation … for whatever reason that was my “I’m done” moment.  I don’t need to be using toxic stuff, and I don’t want to be exposing myself, or my family (some of whom are small kiddos) to it.


natural dye print fabric 2


So what next?  I tried looking for less-toxic dyes, and I found some cotton clothing and fabrics dyed with metal-free or low-impact dyes, but I couldn’t find any of the dyes themselves available to the average person.  (Unlike if you want to dye protein fibers like wool, then you can buy Greener Shades dyes.)

That pretty much left natural dyes.  I love their colors, but they have a reputation of being less easy to use on cellulose fibers like cotton.  From the bits and pieces I read (and the fact that there were printed fabrics long before there were synthetic dyes) I knew it could be done, I just didn’t yet know how to put it all together.

As much as I value balance in life, sometimes it just feels so good to throw my whole self and all the energy I can muster at a single project.  With the retreat coming up fast, that’s what I did; reading everything I could find about using natural dyes on cotton, printing with dye, and the very little out there about putting the two together, and experimenting all the time on my own.  By the time the retreat came, I felt confident enough to share what I’d learned so far, and continue learning along with everybody else.  At the end of it, I took over an entire now-vacant worktable, and printed my fabric in two sections (before collapsing from whatever virus got a bunch of us that week).

A few details:

  • The dyes were: cochineal, osage orange, madder, and black tea (and combinations of those).
  • We thickened them into a paste using sodium alginate.
  • We scoured the fabric (using soda ash and textile detergent), then mordanted it with aluminum acetate to bond with the dye.
  • We applied the dye using small printing screens made from embroidery hoops.  For my designs, each motif had its own hoop for each color (not the most efficient way to do it, but very flexible design-wise).
  • I wanted a hand-printed look, so I came up with a vague plan, then eyeballed the placement of the first motifs, and made little registration marks to line up the hoops for subsequent colors.
  • After drying/curing, we steamed the fabric to heat-set the colors, then washed to remove the thickener.  The dye remains, and the fabric has the same hand it did before printing.

If you want to get more technical than that, email me! I have so many notes …


natural dye print fabric 3


Somewhat needless to say, I’m pretty stoked with how this came out.  And I’m looking forward to seeing how the colors wear, and doing more experiments with natural dyes!

A few more resources if you’d like to experiment too:

  • The Modern Natural Dyer came out after I made this project, but it has good basic natural dye info (and totally gorgeous photography).
  • This PDF from Maiwa is also a good overview, I used it heavily as a reference while I was figuring out what to do.
  • This online article is pretty technical, but it gave me a lot of confidence that natural dyes and cotton can play well together.  It also helped that I think I’d be happy to use only the color palette in that first photo forever …
  • The book Printing on Fabric, which I mentioned above, is not about natural dye but covers a bunch of other useful stuff, like how to make designs for screen printing, registering multi-colored and repeating patterns, and steam-setting fabric.

Stay tuned to see what I made from the fabric!