

I kind of feel sorry for anyone who doesn’t like basting, or thinks they don’t. It’s a like a magic wand for your sewing. It keeps things exactly in place for exactly as long as you need it, doesn’t distort your final sewing, doesn’t need to be removed as you go, and can be pulled out when you’re done, leaving no mark behind.
I fell in love with basting many moons ago, while sewing a collar onto a button-down shirt. I had all the layers of shirt and collar scrunched together ready to sew, and no matter how many pins I put in, the fabric kept shifting under the sewing machine as I went and getting terribly uneven, and/or folding over and catching pieces of the shirt I didn’t want in the seam. After ripping it all out and starting over two or three times, I decided to baste it in by hand and see if that was any better. Held by the basting, the shirt and collar seam went through the machine without a hitch, as nice as I could ask for, on the first try.
Basting just means any kind of temporary stitching, meant to hold fabric in place until you can get the final stitching done. The advantage is that the basting doesn’t have to be neat and even, or strong enough to hold up with wear, so you can concentrate just on the fabric while you’re basting, and then just on stitching when you’re sewing the final seam.
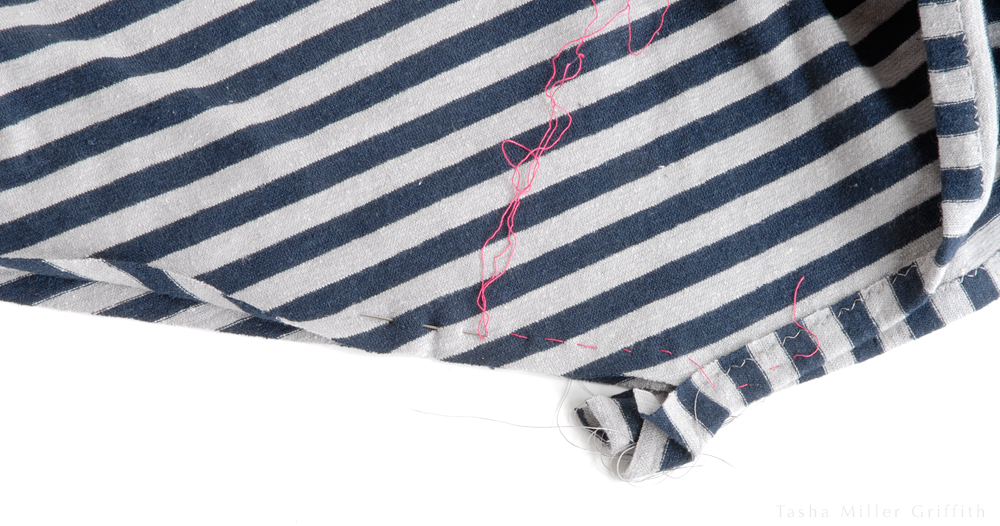
If I’m in a situation where I want basting, usually it’s because I need more precise control over the fabric, so I baste by hand. To baste, simply sew running stitches (illustrated at the top). The stitches can be pretty big and uneven—concentrate on the placement of the fabric layers with each stitch, rather than the stitches themselves. I like to begin and end with a backstitch, just to keep the basting from pulling apart until I’m done.
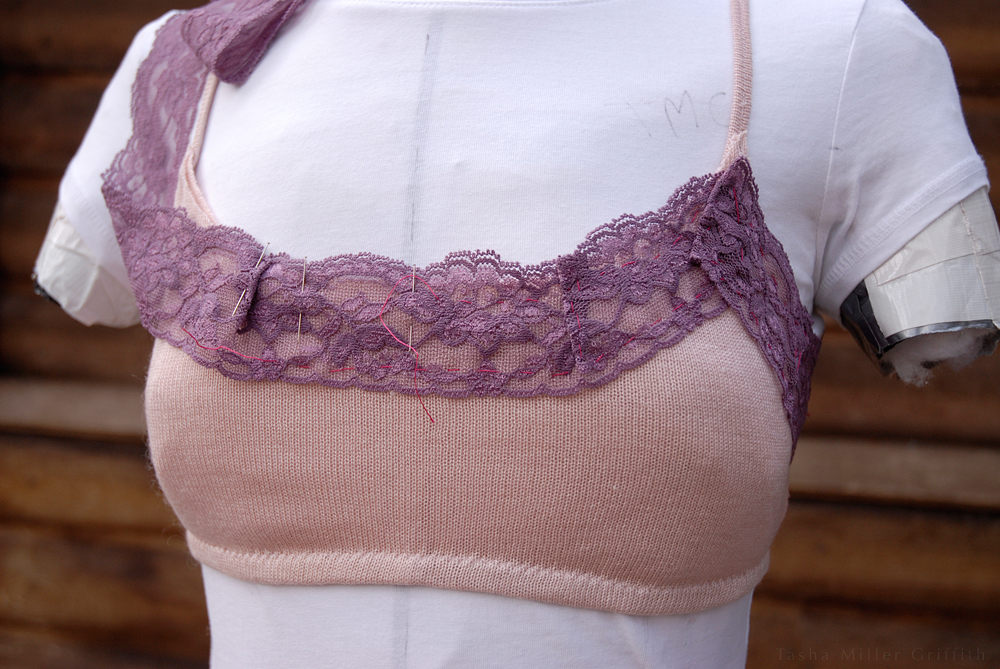
Some good places to use basting are: when you want things to align exactly (like matching stripes), when there are a lot of shifty layers (like the collar seam), or any other time when you want to make sure some part of your project will stay in place while you sew it. For the soft bra below, I knew there was no way the lace would stay in the folds I wanted against the fabric if it was held only by pins. Plus, basting allowed me to put everything together on my dress form, seeing exactly how the lace would work on a body, and then take the whole thing off the form and sew it.
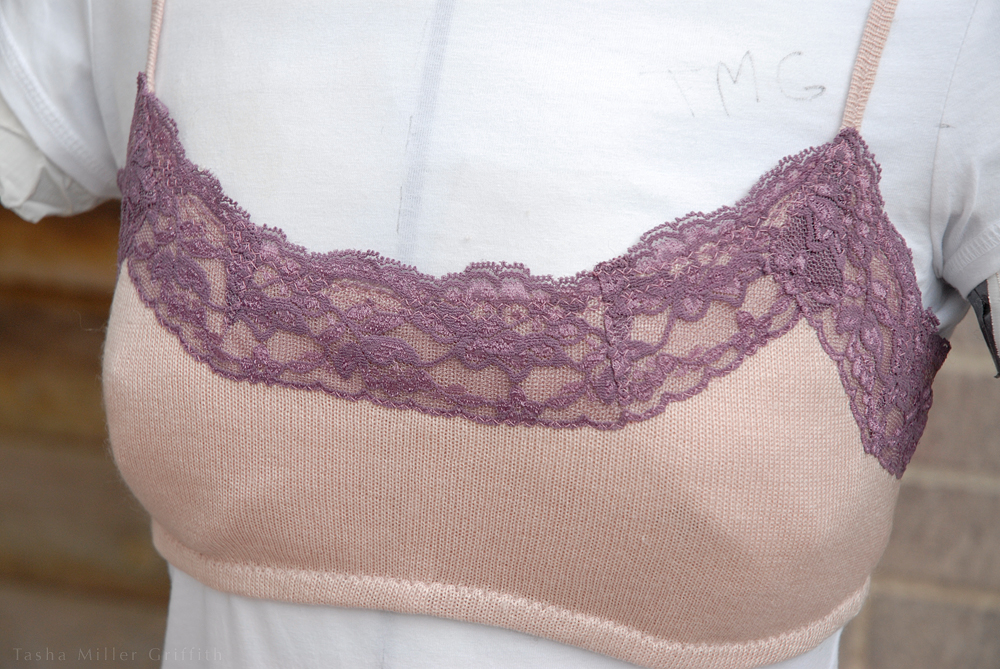
It worked great! When you’re done with the final seam, you can remove the basting easily. Pick out the backstitches at the ends and grab one thread tail, then you can often pull out a long basting thread with one pull. Unless of course you sewed over it in the final stitching, but no worries, that happens. Just pull out what you can at once, you may have to cut and pick out a few small thread bits.
Although it may sound like a technique for more advanced sewing, I definitely recommend basting for beginners too. When you’re just starting out, learning how your machine handles fabric, especially in tricky situations, isn’t easy. You can baste practically anything that you just can not get to stay in place while sewing on the machine, get much better results, and save yourself a lot of frustration. According to The Mary Frances Sewing Book, back when most garments were sewn by hand, it was more efficient to baste a seam first, and then sew it, than to sew the final stitches while trying to keep the fabric layers in place.
Best of luck with your sewing!

I love this post. It’s made me question why I hate basting so much!
Pingback: A Cabarita Top Variation, with Tips for Matching Stripes | Stale Bread into French Toast
Pingback: Fixing Store-Bought Socks | Stale Bread into French Toast
Pingback: Four Upcycled Winter Tops | Stale Bread into French Toast
Pingback: Fix a Ripped Out Button (or Other Small Hole) | Stale Bread into French Toast