Pear Crisp with Cardamom

In which I also resolve to illustrate some posts for this blog.


pears 1


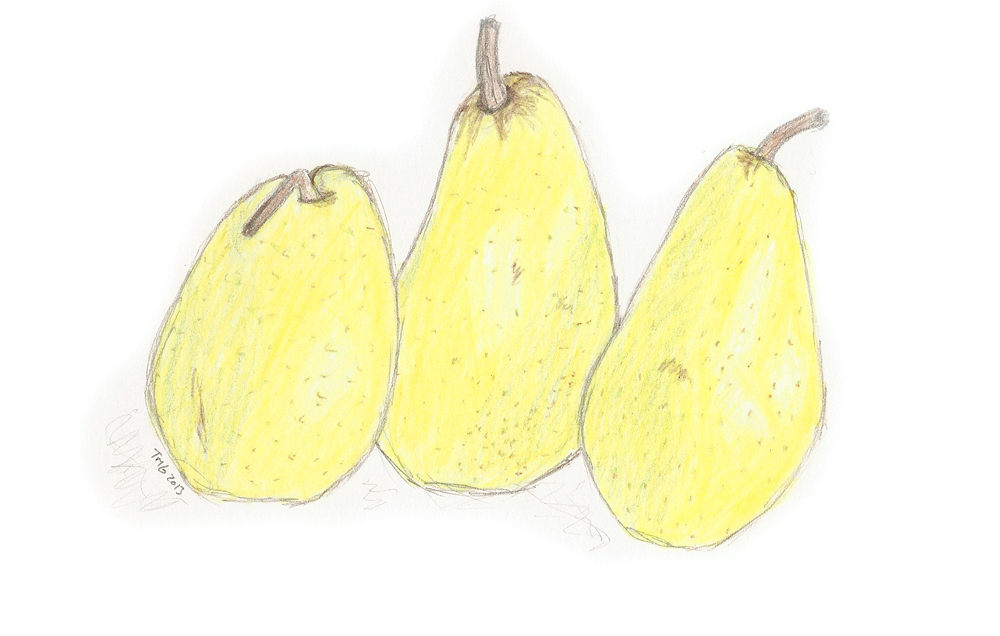
Every fall, it’s the pears that get me over my disappointment at the end of the stone fruit season, and convince me that everything’s going to be Ok.  I like to wait until they’re really ripe to eat them (at least most of the common kinds), ripe enough to slide a knife in one clean curve down the stem and around the seeds, with pear juice forming instantly on the cut surfaces.  That first bite of juicy ambrosial pear, that’s what convinces me that maybe I’ll get along with autumn alright after all.

I was hoping to have a recipe, not a just a short soliloquy, about pears for you, and I do!  It turns out that two of the dear friends we visited in the Northwest at the end of the summer have a copy of The Art of Simple Food by Alice Waters, and so I spent a little time pouring through that book looking for various ideas.  I’m really starting to admire the way she looks at the simplicity of cooking.  In the second household there was also a huge bowl of free pears from a colleague’s tree, and the inspired idea to combine pears and cardamom (thanks Becca!), so here you go.


Pear Crisp with Cardamom

Adapted from The Art of Simple Food by Alice Waters


Slice 7 cups/4 lbs of fairly ripe pears (they don’t have to be as ripe as I like them for eating)

Toss the pears in a bowl with:

1  1/2 Tablespoons flour (can be white or wheat or gluten-free alternative, it’s just for thickening the juice)

Zest of 1 (organic) lemon

About 1 Tablespoon lemon juice


Pour the pears into a baking dish and make the crisp topping in the bowl:

Toast 2/3 cup walnuts in the oven at 375° F for about 10 minutes, until golden brown (set a timer!  I’m so bad at that, I burn things more often than I’d like to admit).  While they are toasting, mix in the bowl:

1  1/4 cups flour (again use what you like, gluten is not required to hold the crisp together.  I used a mixture of white and whole wheat flour)

6 Tablespoons brown sugar

1  1/2 Tablespoons turbinado sugar

1/4 teaspoon salt

About 1/4 teaspoon crushed cardamom seeds (if you have whole green pods, crush the pods lightly with the flat of a knife if necessary, pull the pods open, and extract the seeds.  Grind just the seeds in a mortar and pestle or with a spice grinder.  Fairly coarse ground is fine.)

Chop the walnuts and add them to the above mixture.  Mix well, and then cut in 1 stick (8 Tablespoons) of butter (cut into pieces), using your fingers or a pastry blender, just until the mixture comes together and has a texture like big crumbs.

Sprinkle the topping over the pears, and bake at 375° for about 50 minutes, rotating once for even baking.  When done, the crisp topping should be golden brown, and the fruit should be juicy and bubbling down in the dish.


pears 2


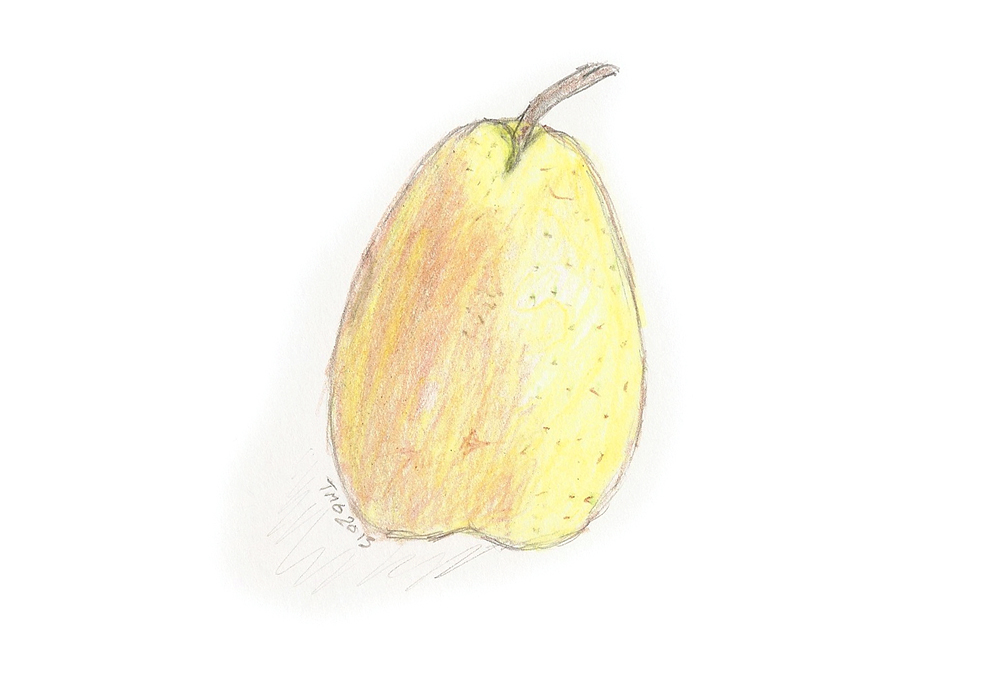
About the illustrations: I know I need to keep up my drawing skills, and I’d even like to practice enough to keep improving.  Since finishing Hello Sewing Machine, I haven’t had too much incentive to draw (other than little sketches like these, which I still make all the time).  I thought if I made it a goal to illustrate at least one post a month, I would be sure to get practice drawing.  I kind of forgot that I would also get practice scanning drawings and working in Photoshop . . . but it’s also practice I need.  I’m more of an illustrator than an artist, and more used to trying to make things clear than to capturing 3-D fruit in all it’s glory.  And I need to find some smoother paper . . . but one little bit at a time, right?

Good luck with your fall goals, whatever they are!  (And eat some pears!)


A Fall Harvest Without Much of a Garden


strawberries in compost


Over the past few weeks I’ve done a couple of things that I’ve been meaning to do since, oh, last year . . . one was to dig out the compost.  I mention this because for any of you who think you don’t know enough or have enough time to compost; I don’t either, and mine still works.  I practice a kind of benign compost neglect which goes like this: I dump all of our vegetable scraps into a big black plastic cone-shaped thing outside with a screw-on lid, which I got from the city of Flagstaff.  I continue to do this all winter, when everything is frozen.  I did some research when I first got the bin, and theoretically I know that I’m supposed to add stuff that contains lots of carbon, as well as the food scraps which are mostly nitrogen.  So, every three months or so (when It’s not too cold out and I’m feeling ambitious) I dump in a shovel of fireplace ashes which the previous owners of our house left in a large metal trash can outside.  Depending on the season, I scoop out the bottom of the little compost container from the house with either pine needles or snow, and that goes in the bin too.  The one thing I do actually add with some regularity is a bucket of water, since it’s so dry here.  If there is snow on top of the lid, I dump it inside the container too.  I turn my compost once every never.

Then I leave for the pretty much the whole summer and abandon the bin completely.  Only once have I coerced any friends and/or house-sitters to do anything to it while we’re gone.   And when we come back, a minor miracle has occurred.  The mound of frozen stuff that was nearing the top third of the container is now a much smaller, browner pile of—dirt!  Tada!

I asked my dad which of our motley collection of plants would most like some extra nutrients, and he suggested the strawberries growing out by the front fence, which he planted there . . . they are just like the strawberry plants we had at our house when I was little, producing a handful of the tiniest and most intensely flavored strawberries you’ve ever tasted every year.  Maybe a few more next year?

After digging it out this time, I have a few compost rules which I am trying to stick to: 1. All eggshells must be crushed (otherwise they take forever to break down).  2. No stacking/nesting of things like avocado skins (ditto.  Surface area is a good thing).  3. No stickers of any kind.  They do not break down (in my haphazard compost anyway) ever.


farmer roasting chile


The second thing I did was to freeze chiles for the winter.  And this year in a new twist, we asked Cory, the super nice farmer from Whipstone Farm, to roast us some sweet red bell peppers as well (on the spot at the farmers’ market) and he did!  I froze them using the exact same method I do for chiles.  I’m pretty excited about this development, which should mean a steady supply of relatively cheap, local, sustainably grown roasted red peppers all winter long—yes!  I mention this in case someone is growing peppers near you as well.  You could roast them at home if you don’t happen to know an accommodating farmer with a giant gas-powered chile roaster . . . I usually use the broiler in my oven.

Anyway, I’m pretty pleased with myself, especially for someone who doesn’t have anything approaching a real garden.  Any time I do manage to put a little bit of my work into my bit of soil, or into saving food for the winter, it feels pretty great.


Knitting Fall Projects

I started knitting a lot when I started traveling a lot with Bryan. Probably my favorite thing about knitting is still its versatility and portability – how one little bag of supplies can become a garment, and maybe more importantly, provide me with my “make something” fix anytime, anywhere.

On this trip so far I’ve been working on samples for two new classes I’m teaching at my local yarn shop this fall; a cable cowl based on the way my friend Birgitta taught me to knit cables, and lace fingerless gloves from a Churchmouse pattern.

20120912-074231.jpg

Morning light on my hotel room blocking. I neglected to bring pins, so steaming and stretching had to do for the lace. If I wet & pin it at home, I’m pretty sure I can get a little more openness in the leaf lace pattern.

20120912-074500.jpg

I’m definitely indulging my romantic side with these mitts. A student asked me, “But would you wear that?” “Yes,” I responded, “but I do agree that ‘would you wear it?’ is an important question to ask before you start knitting!” What I’ll wear them with is another question . . . This yarn is Jojoland Melody.

20120912-074841.jpg

The yarn for the cowl is Manos del Uruguay Maxima. I love Manos, and this one is dreamy soft with subtle color variations – a sure way to get my attention!

I’m also pretty excited about teaching this class, since Birgitta’s design is set up to make it easy to customize, meaning I can talk about how to play with size, gauge & placement as well as how to make cables!

20120912-075334.jpg

Very special thanks to Mellon Park in Pittsburgh for the backgrounds in this post, as well as being a really lovely spot!