Update: How to Fix a Small Hole in Knit Fabric

kitchener stitch 6


When I published this post about fixing small holes in sweaters and other knit clothes, I realized I didn’t really have pictures of repairing a hole in the middle of the fabric, not near a seam, and I said I’d add some if the opportunity came up.

Well, it did.  One of the lovely things when word gets out that you work with a certain material (in this case recycled cashmere garments) is that every now and then, someone just gives you some.  The best thing about this as far as I’m concerned, better than the free stuff, is that I have absolutely no obligation to use the donated items for business purposes unless I want to.  Therefore, when someone gives me not-yet-felted cashmere sleep pants (thank you thank you Lauren!) I get to yell “Cashmere SLEEP PANTS!” try them on immediately, and wear them myself!

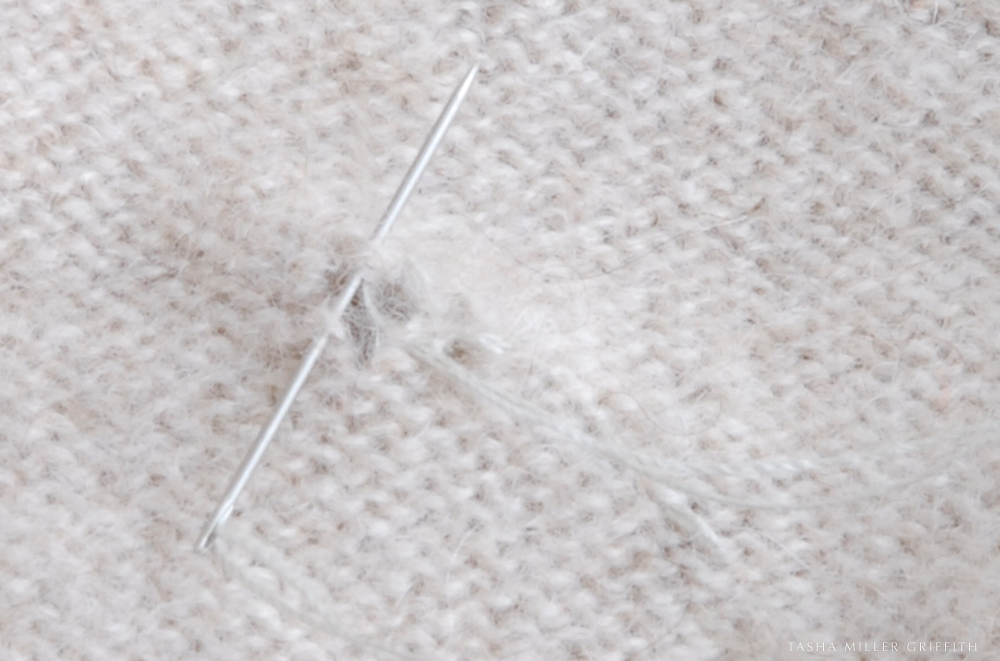
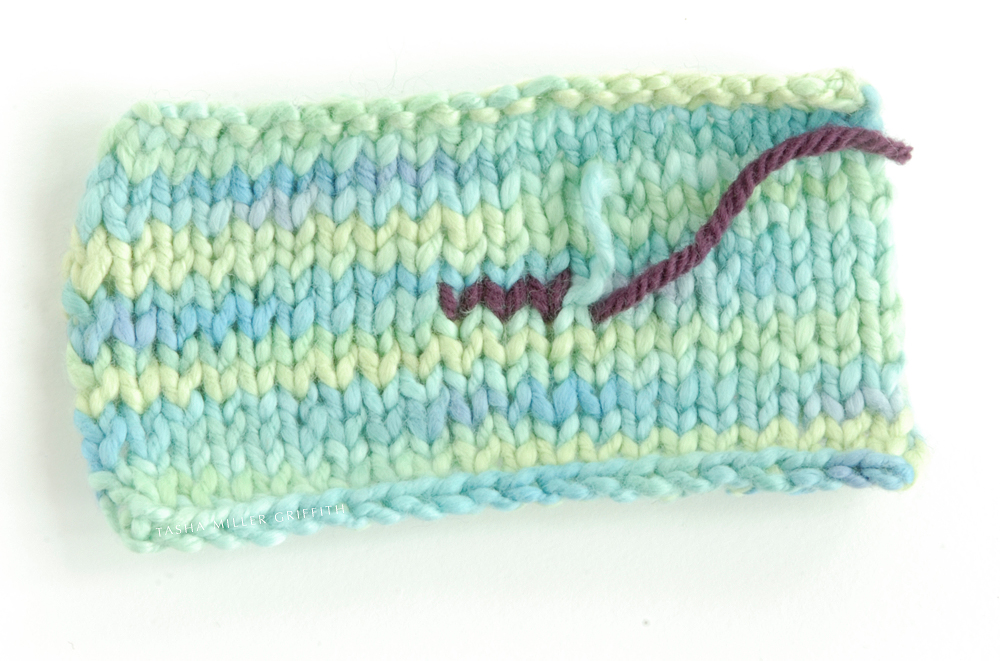
They also had one small hole, a perfect example to fix.  It was perfect but, um, fuzzy and a little hard to see (who’d have thought, right, fuzzy cashmere?) so I also snipped a hole in my sample from the how to pick up a dropped stitch in knitting post, fixed it, and included those pictures as well.  Click on the link above to see the updated post.

Here’s to enjoying the materials life gives you!  And happy mending!


fix sleep pants 3


Fix a Ripped Out Button (or Other Small Hole)


This is a sweater/jacket I picked up at the thrift store the other day, I thought it would be good for our upcoming ski trip to Bend (and also because I’m cold basically all winter long).  Only one or two small problems, the original buttons are some crazy unique things, more like a snap with one large flared button side and a flat back, and two of them are missing, leaving holes where they ripped out.

But small holes like that are pretty easy to fix, especially since the result will be covered by a new button.

The fabric here is a sturdy (not very stretchy) knit.  I happen to have some sturdy black knit fabric to cut little circles from, but if I didn’t I would use a woven rather than something too thin or stretchy.  The fixed place is going to have lots of stitches in it and not be very stretchy anyway.

The easiest way to get the patches to stay where you want them is to baste them in.  (Basting just means stitching that’s not permanent, but meant to hold something in place while you sew.)


Because I want this spot to be super sturdy, I put one small patch directly behind the hole and another one on top to back a larger area (both on the wrong side of the jacket).  I used contrasting thread for basting, but you may want to try matching, it will make pulling out the smaller stitches later not as necessary.

Next, smooth the sides of the hole down and as much back where they came from as possible, and sew using your machine.  If the fabric has a distinct color on each side, you can use different color top and bobbin thread – I used cream on top and black in the bobbin.  (A picture of me sewing this would show nothing, since it’s all under the foot!)  I used a short stitch length and went back and forth over the hole, mainly in the same direction as the knit ribs of the fabric, and then a bit side to side.  Make sure to catch all the raveling edges.  When you’re done it should look something like this:


Pull out the basting threads, bury the sewing thread ends, and you’re done!  Next week: how to sew on the button.

One final note, only one of these cuffs had the button come off.  But as you can see, the other one is about to go.  And besides, it will look more natural if they’re symmetrical.  Sometimes it just feels good to pull something off with pliers – rawr!


Got something you would like to fix?  Not sure how?  Leave a comment!