
In which I concede that yes, some wool is itchy.

My grandmother wove the fabric for this top, and she sewed it! She gave it to me many years ago, but I’ve never worn it much, because when it touches your skin, the fabric is super scratchy. You all know how much I love wool, and I try to advocate for it, so I usually say that it doesn’t have to be itchy! But the truth is, of course, it varies enormously with everything from the kind of sheep the wool came from to the way it’s processed, leading to everything from super snuggly high-end next-to-skin layers all the way to heavy duty outerwear. (And here’s something I can’t get out of my head since I read it, that we might not even want all wool to be soft, we want some to be hard-wearing too.)
Ok, so say that you do have a scratchy wool garment that touches your skin, what to do? Line it! I’ve had vague plan for lining this top for a few years, a plan which gradually clarified itself and worked out details in my head, as I realized that I could satisfy my clear need for more sweater layers using almost exclusively things I already had.
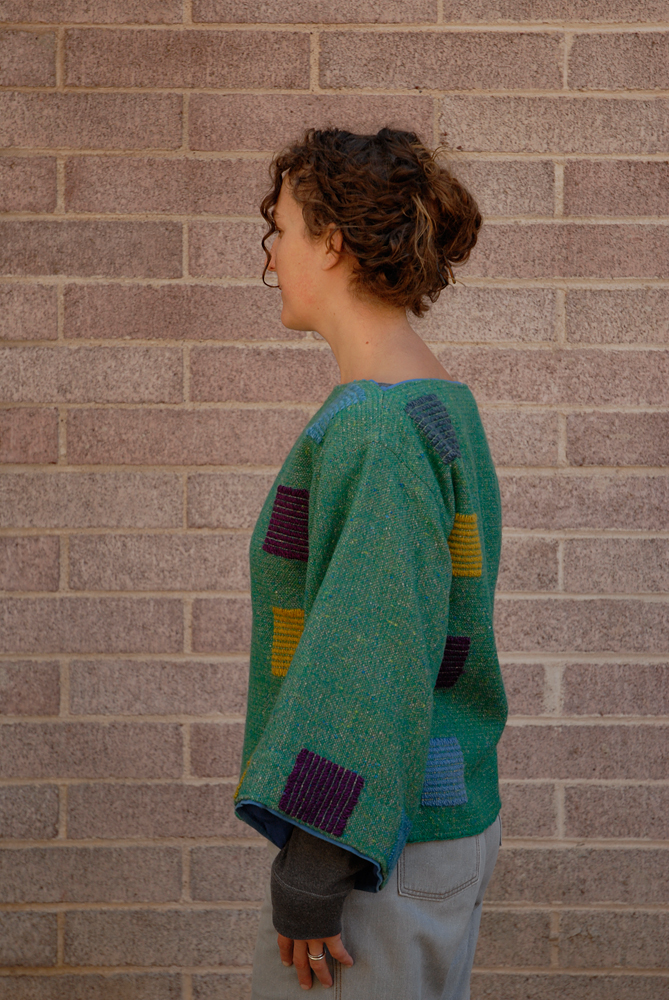
This top is a very simple construction which seems to have a been a favorite of handweavers in the 1970’s. It’s just two large rectangles for the front and back, and two more folded over for the sleeves. It has slits at the side seams for a little more movement, and the edge of the fabric is just turned under to make a bit of a curve at the front and back neckline.
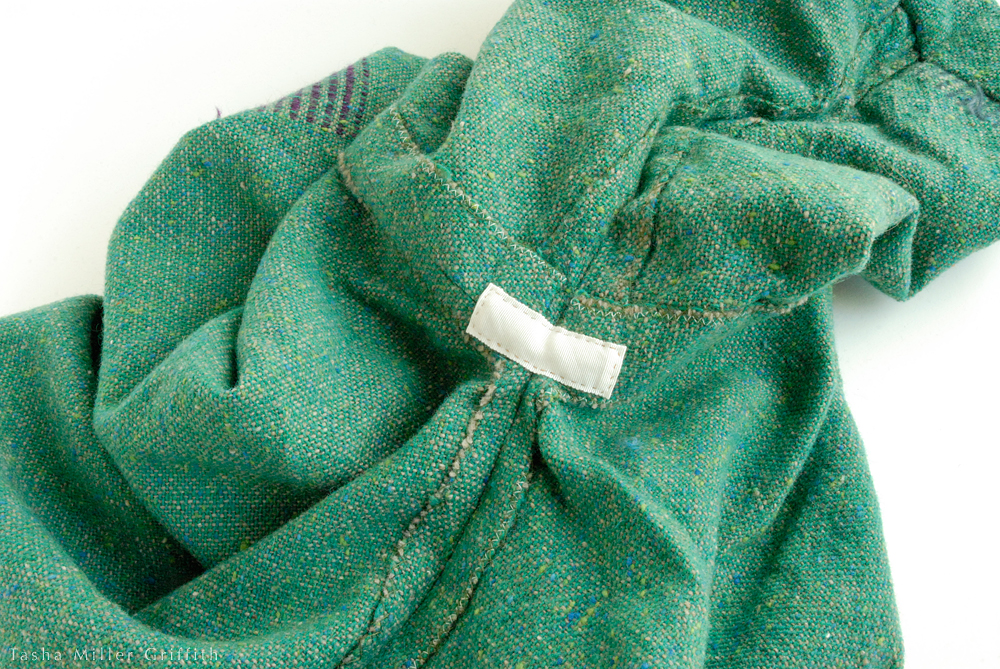 I’ve been storing this in my brain and knew I would use it! A couple of the older sweaters I’ve re-used for Fiddleheads have a sturdy ribbon reinforcement at the underarms. I know this is a point of stress for this top, as the stitches had already popped there, and I’m not going to want to undo the lining to fix it again!
I thought it would be pretty simple to line this, and I was right. There is a lot of minor fudging going on here, and it doesn’t really show, since it’s um, the lining. I measured all the dimensions of the top and cut the lining the same size, plus seam allowances. I knew that that would make the lining a little bit baggy, since it’s the same size and inside the top, but I didn’t want to make it too tight, or make this project super fiddly. For such a simple garment this worked well.
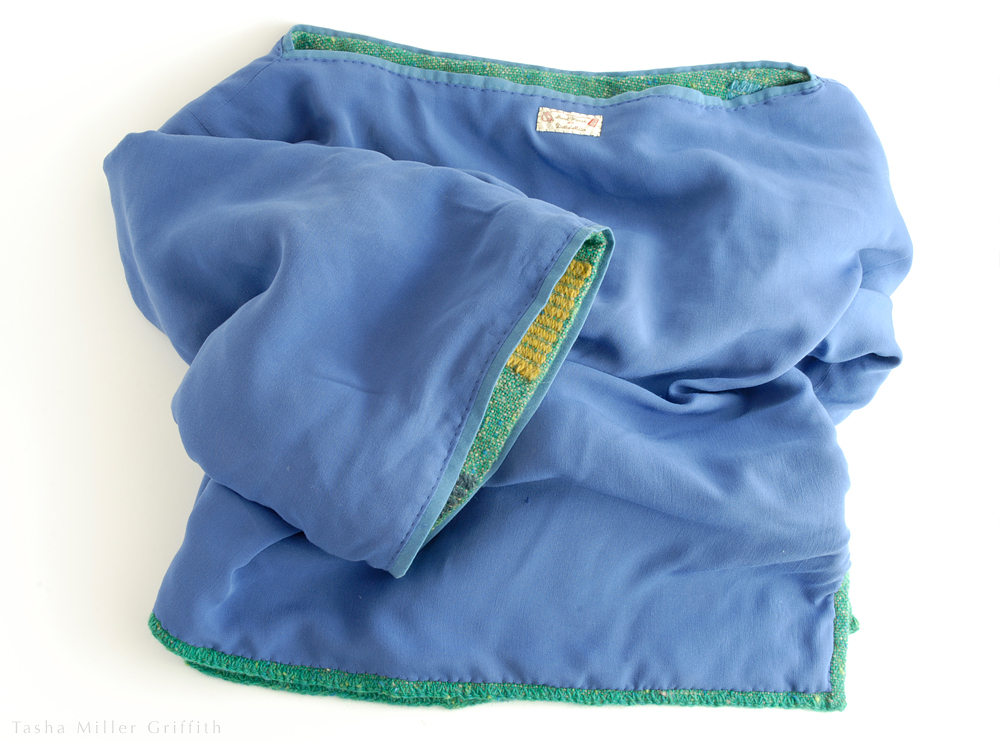
Since the issue with the itchy-ness of this top is where is touches my skin, I knew that I needed an edging that would stick out past the wool at the neck and sleeves. I had two candidates for lining fabric in the stash, both blue rayon. I really liked how the color and slight twill texture of one looked with the wool fabric, but it was a little heavy for lining and has more potential as a garment on its own. So I decided to use the first fabric for just the edging strips, and the lighter weight, darker colored rayon for the main lining pieces.
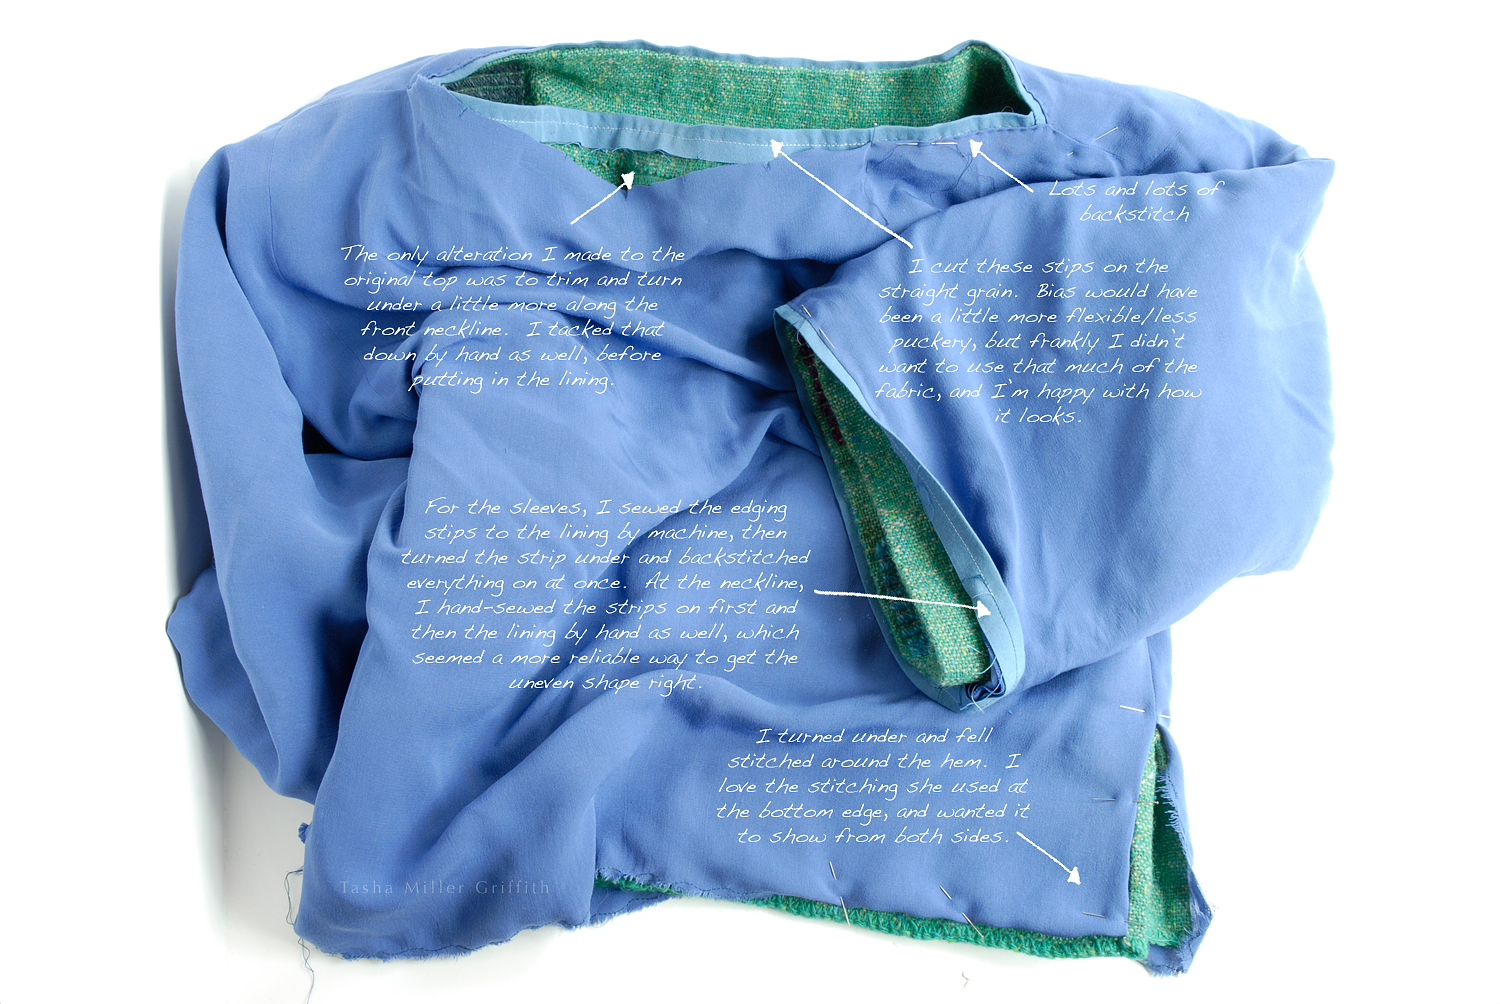 I’m trying something new here, a lot of the sewing details are in this photo. I hope that it will both be visually more clear what I’m talking about, and make the main text a little less dense. Click to enlarge and read!
No doubt, this project has a LOT of hand stitching, mainly backstitch. Fortunately, I love handstitching. It has all the advantages of knitting in that it’s soothing and portable, I could work on it anywhere, and while talking to people on the phone, etc., so it actually went pretty fast. Plus, I didn’t want the stitches to show on the outside, and since I could place and pin the fabric as I went, handstitching gave me the most flexibility to see how things were coming out, and pin under more or less to adjust.
 So, many little stitches later, there you have it! Lined garments just feel so finished, and kind of luxurious when you put them on, don’t you think? And, the itchy issue is 100% gone, to the point where I forget all about it. (Remind me not to cuddle small children while wearing this . . . )
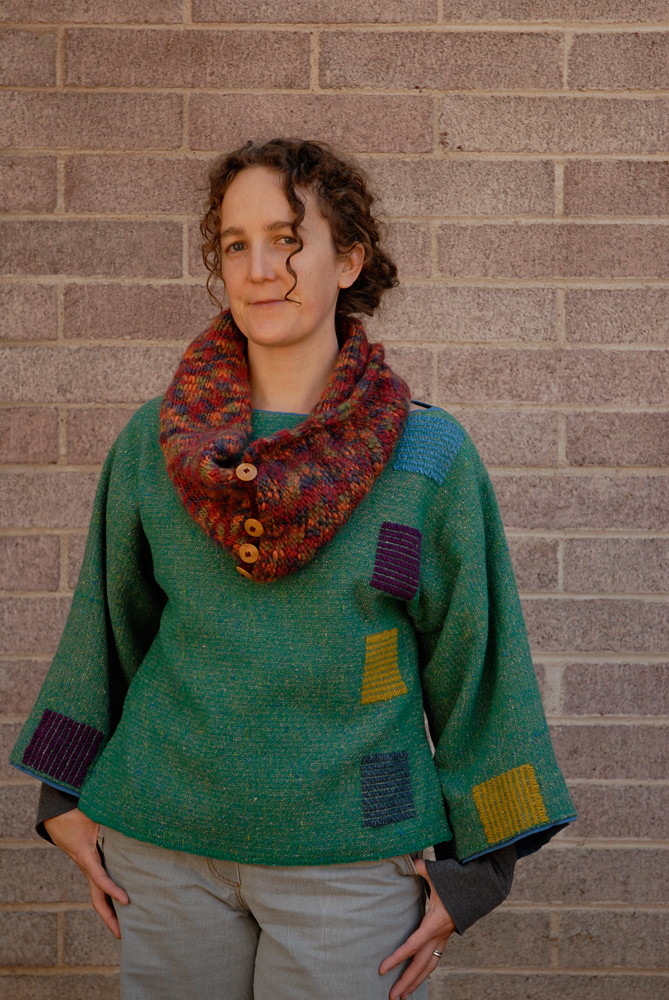
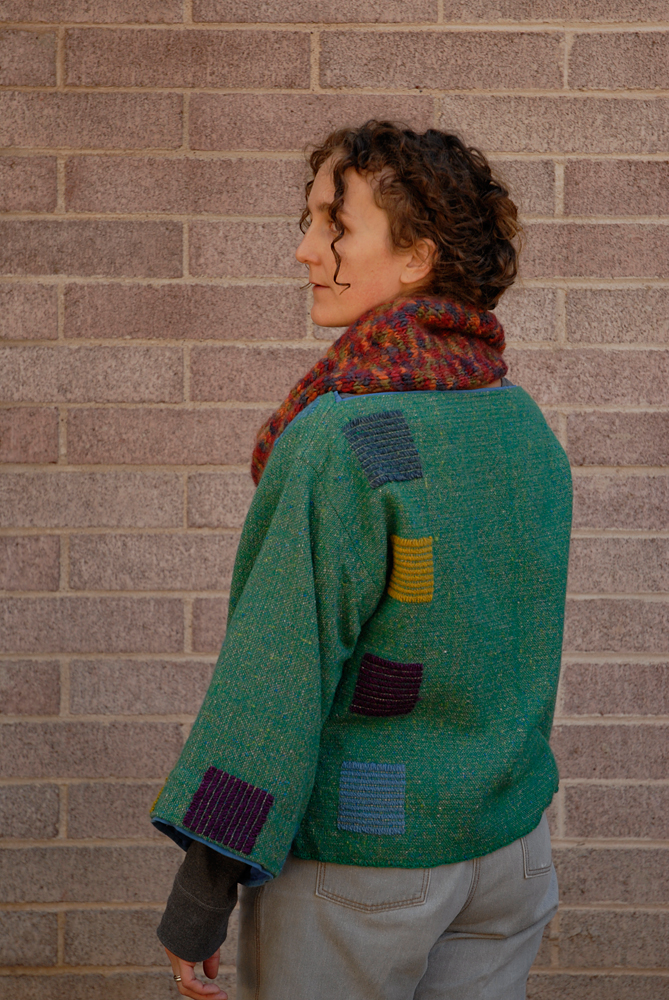
Now I just have to figure out how to wear it. I’m not used to having wide 3/4 length sleeves, and sometimes catch them on things . . . The first time I wore this into town, I thought it looked better with a cowl or scarf on top. But looking at these pictures, I kind of like it on its own. I live in layers, and this one is a bit tricky to layer on top or under, so I think a cowl or scarf will be a good option when it’s cooler. The weather has been so mild lately that I was really comfortable taking pictures outside in just the top. It may be a sign of impending doom, but I might as well enjoy it, right?
Totally, that’s what I thought. What are you working on for winter, assuming we get winter?


