Here’s another way to fix a small hole in a shirt or a sweater—especially a hole that’s a little too big to simply sew back together without causing puckers. No sewing machine required though, it’s more invisible to sew a little patch like this by hand. These examples are in woven fabric, but this technique also works on knits. I sewed a patch like this on the front of this sweater, which because of the fuzzy knit fabric is too invisible for pictures!
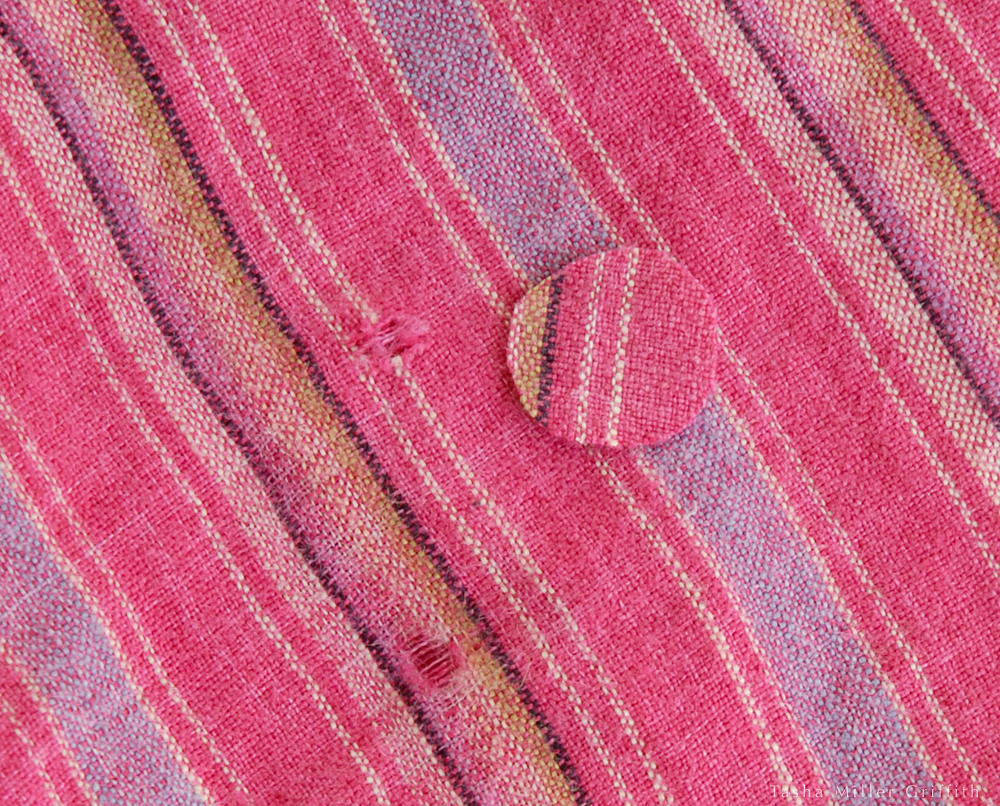
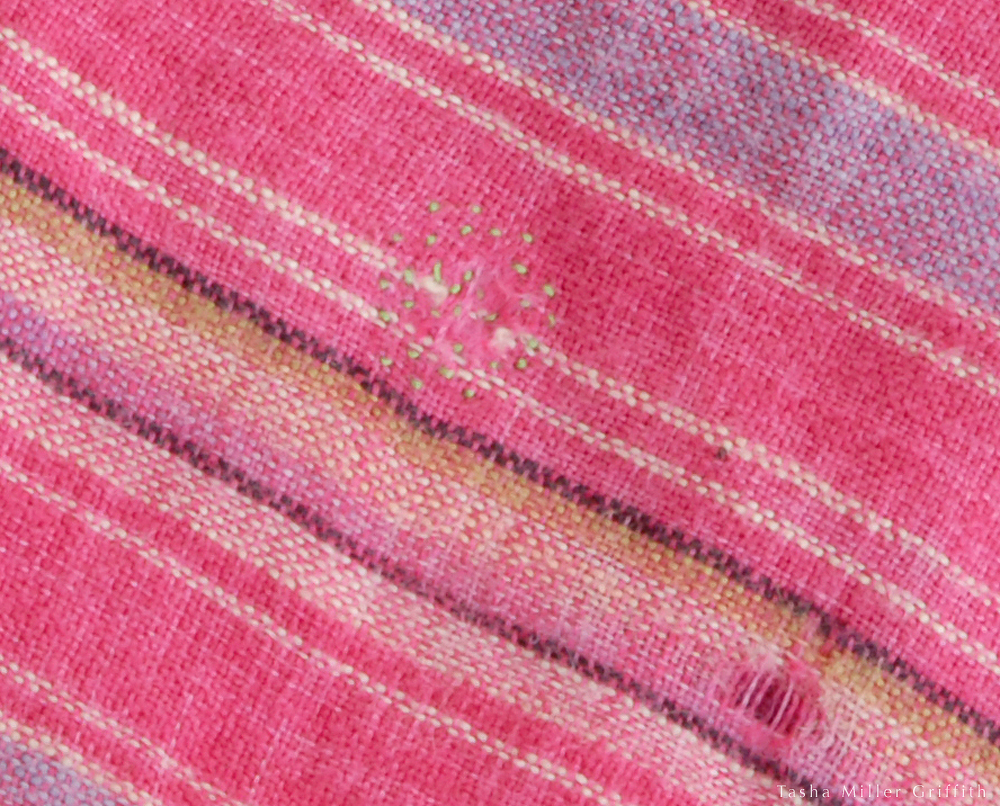
I’m going to demonstrate on two skirts, which happen to both be made of linen, cut on the bias, and have small holes. The difference is, the blue one at the top I fixed for keeps—it had a little tear, but the rest of the fabric is still in good shape. I bought the pink stripey one for a dollar on the sale rack at St. Vinnie’s, and it followed me around the country on our summer travels for years. I even tried out two different ideas for adding pockets to bias skirts on it. By now it’s on its way out, the fabric across the back has a few tears, and is super thin and ready to tear in a lot more places. It’s ready to retire, but I can get one more use out if it by fixing one of the holes with bright green thread so you can see what’s going on.
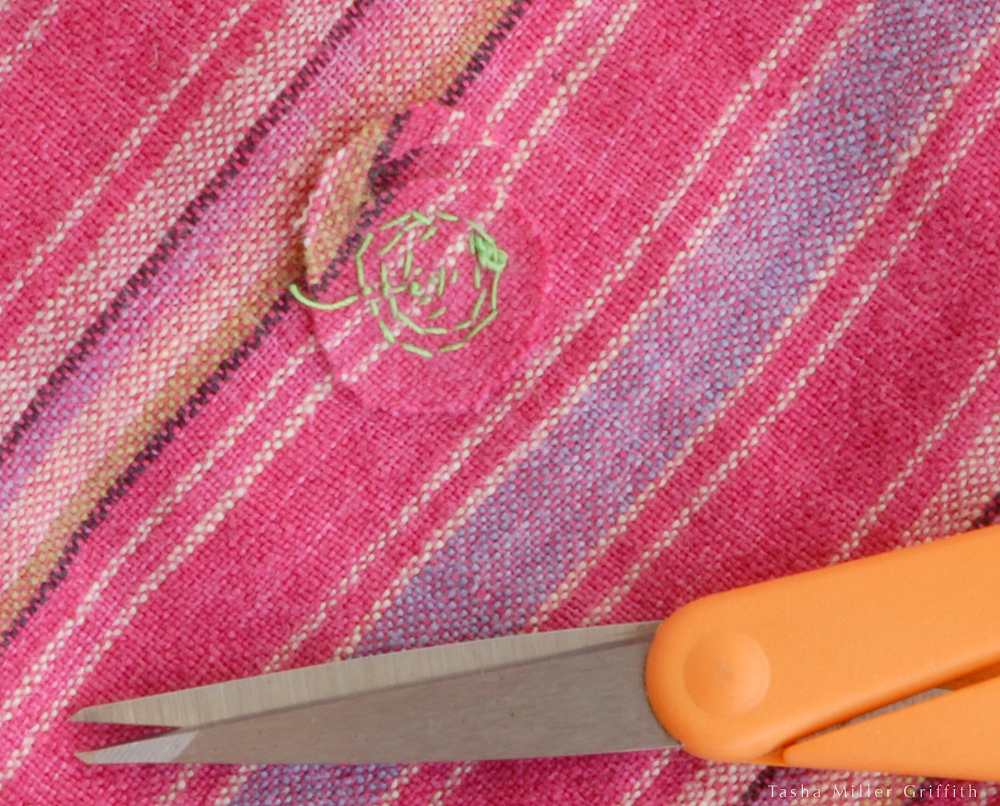
To start, cut a circular patch, about three times as big across as your hole. Making it a little bigger will make the sewing easier, and you can trim it later. If you have a piece of the garment fabric, cut the patch from a section that matches up with where the hole is, in terms of color, pattern, or wear. If not, just try to find something that matches as well as possible. Hold the scrap behind the hole to see how it looks. If your fabric is very loosely woven, you may want to sew around the edges of the patch to keep it from unraveling. Otherwise, a circular patch should be ok as it is through normal wear and washing.
Click on any of the pictures to enlarge, you can see more detail here than I could while sewing the patches!
Carefully center the patch behind the hole. Match the grain (the direction of the grid of threads) of the garment and the patch. This is especially important if the garment is cut on the bias (with the grain at 45°) like this one, because I want to avoid changing the drape of the bias cut.
Pin the patch in place through the front of the garment, sticking each pin in and out of the fabric twice. Check to see that the patch is centered over the hole, and re-pin if necessary. If the fabric is slippery, it may be easier to sew a few temporary basting stitches, and pull them out when you’re done, than to get the pins to hold it.
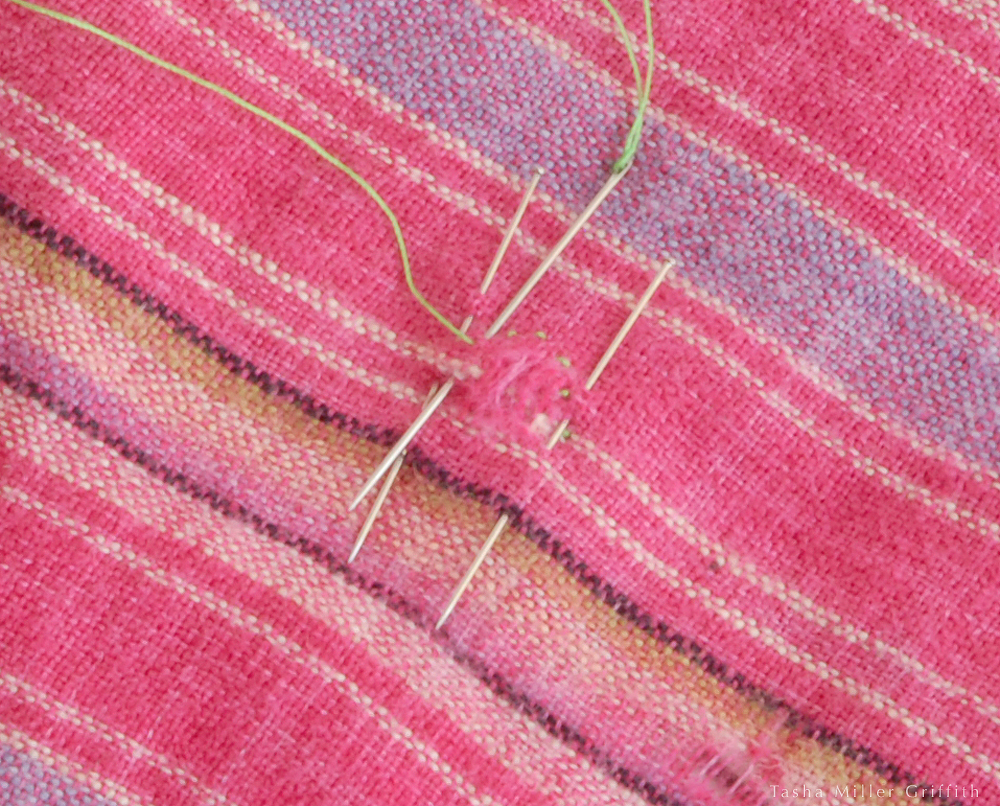
Knot your thread, and bring it up from the back. Sew around the hole a couple of times, sewing through both layers using small backstitches. Don’t pull the stitches too tight, or the fabric will pucker up. Try to catch each thread that is cut by the hole on one pass or the other. If there are intact threads in the center of the hole, tack them down to the patch too.
The goal is to keep the hole from unraveling any further, without adding so many stitches that it makes the patch stand out.
When it’s done, secure the thread with another knot or a couple of backstitches just through the patch on the back.
Here’s the finished patch on the front:
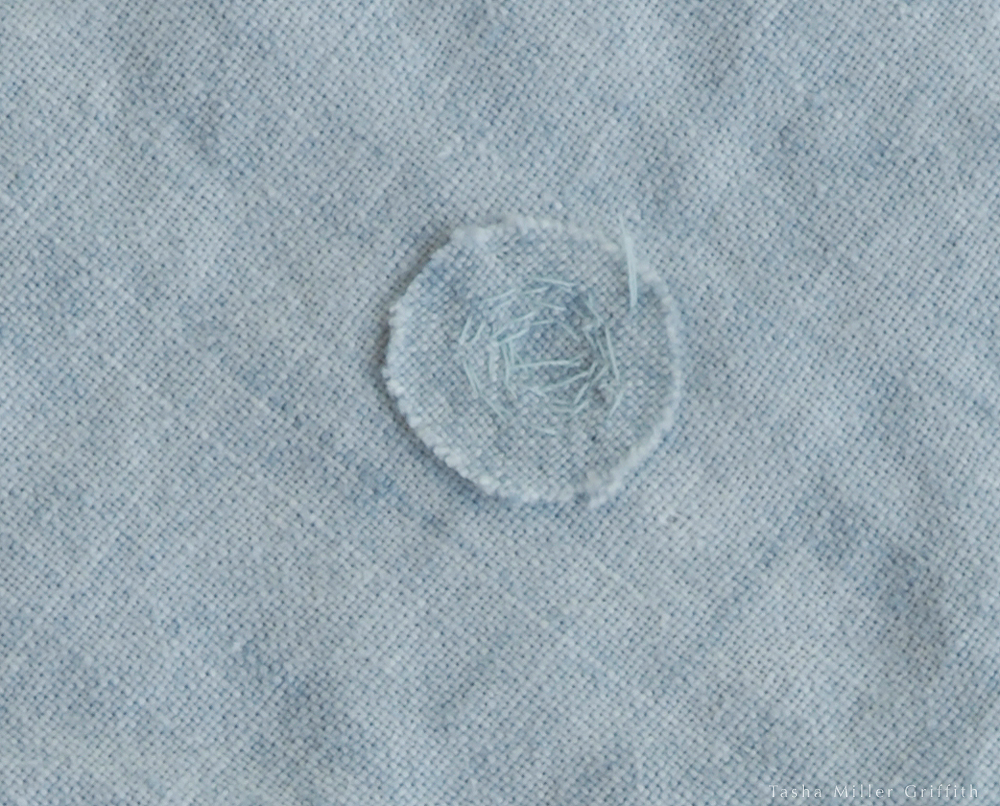
And from the back. You can trim the patch, but leave some around the edges so that if it unravels slightly, there will still be enough fabric to hold it in place.
Here’s the back of the blue one:
Hopefully this adds another option to your mending toolkit!